

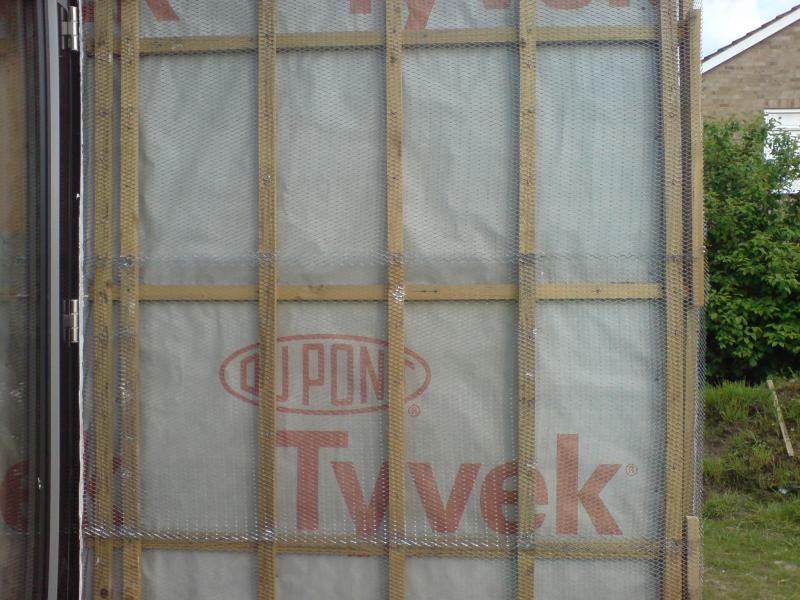
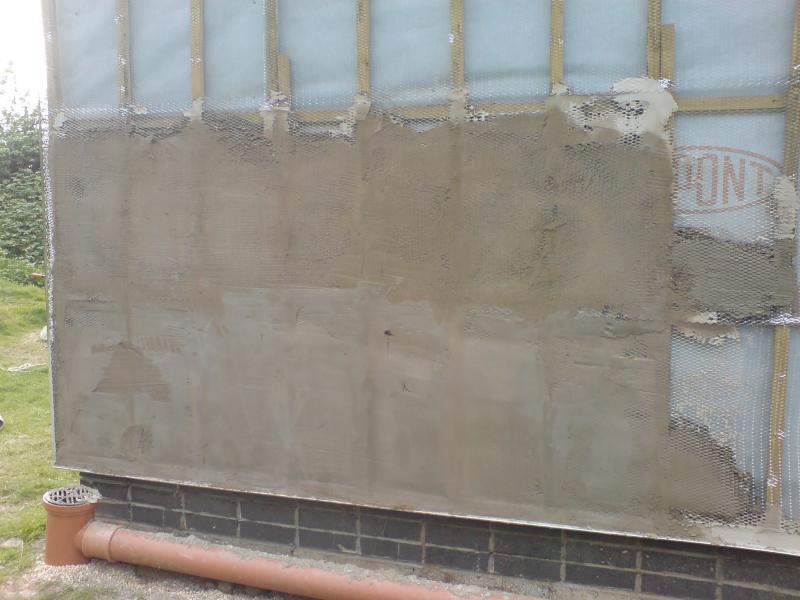
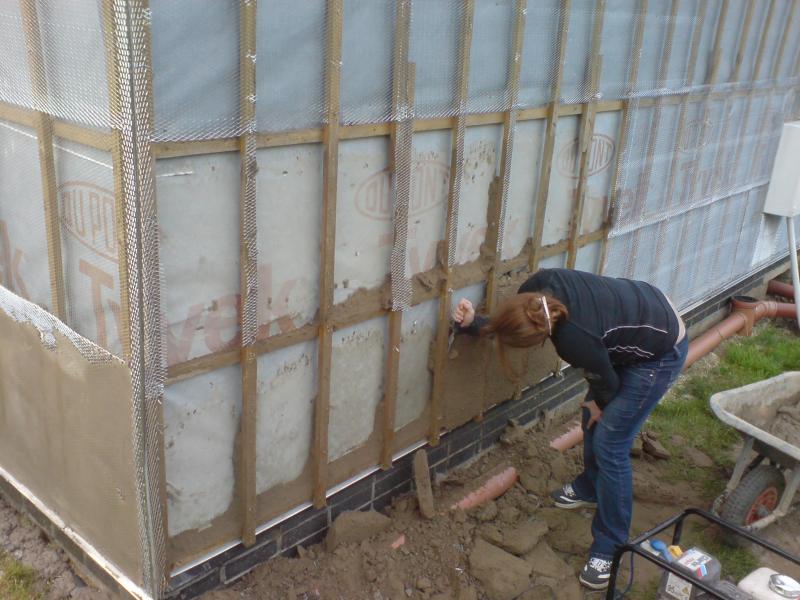
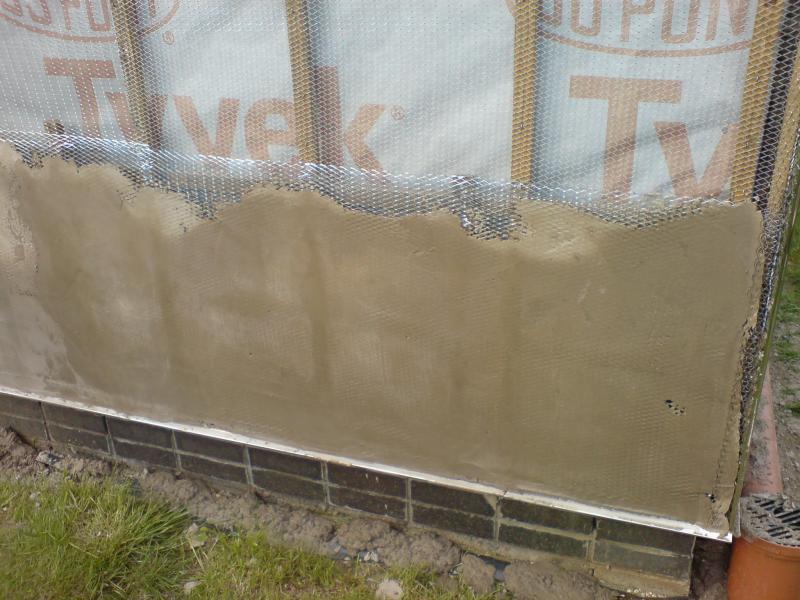
I have doubled up on mesh when rendering on stud work (ie. dormer windows) but I tacked building paper on to the stud work with clouts( then over-lapped the mesh about six inches) on top of the paper that way the mortar doesn't fill the cavity between studs. If stainless mesh is used it is very expensive!!!!!
It is stupidly expesive, Roy!
But the client needs to be aware of the options. I would think that ordinary eml with a building paper or polythene backing, and waterproofer in the pr ick coat and scratch coat will be fine for years, with proper weather proofing.


")
 ) If anyone on here is localish to us (Cheltenham) you're more than welcome to come and give us a quote.