- Joined
- 9 Apr 2020
- Messages
- 8
- Reaction score
- 0
- Country

Hey guys, first post on here.
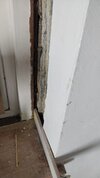
Prepping my lounge for plastering and noticed that one of the window reveals was wonky AF and vertically hairline cracked so decided to annoy it with the SDS to remove some of the plaster thickness that was throwing it all out of level so it was ready to re-skim it flat.
By doing so, it seems to have revealed that my property used an old slate sandwich style cavity closing technique (UK - end of terraced house circa 1956)
Previously there seems to be no DPC in there and just mortar and slate with an inch of plaster simply thrown over the top of it all (which kinda feels like a damp track and feels like it defeats the object of stopping moisture from tracking) . Mortar and slate in cavity is dry, but the slate is sitting level with the exterior brick work so no depth to mount anything in the cavity.
What would be an acceptable way of finishing from the slate sandwich to the top coat plaster in this sort of scenario?
I know the slate sandwich is dry and sound and is a legit method of cavity filling for this era of property but my concern is to avoid thermal bridging or introducing a damp track when adding my plaster or plasterboard over the top of it. Due to the slate being flush to the edge of the external brick work theres only around 15mm of depth from the slate to the surface of the current top coat plaster, which means if i were to use a cavity closer, i'd likely have to shave the XPS off the back to use it rendering it pointless over simply just foaming a new board in!
Any advice welcome. Bit stuck with it.
Can someone talk me through the steps of how a pro would tackle it? My first plan was the following:
- Slathering some SBR over the slate sandwich so it bonds and dosn't grumble too much (although it is firmly wedged and dry.)
- Cutting out the rest of the top coat plaster up to to and leaving the corner bead
- Fitting a 6mm plasterboard piece cut flush to the wall and foamed to the external wall, slate sandwich and internal wall so it dosn't move and is thermally bridged from the slate sandwich.
- reinstalling the corner bead and skimming the plasterboard.
Thoughts? @^woody^ @noseall - saw you guys had spoken on similar issues")
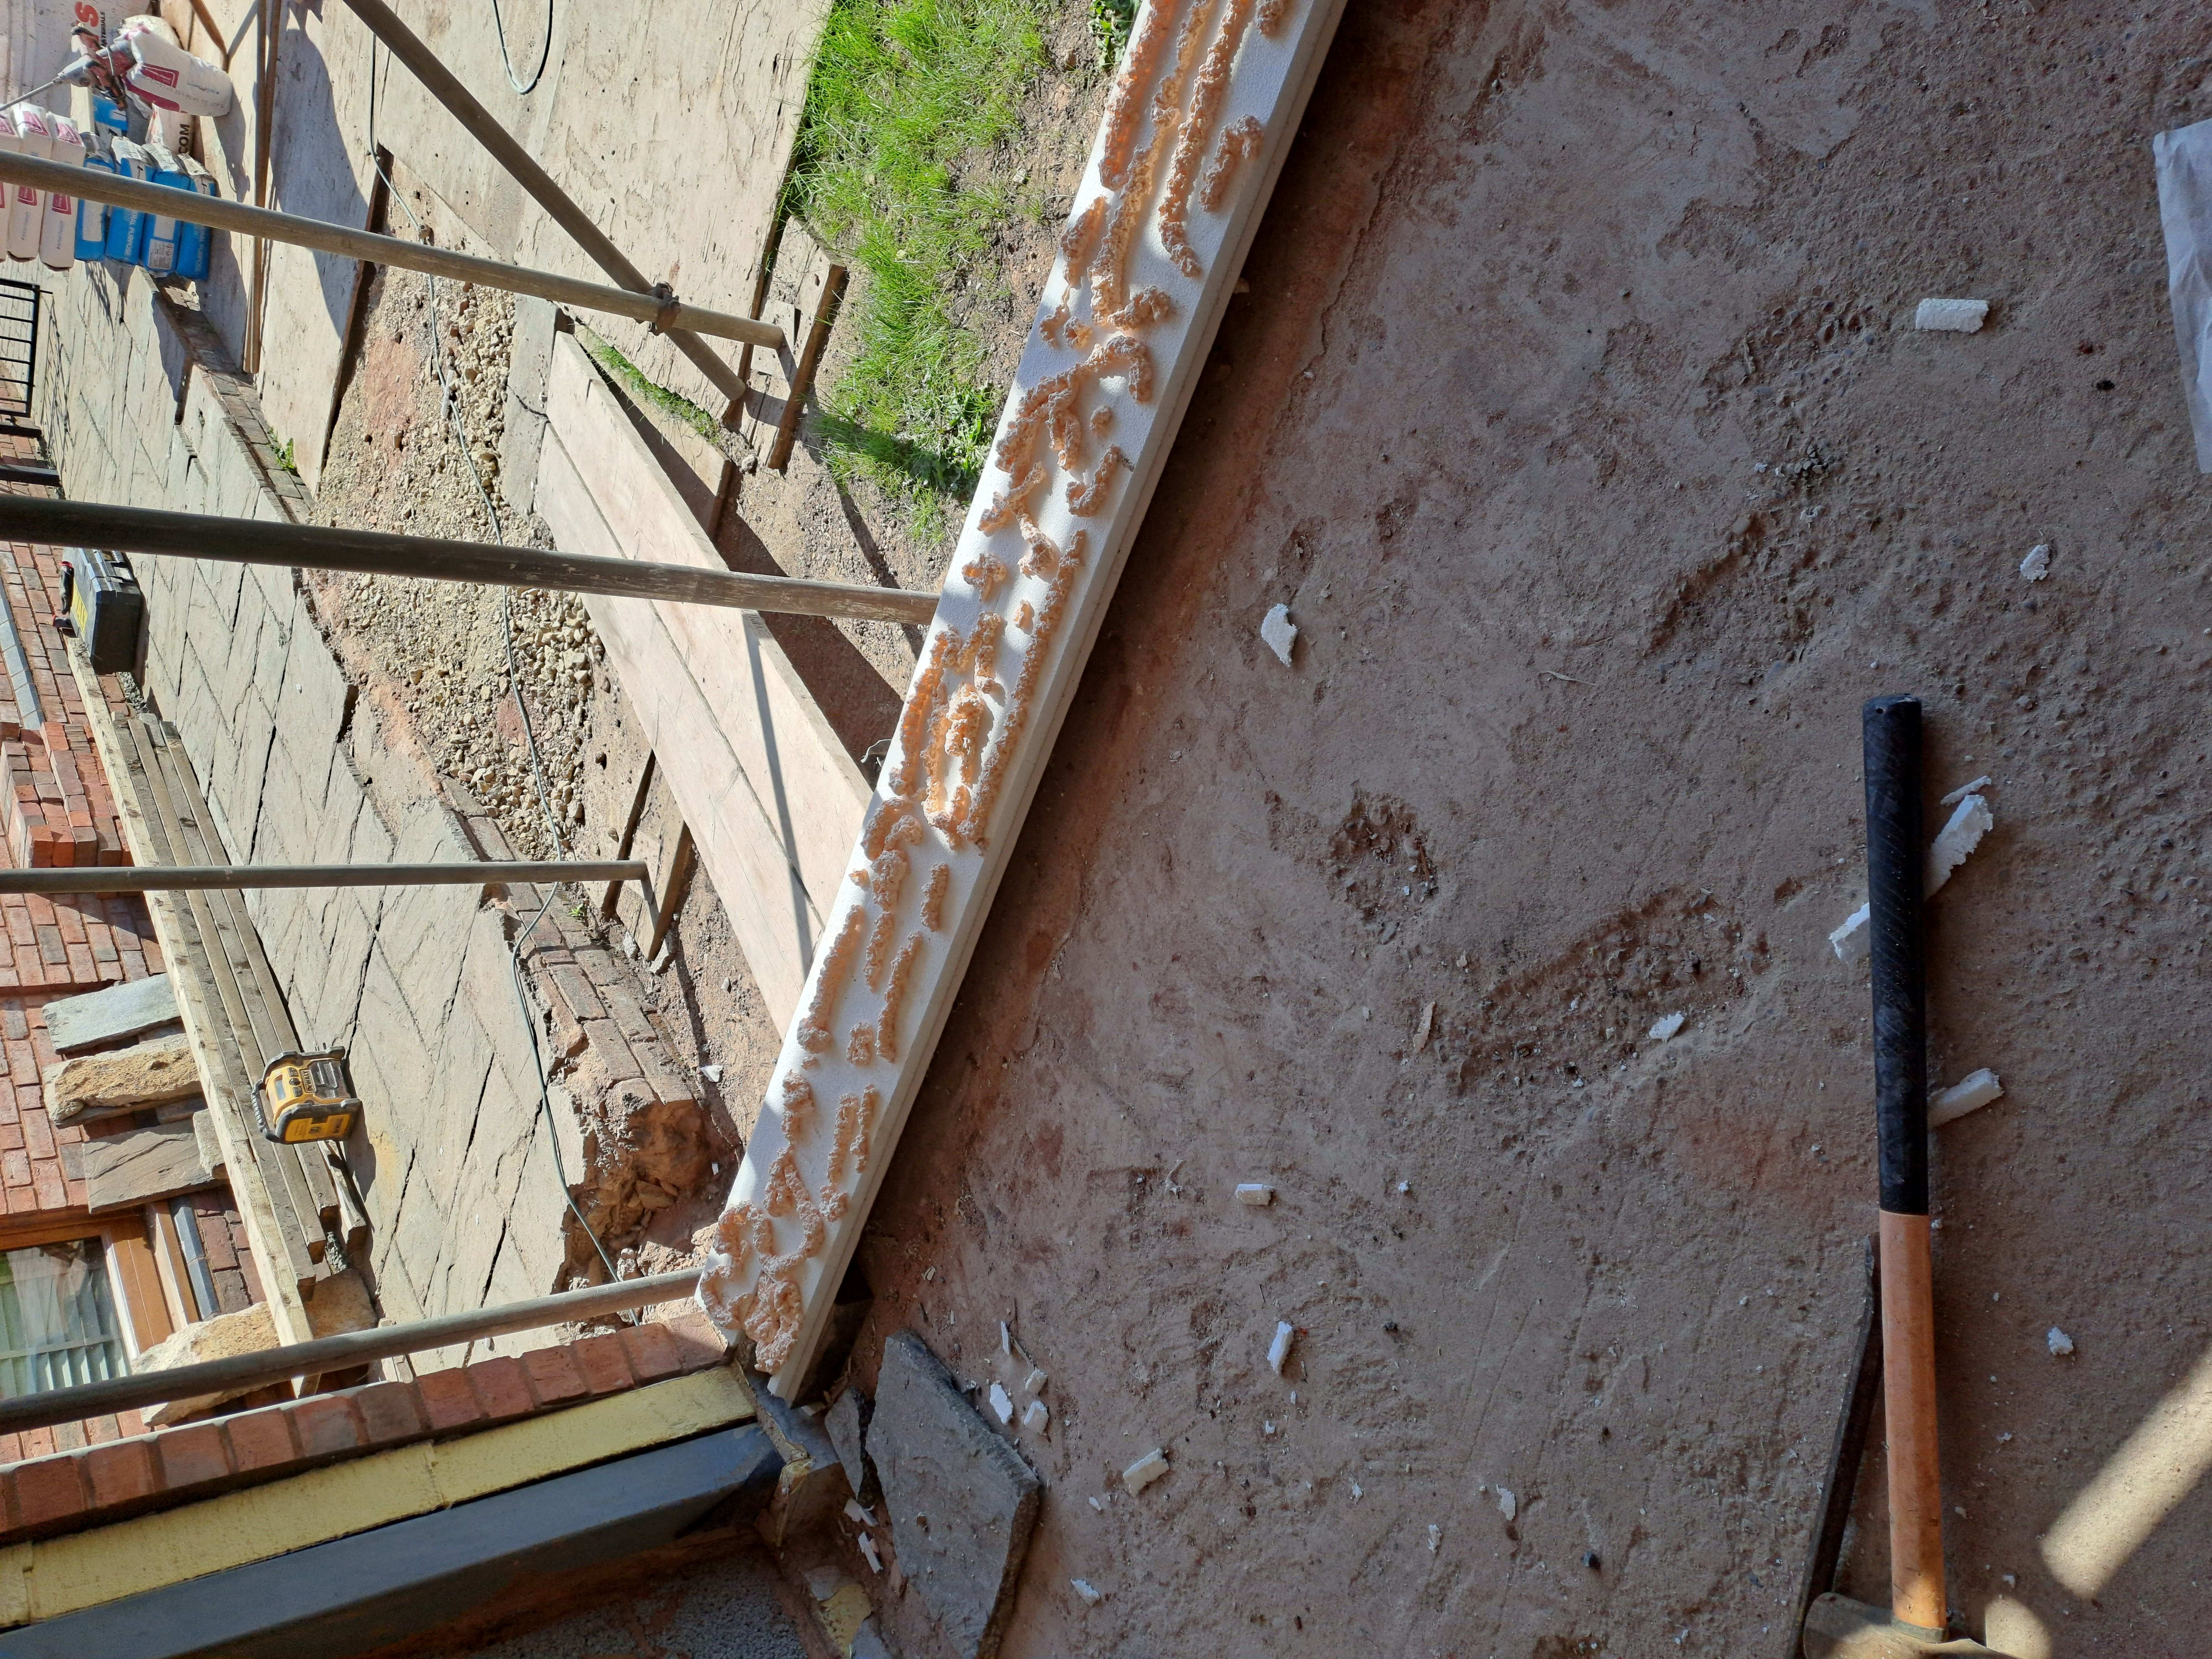
*The 3rd to last and 2nd to last pictures are how i could mount the board flush with the existing plaster or over the plaster and the last picture is the otherside of the window reveal and how they originally have finished them off.


Prepping my lounge for plastering and noticed that one of the window reveals was wonky AF and vertically hairline cracked so decided to annoy it with the SDS to remove some of the plaster thickness that was throwing it all out of level so it was ready to re-skim it flat.
By doing so, it seems to have revealed that my property used an old slate sandwich style cavity closing technique (UK - end of terraced house circa 1956)
Previously there seems to be no DPC in there and just mortar and slate with an inch of plaster simply thrown over the top of it all (which kinda feels like a damp track and feels like it defeats the object of stopping moisture from tracking) . Mortar and slate in cavity is dry, but the slate is sitting level with the exterior brick work so no depth to mount anything in the cavity.
What would be an acceptable way of finishing from the slate sandwich to the top coat plaster in this sort of scenario?
I know the slate sandwich is dry and sound and is a legit method of cavity filling for this era of property but my concern is to avoid thermal bridging or introducing a damp track when adding my plaster or plasterboard over the top of it. Due to the slate being flush to the edge of the external brick work theres only around 15mm of depth from the slate to the surface of the current top coat plaster, which means if i were to use a cavity closer, i'd likely have to shave the XPS off the back to use it rendering it pointless over simply just foaming a new board in!
Any advice welcome. Bit stuck with it.
Can someone talk me through the steps of how a pro would tackle it? My first plan was the following:
- Slathering some SBR over the slate sandwich so it bonds and dosn't grumble too much (although it is firmly wedged and dry.)
- Cutting out the rest of the top coat plaster up to to and leaving the corner bead
- Fitting a 6mm plasterboard piece cut flush to the wall and foamed to the external wall, slate sandwich and internal wall so it dosn't move and is thermally bridged from the slate sandwich.
- reinstalling the corner bead and skimming the plasterboard.
Thoughts? @^woody^ @noseall - saw you guys had spoken on similar issues
*The 3rd to last and 2nd to last pictures are how i could mount the board flush with the existing plaster or over the plaster and the last picture is the otherside of the window reveal and how they originally have finished them off.