- Joined
- 31 Aug 2005
- Messages
- 4,633
- Reaction score
- 806
- Country

After hitting rock bottom on my extension budget im trying to get everything finished whilst attempting to 'stick to the book'. So whilst im paying for a qualified spark to replace the CU with a twin RCD unit as per 17th edition guidelines, im looking at doing the below myself, i consider myself competent, and tidy in my work, but no way near the level of a pro sparky. I have some questions, and really would appreciate some input:
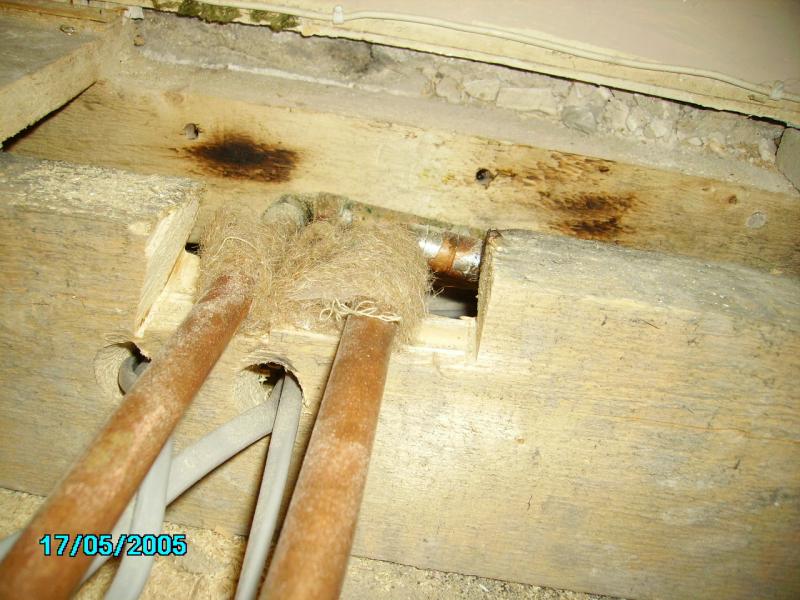
1. We've had our Loft room rebuilt, and a ground floor extension added, in the process new floor joists were installed on first floor, so all current wiring that ran along the ceiling, is laying on top of the new floor joists. Ive done some reading up to see all cables if not SWA'd or similar should be at least 50mm below depth of joist, (as these are 170mm joists the center of the joist) Does each cable have to pass through it's own hole, as there must be a mixture of 20 or so 1.5/2.5mm t/e cables.
2. What if i use Celotex in the floor cavity, the cables have to pass above or below? OR do you cut slots in the celotex , the same for Rockwool, do you sandwich between rockwool?
3. I also have a large run of cables running down the side of the loft room walls (in the loft in the eaves area), previously all the cables were routed via a large U-section open conduit (now smashed up by the chippies!). Can i use this method again? I dont really want to tack each cable to the perlins? Or is that regs now? I did purchase some of those clips you can push into pre drilled holes which you can loop cables ties from.
4. The existing ring main for the loft room is in tact, as is the lighting spur. I've read
TIA
1. We've had our Loft room rebuilt, and a ground floor extension added, in the process new floor joists were installed on first floor, so all current wiring that ran along the ceiling, is laying on top of the new floor joists. Ive done some reading up to see all cables if not SWA'd or similar should be at least 50mm below depth of joist, (as these are 170mm joists the center of the joist) Does each cable have to pass through it's own hole, as there must be a mixture of 20 or so 1.5/2.5mm t/e cables.
2. What if i use Celotex in the floor cavity, the cables have to pass above or below? OR do you cut slots in the celotex
, the same for Rockwool, do you sandwich between rockwool?3. I also have a large run of cables running down the side of the loft room walls (in the loft in the eaves area), previously all the cables were routed via a large U-section open conduit (now smashed up by the chippies!). Can i use this method again? I dont really want to tack each cable to the perlins? Or is that regs now? I did purchase some of those clips you can push into pre drilled holes which you can loop cables ties from.
4. The existing ring main for the loft room is in tact, as is the lighting spur. I've read
Is this still the case for 17th? Although all the cable is still the older spec 'white' twin/earth, whilst it seems in relatively good condition, i may wish to replace a few segments, what happens then?Replacement, repair and maintenance jobs are not notifiable, even if they are in a bathroom. (page 8 of part P approved doc, note b)
TIA