
JohnD said:sounds like a trick question to me
Who, me


JohnD said:sounds like a trick question to me

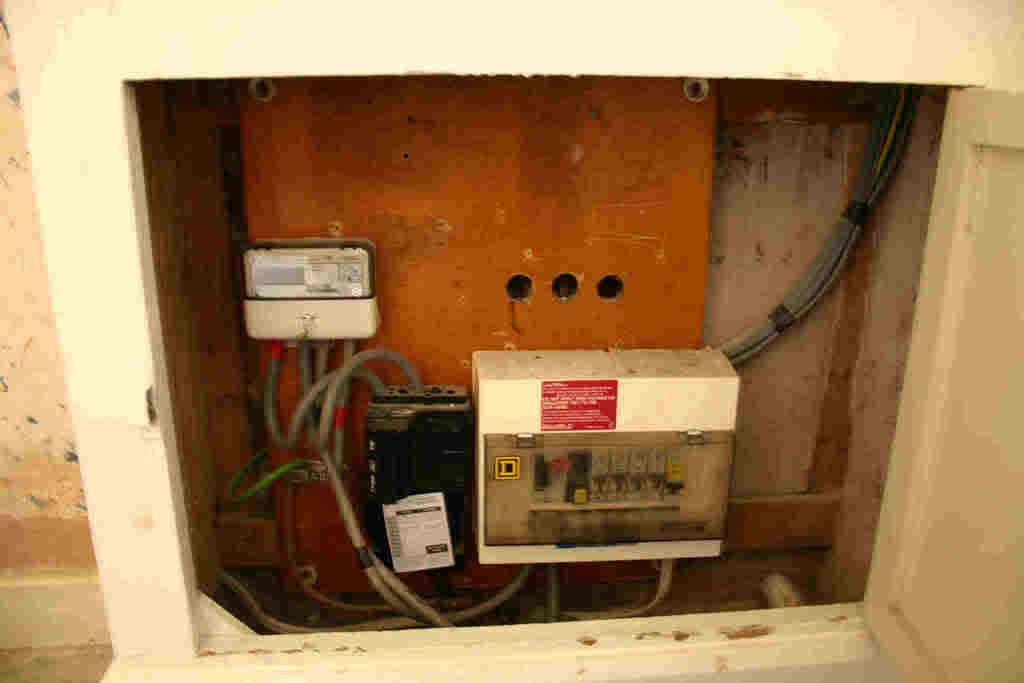

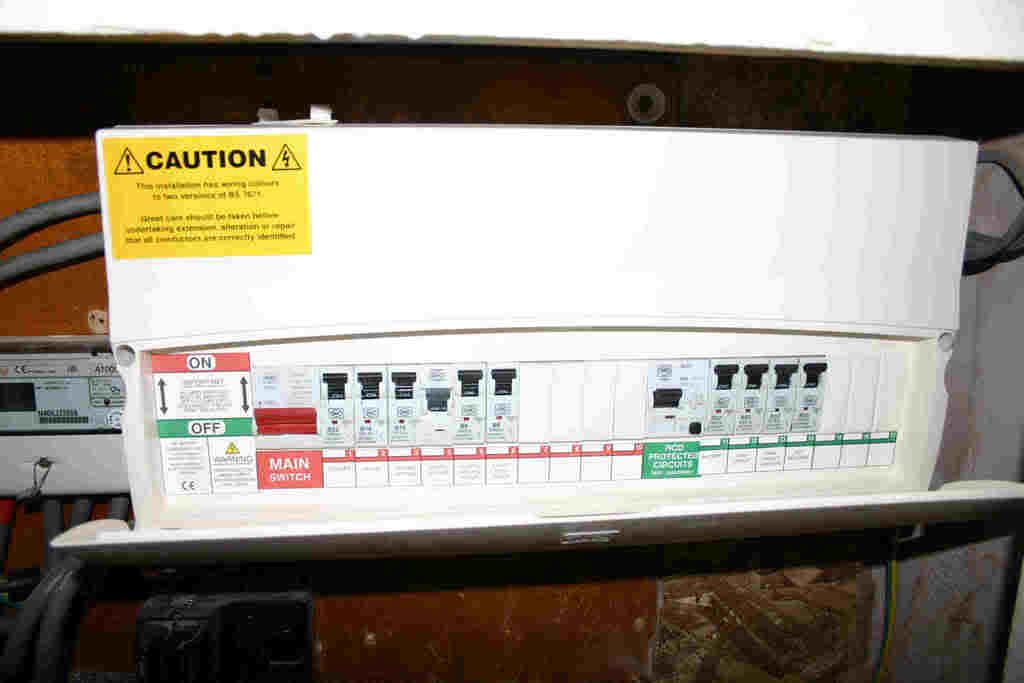


ColJack said:that "second cut out" is moulded into the box.. it's for a longer section of din rail.. same as it is the other end..
not through to the outside, just the back...
as for the first hole.. there is no way of getting your fingers in to touch any exposed live parts.. and the remaining space looks smaller that 12.5mm to me...
you'd have to have very bendy fingers to even reach the neutral bar through that..
If you need to find a tradesperson to get your job done, please try our local search below, or if you are doing it yourself you can find suppliers local to you.
Select the supplier or trade you require, enter your location to begin your search.
Are you a trade or supplier? You can create your listing free at DIYnot Local

