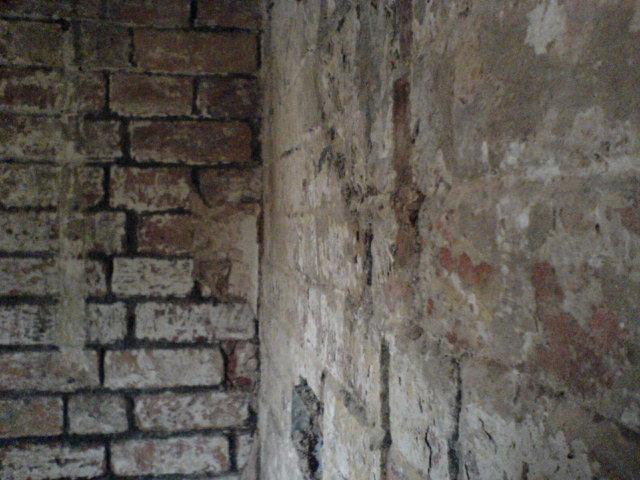
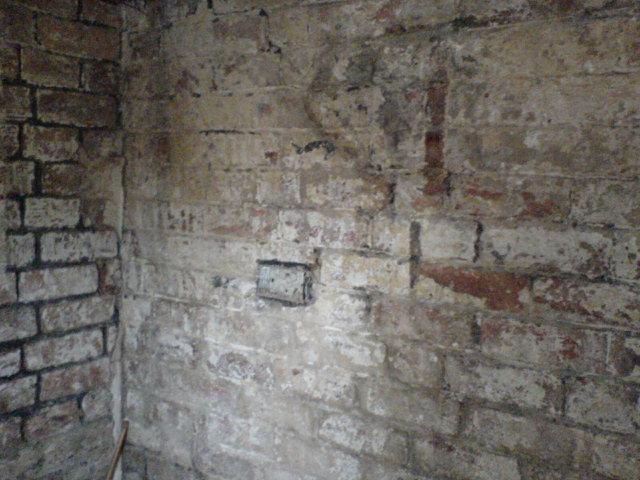
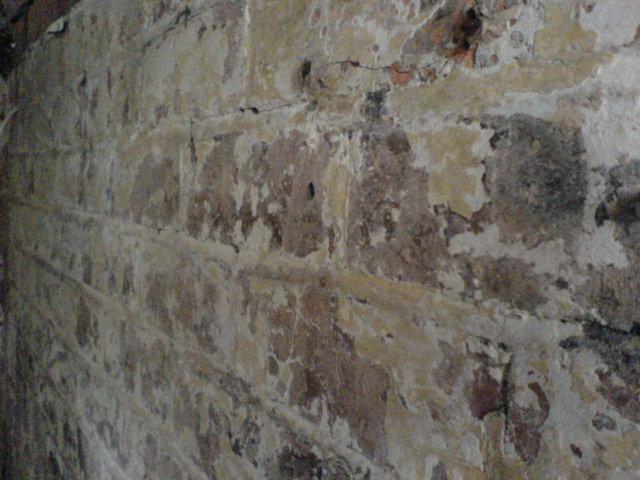
Can anyone advise on this please. I have stripped this room down to bare brickwork. I wanted to plasterboard it using the dot and dab or drylining method. Below are a couple of pics of the walls. Do the walls look ok for doing this and should i prepare the walls first? What type of brand of adhesive would you recommend for sticking the boards on to the walls? all advice welcome thanks

You are using an out of date browser. It may not display this or other websites correctly.
You should upgrade or use an alternative browser.
You should upgrade or use an alternative browser.
Dot and dab
- Thread starter zemphis
- Start date
unibond it first then any old drywall adesive will do.
As Marshy says, there is potential here for big problems if you dot and dab straight onto the old bricks. Follow his advice, batten and board or cement render and set,,, using waterproofer in render coats.
Roughcaster.
Roughcaster.
- Joined
- 19 Jan 2008
- Messages
- 2,373
- Reaction score
- 431
- Country

You could dot and dab them with "Poly" back p/board , might be worth Scratch -coating walls first with W/Proofer in mix. Use dry-wall adhesive to dab the boards. What sort of floor is going down? I would recommend keeping the boards off the floor and if possible put a dpc membrane in and run it up behind the bottom of the boards .You would have to stick some DPC down the corners before you put the boards on so the plaster-board doesn't touch the wall.
I am not sure what to do now. But if i batten the walls do they need to be horizontally aligned with each other? and how much distance between battens and what size battens?
If i were to board as it is now and get damp coming through the walls what would happen to the plasterboards? would they start to show damp patches? thanks for the replies.
If i were to board as it is now and get damp coming through the walls what would happen to the plasterboards? would they start to show damp patches? thanks for the replies.
If you would like to dot and dab you could use Kingspan Kooltherm board, or other makes.
take a look here http://www.insulateonline.com/index1.htm?products.htm~main
For battens use tantalise tile batten 2 x 1 inch at 400mm centres,
you will need, a straight edge, a level, hammer drill, 6mm masonry bit, 60mm x no. 5 screws or longer if you have to pack the batten out a lot,
a string line, hammer, box/pack of 6mm raw plugs
cut two battens the length of the wall and a small off cut, lay one batten on the floor at the base of the wall 2 inch side down then stand
the 2nd batten on top 2 inch to the wall, now using your straight edge, level and hold the off cut under the straight edge as a spacer and
the bottom of the straight is against the batten at the bottom of the wall, not the one on the floor,
work your way along the wall to find its highest spot this is where you can't get a vertical because the wall is leaning out, if there is a
odd brick sticking out you can chop it back.
when you have found the high point drill through your bottom wall batten where your straight edge was resting with the 6mm masonry bit
on hammer and deep enough into the brick to take the raw plug, push your plug into the hole in the batten and tap the top of the plug
flush with the wood, turn your screw finger tight into the plug then hit the screw with your hammer driving it and the plug through the batten
and into the wall so you have about an inch of screw still showing, tighten home with screw driver just sinking the screw head,
now fix the batten at each end using the same method, remove the batten on the floor from under it now and keep it for the top,
pull your string line along the batten now screw and fix the bottom batten at every 600mm or 2 ft or as near as but only drill the brick
and add any packers needed to keep the batten out to your line, now do the end up right battens, these stand on your bottom batten and
you need to cut them 3 inches short of your ceiling, I like to fit one upright near the middle of the room then fix my top batten next over this first
as the to ends will rest on the outside uprights, fix the top like the bottom using the string line the fill the rest of the wall in.
on your next wall keep your corner up rights a half inch in away from the corner then work your 400mm centres from that.
when you plaster board work around the room from where you worked your batten centres, cut your boards at the bottoms and a half inch short,
when you stand them against your battens stand them on a spade, put your foot on the spade handle and lift the boards tight to your ceiling
then put in about 4 screws before you let your weight off the spade handle.
It seems complicated but once you're done one wall it will seem like child's play to do the rest, its like most jobs it would be easy to show you
than it is to explain it.
If I were to board as it is now and get damp coming through the walls what would happen to the plasterboards? would they start to show damp patches?
you would have damp where you have dab the boards, most likely have salts come through, your paint would peel or blister, the boards will break
down in time.
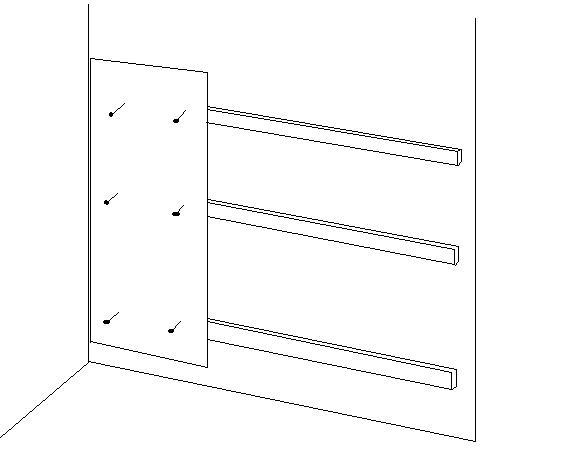
they should be vertical,
the one horizontal at the bottom a batten thickness up is for your skirting fixing,
the top horizontal is to support the board along the ceiling line which will help to reduce cracking,
you batten vertical at 400 mm centres so the outside board edges are supported for there full length / height to stop the joints cracking.
If you batten horizontal the first time the wall gets bumped near a joint it will crack.


DIYnot Local
Staff member
If you need to find a tradesperson to get your job done, please try our local search below, or if you are doing it yourself you can find suppliers local to you.
Select the supplier or trade you require, enter your location to begin your search.
Please select a service and enter a location to continue...
Are you a trade or supplier? You can create your listing free at DIYnot Local
Similar threads
- Replies
- 5
- Views
- 6K