Evening all!
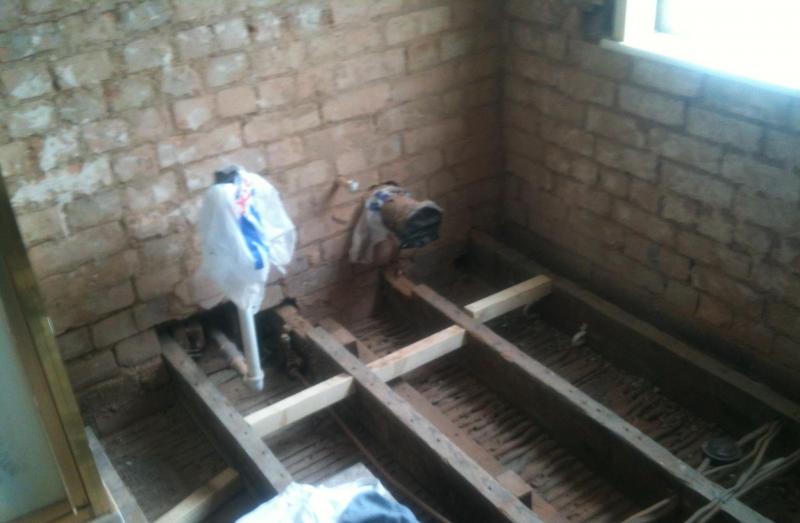
Now that I've just about finished my loft conversion, I thought I better move onto the next item of business, the bathroom. This room was looking pretty dated when I moved in 2 years ago and I'd had to rip up the floor to replace the lead pipe, so it was looking pretty grim. This is my first attempt at a bathroom, so any tips would be greatly appreciated!
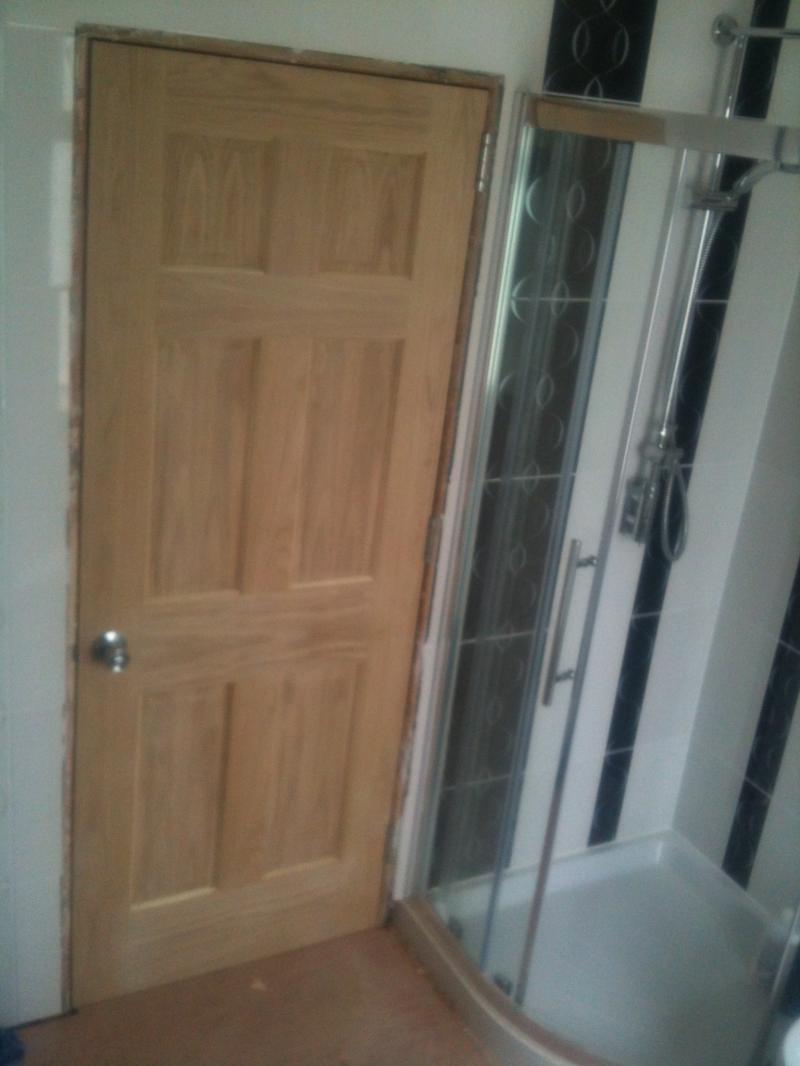
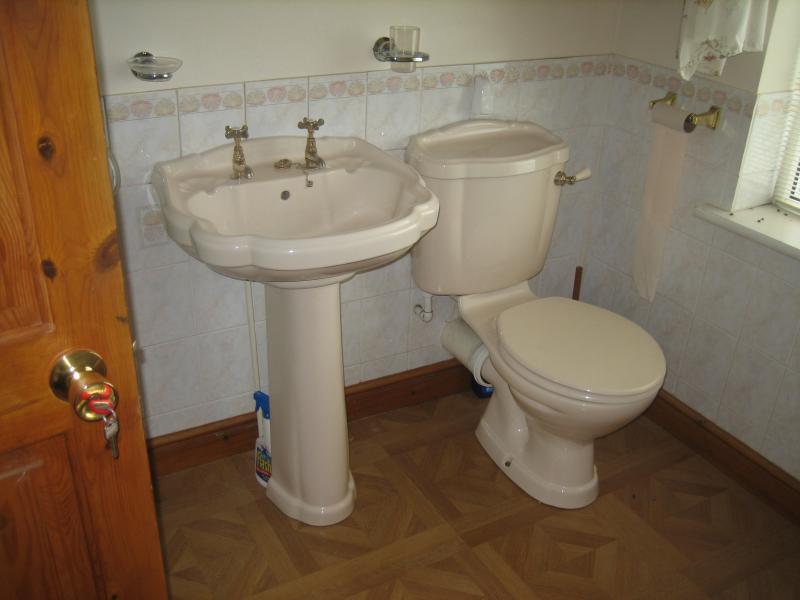
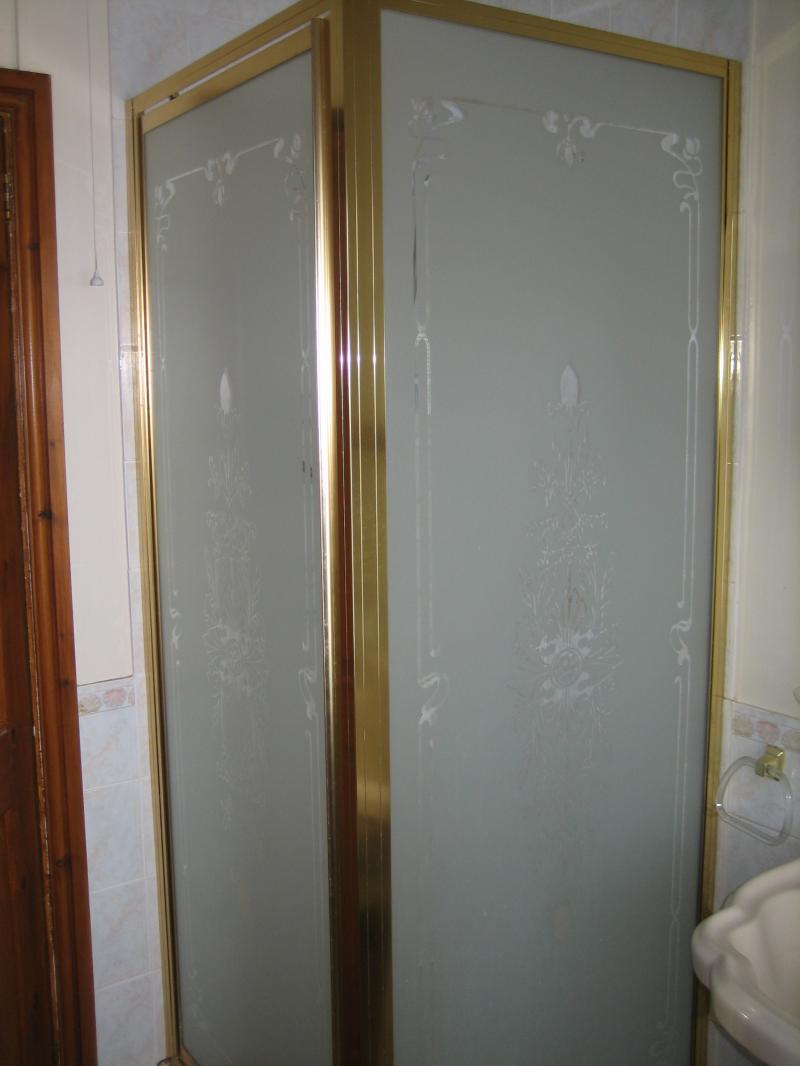
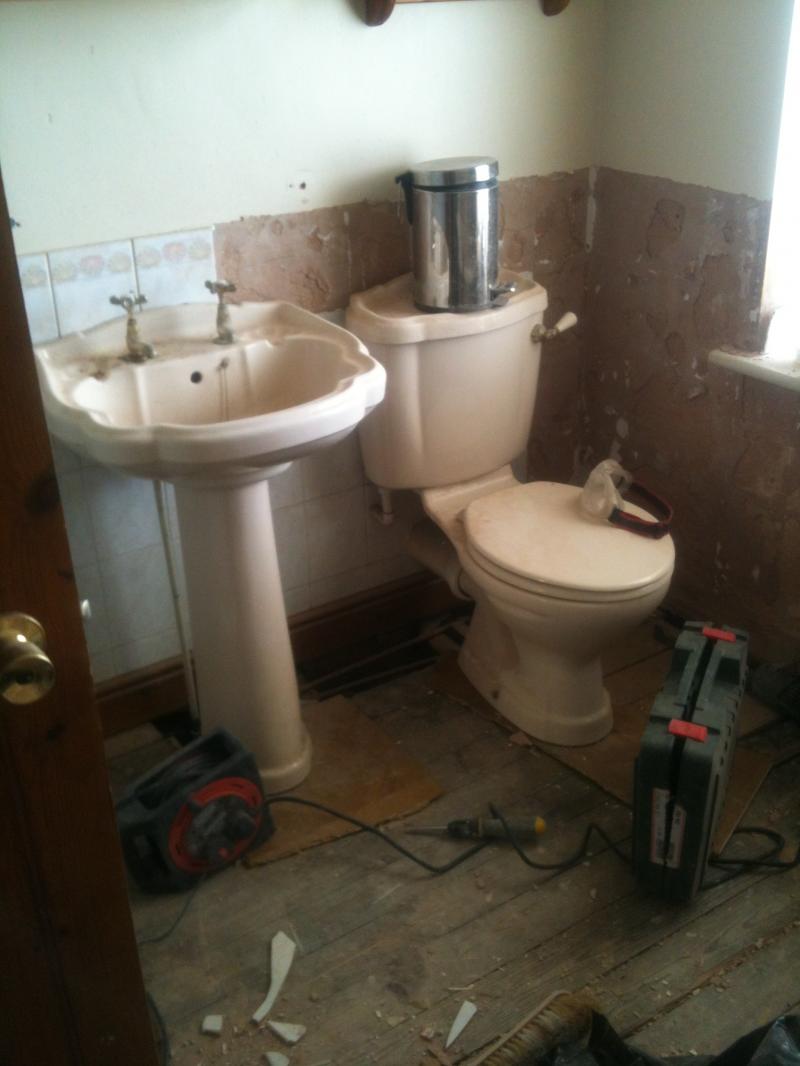
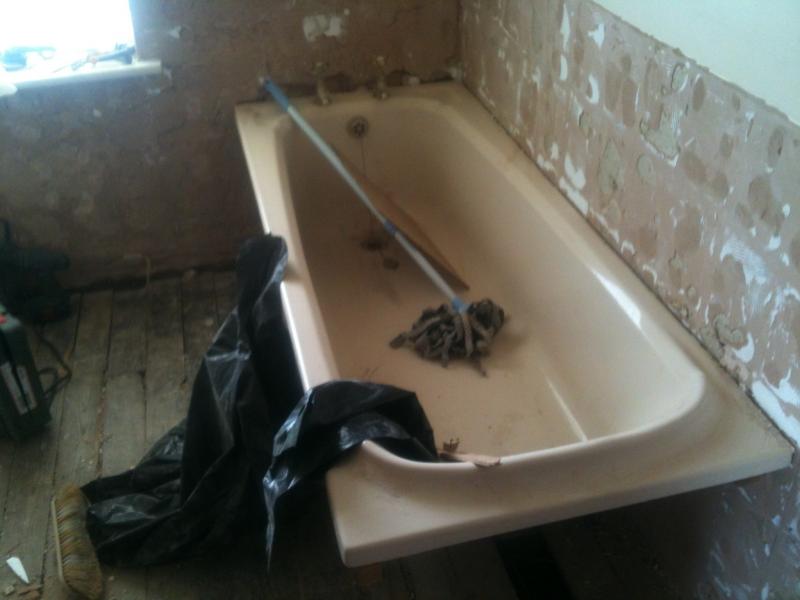
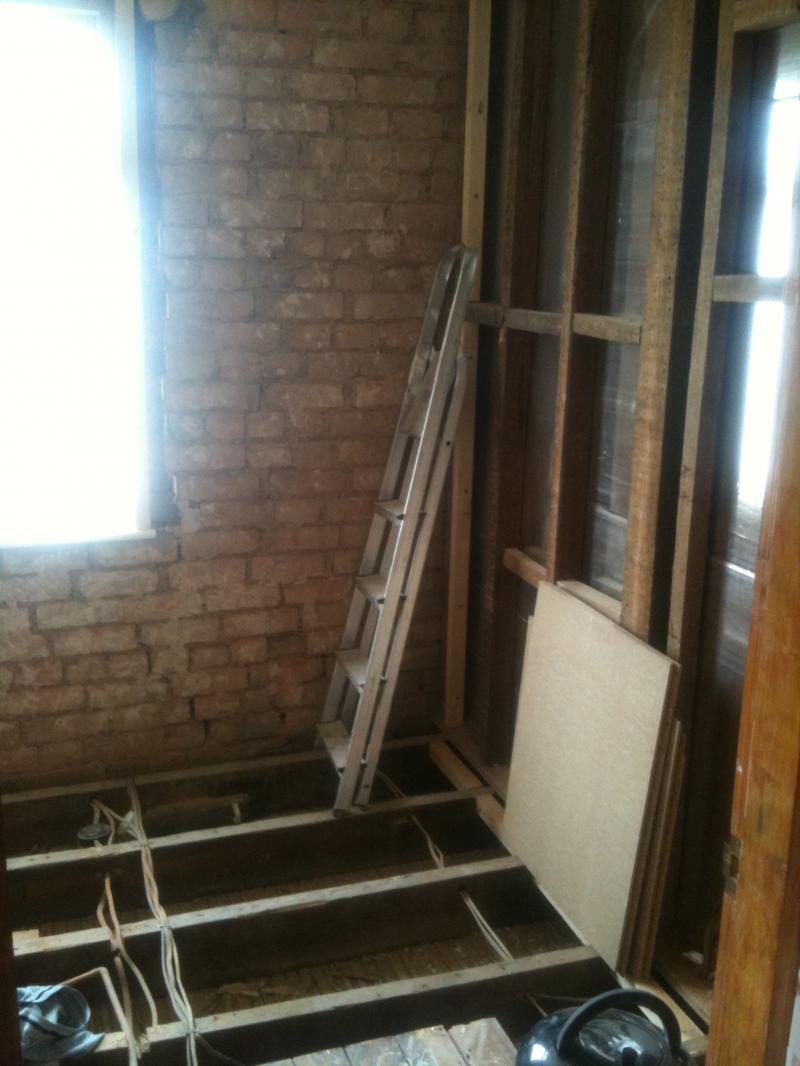
Anyhow, here's the room when I moved in...
First job was to start stripping out all the old tiles and fittings, I quickly realised that the tiles were stuck to the plaster much better than the plaster was stuck to the walls, so decided to fully remove all the plaster. The internal walls were plasterboard, each 8' x 4' sheet was held in place by just 6 drywall screws, I'm amazed it held all that time....
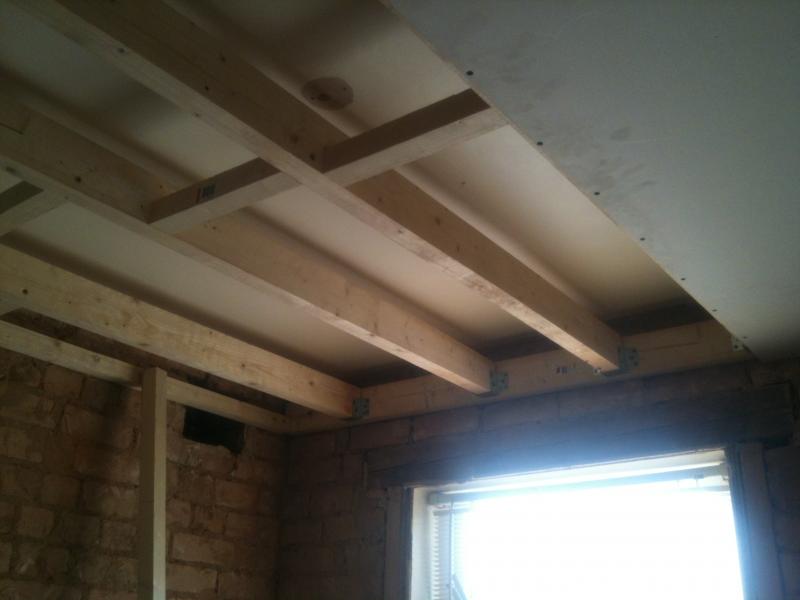
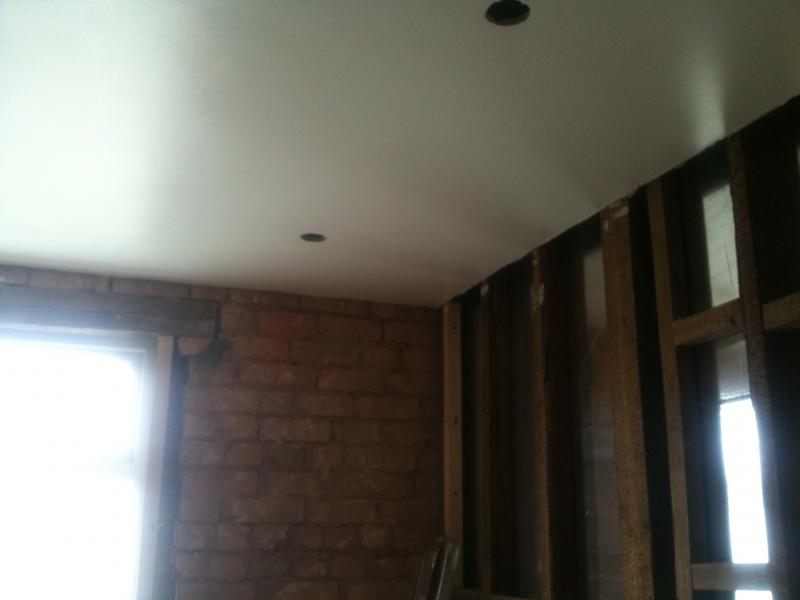
Next I fitted a false ceiling, so I could fit downlights (the loft conversion above prevented me from fitting them to the existing ceiling)...
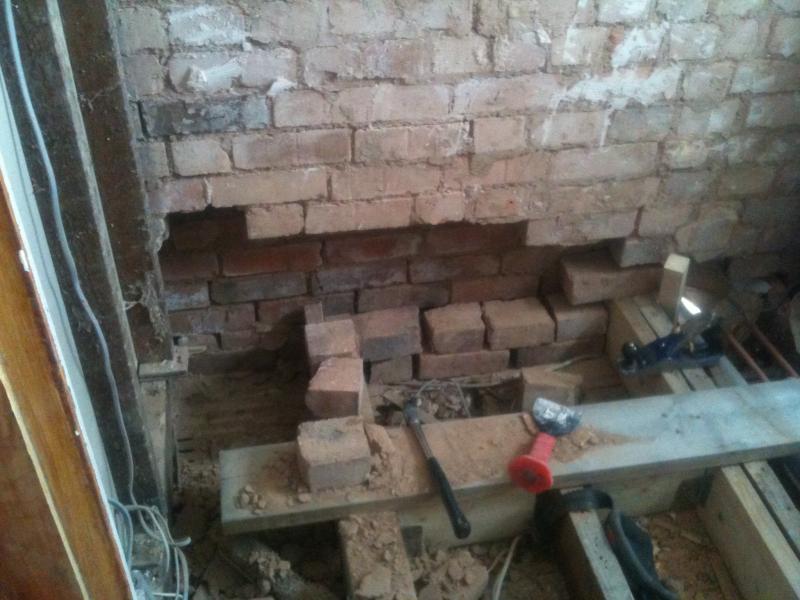
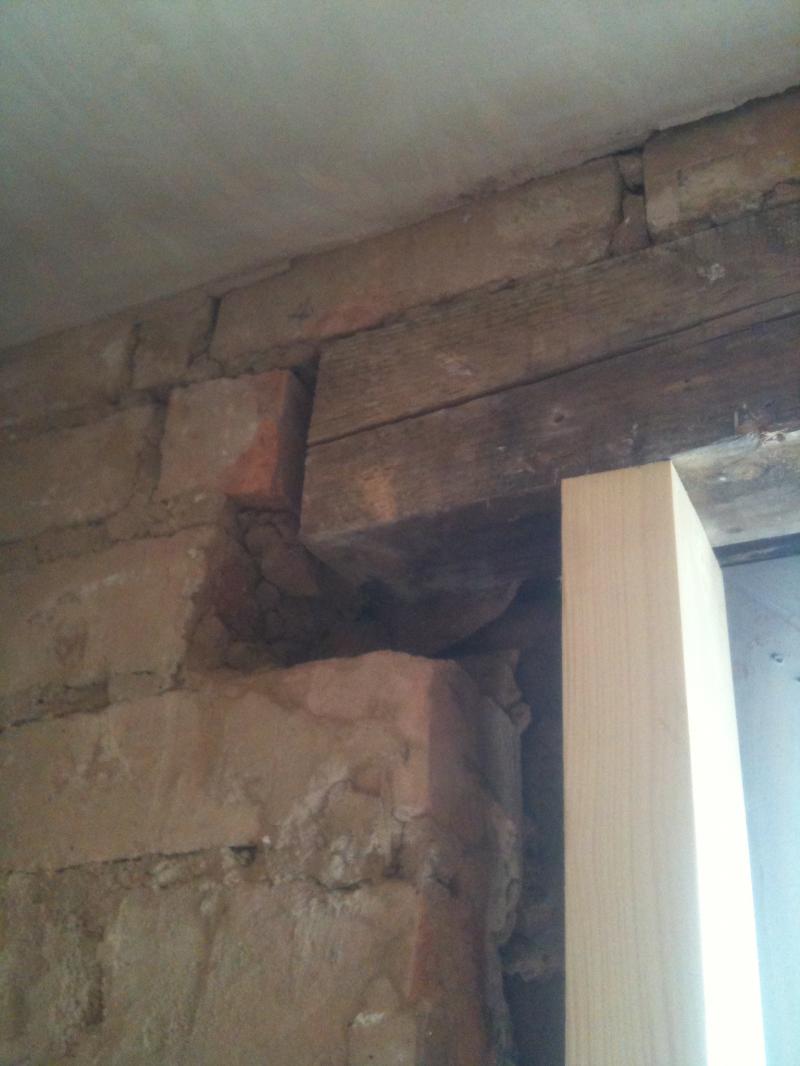
I also discovered the lintel was supported on nothing more than a pebble at either end, so that was remortared in place...
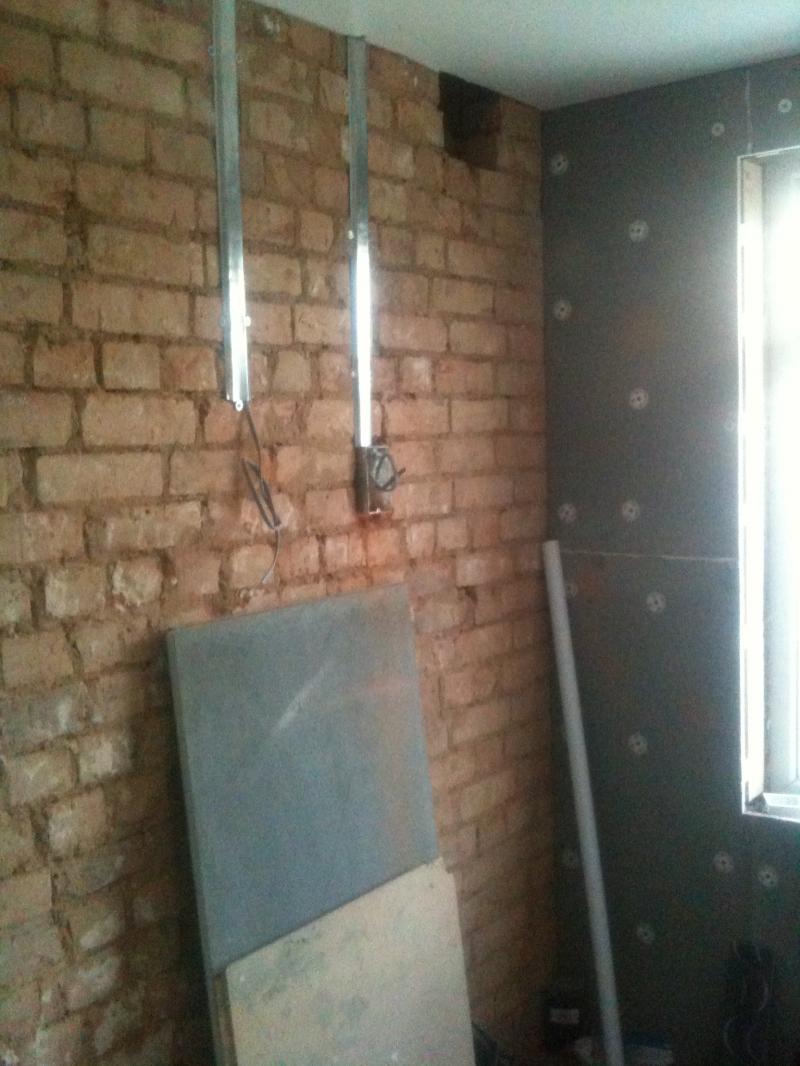
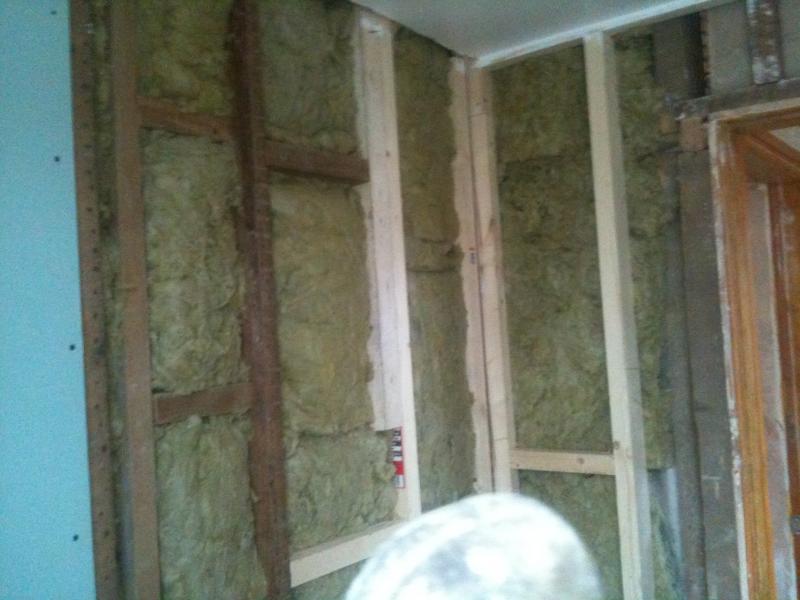
Once the old plasterboard was removed, I fixed up the studwork to be as flat as possible, filled it with rockwool (for sound insulation) and covered with moistureboard...
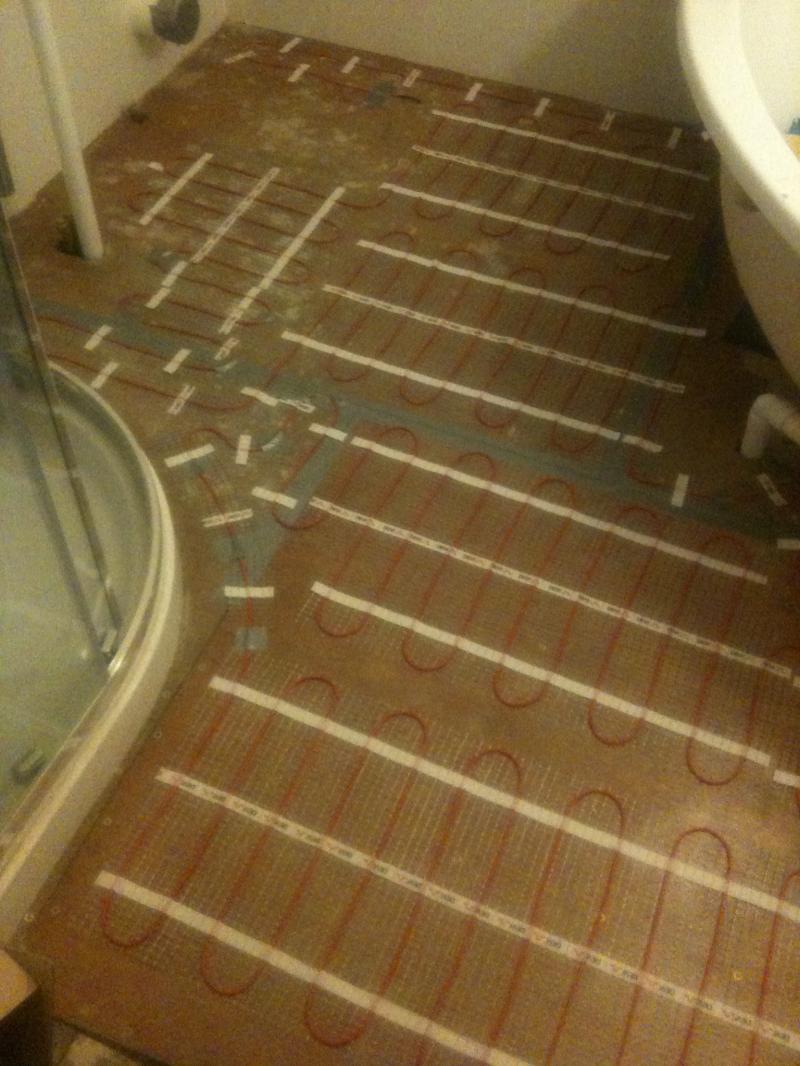
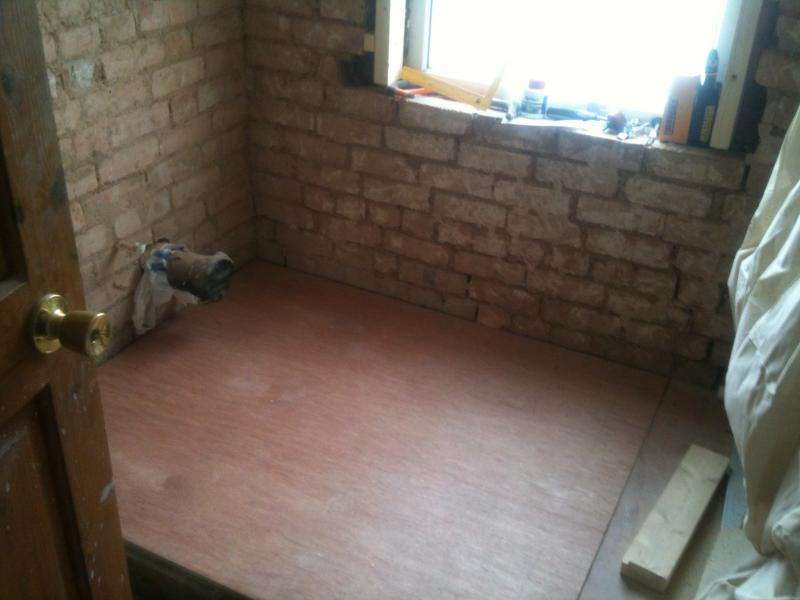
For the flooring I've fitted 25mm WBP ply, underside sealed with acrylic primer...
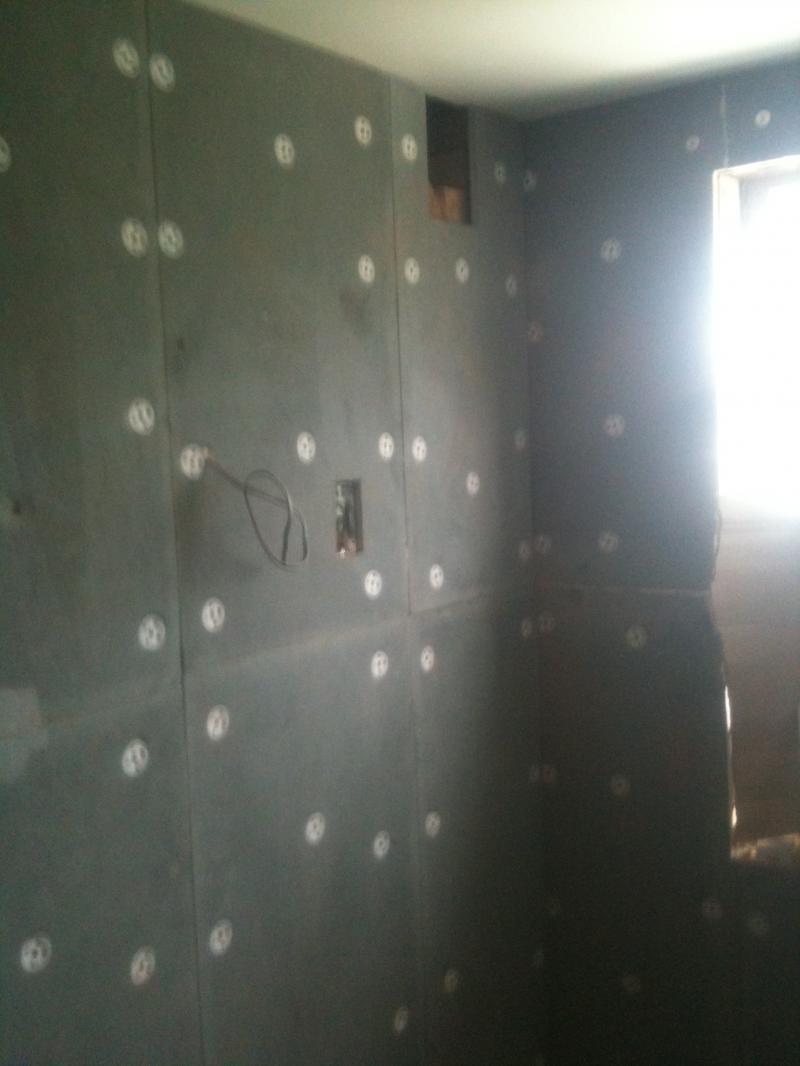
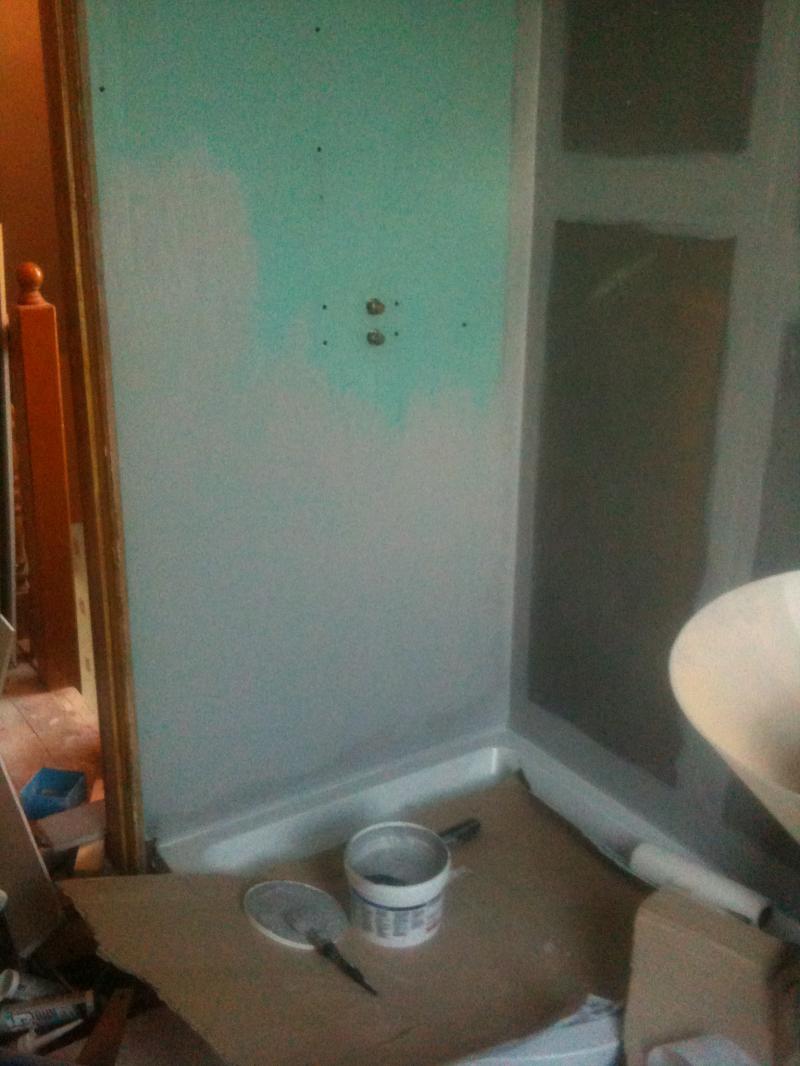
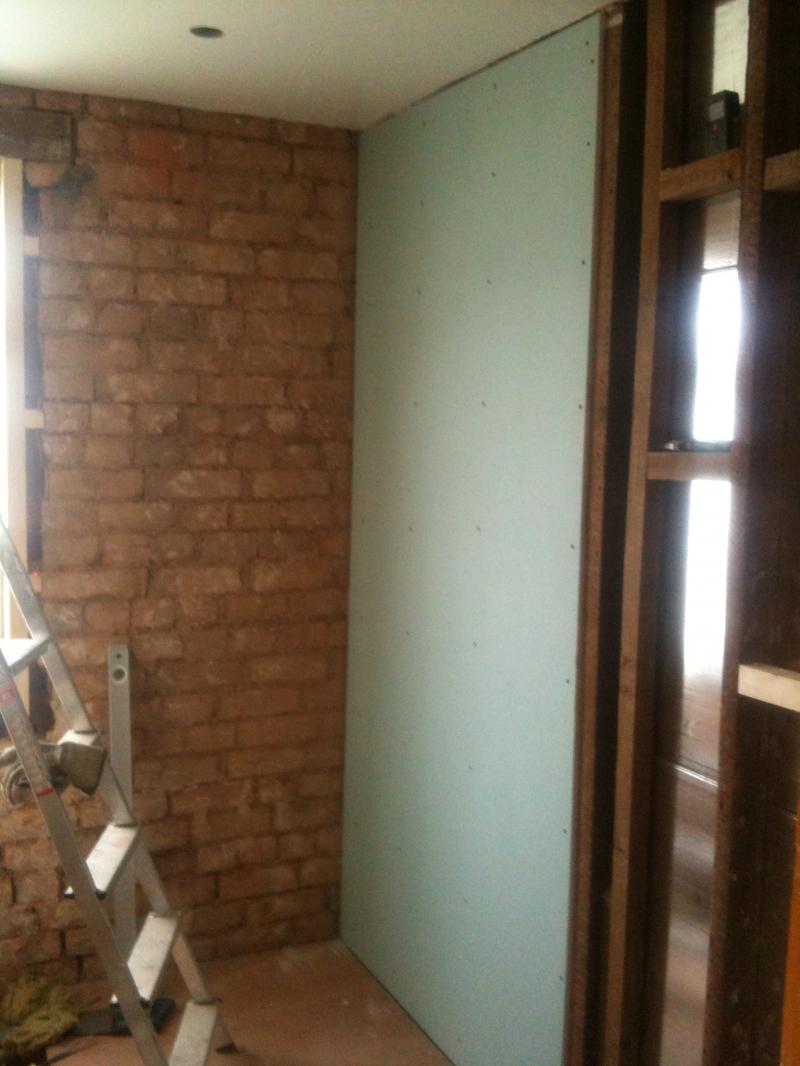
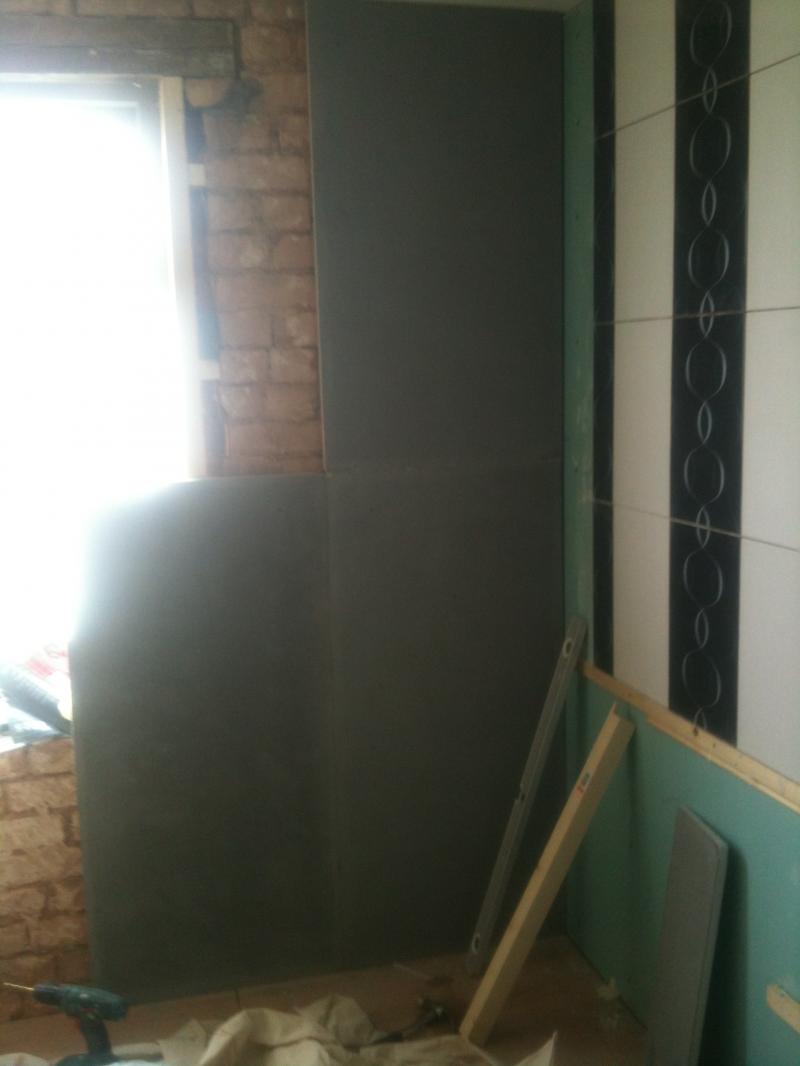
And for the external walls I've gone with 20mm Marbox Multiboard, fixed in place with dot 'n dab and plastic 'spankers' (gave me a chuckle!)...
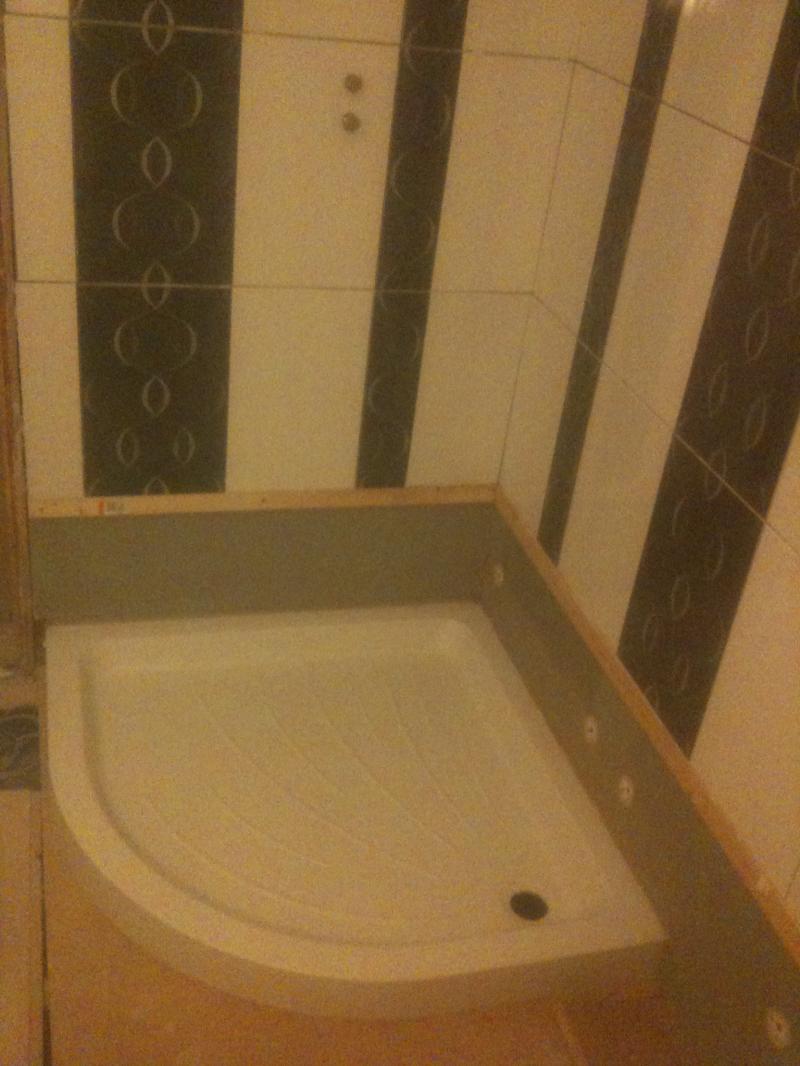
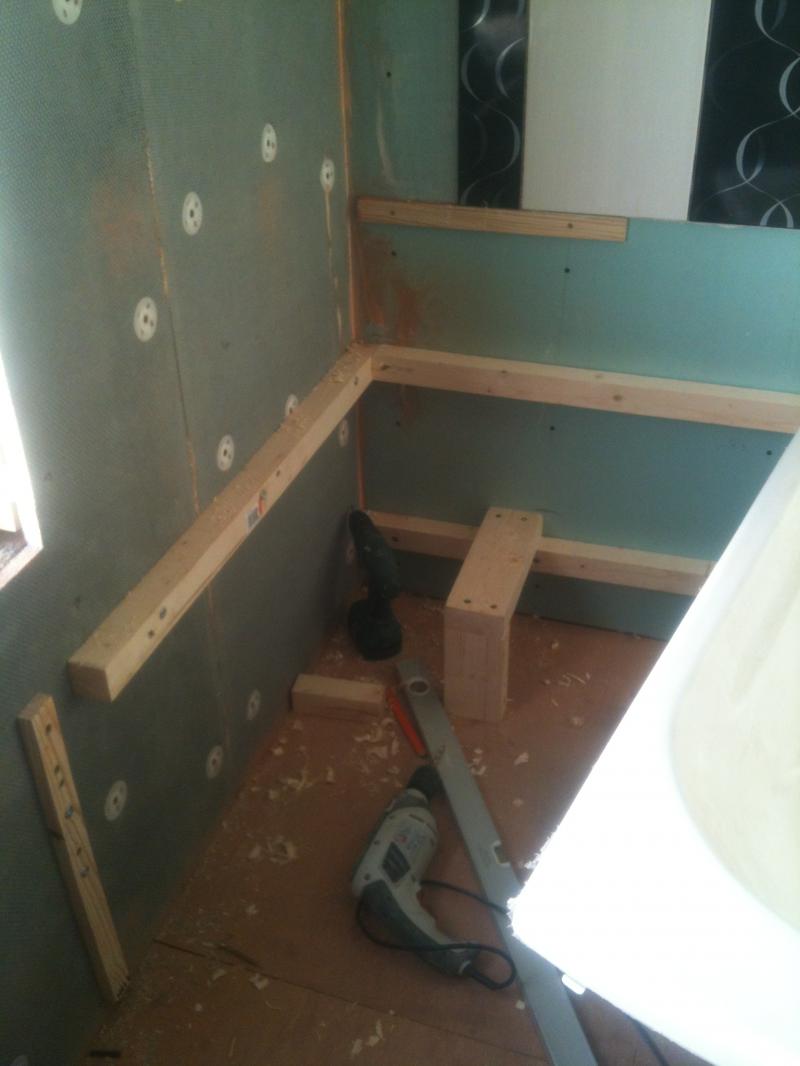
Bath supports in place...
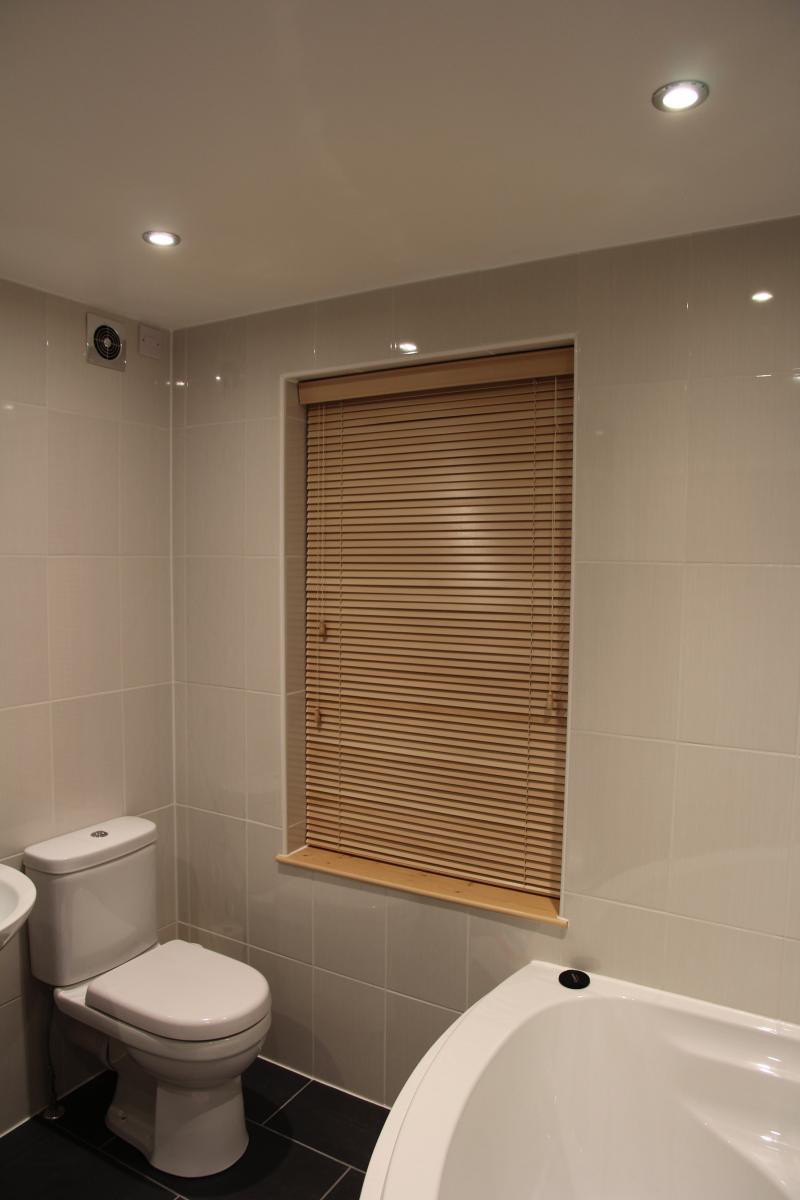
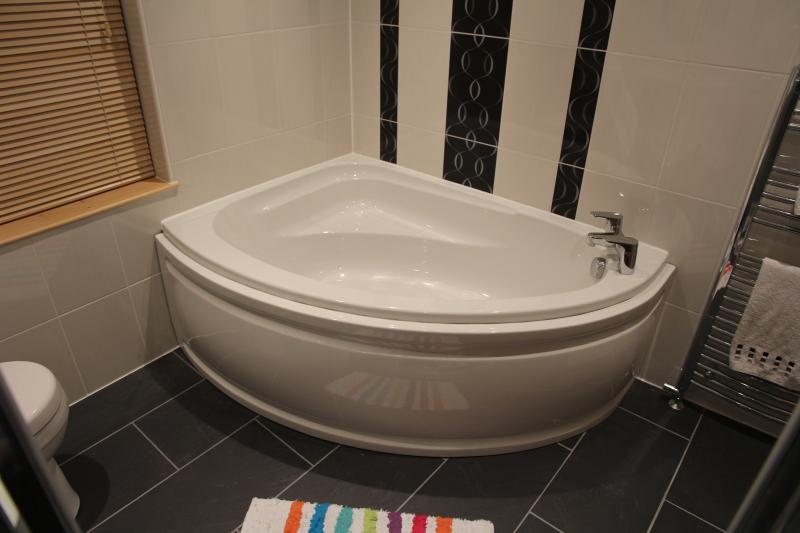
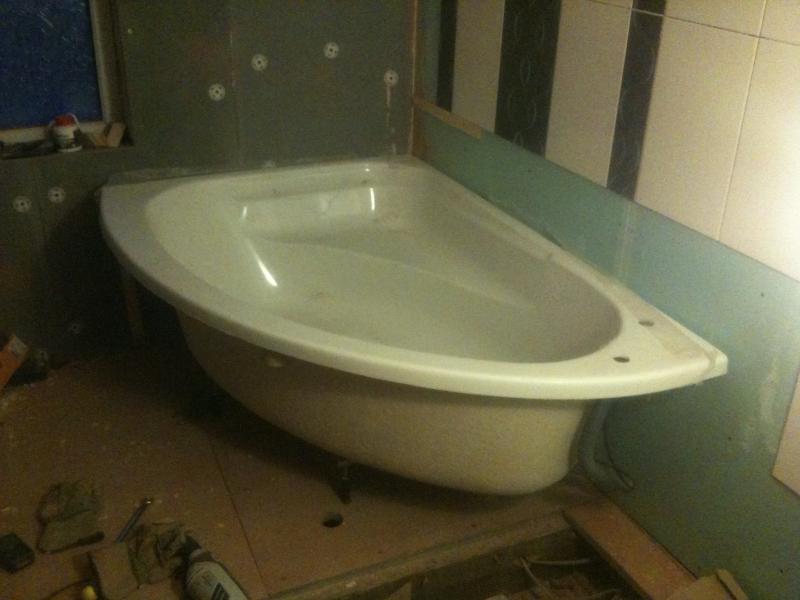
Bath fixed in position...
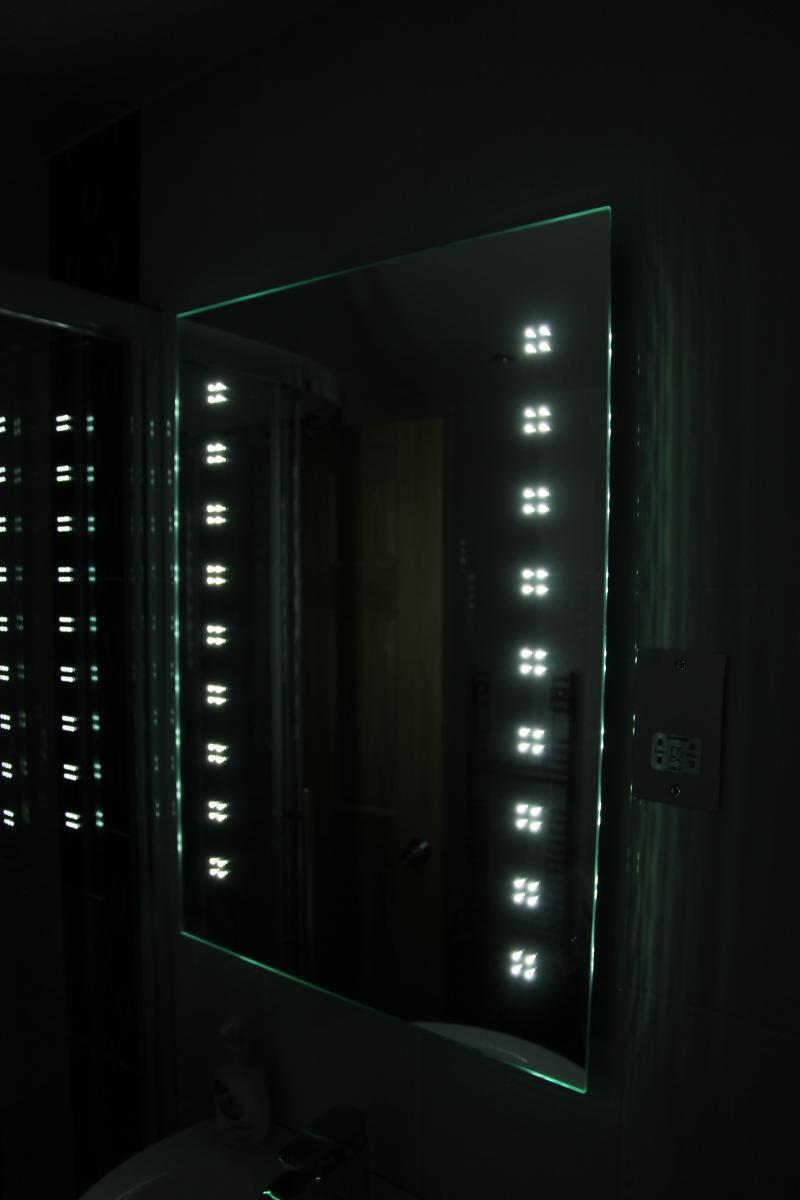
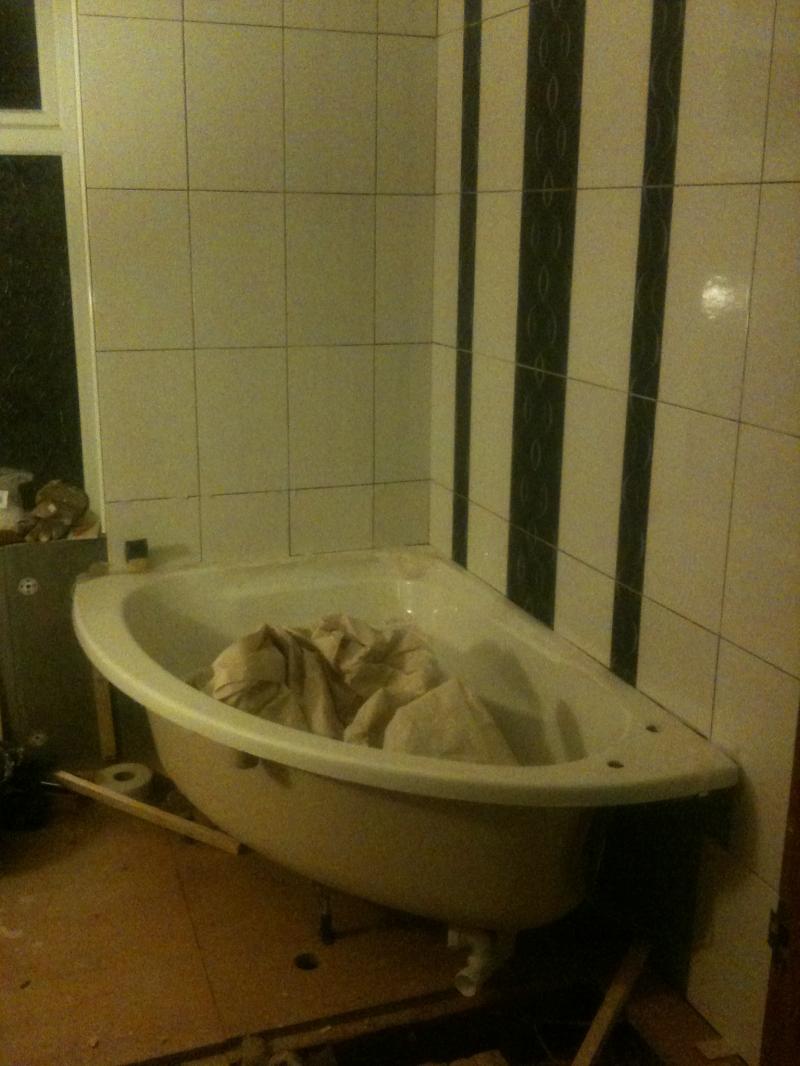
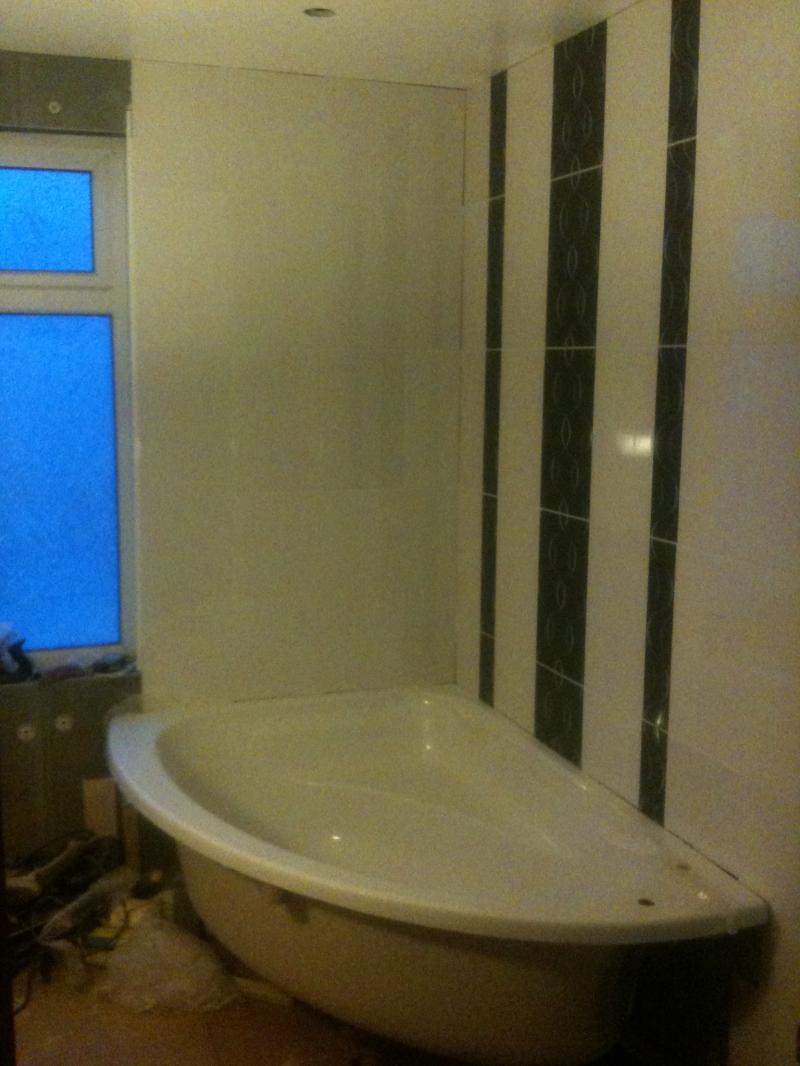
Tiling and grouting around bath...
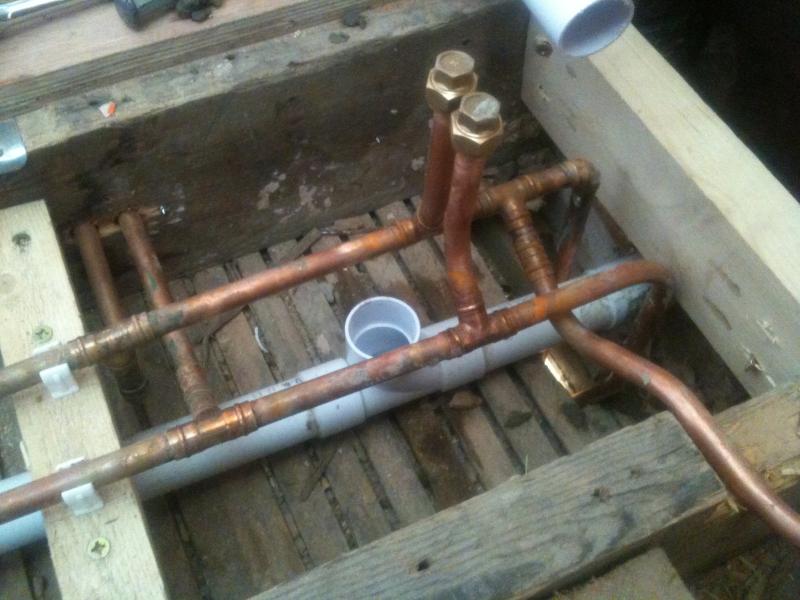
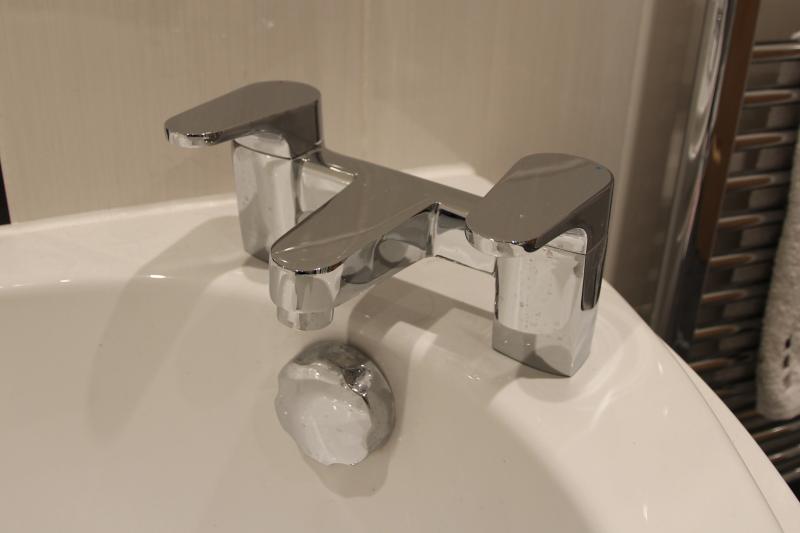
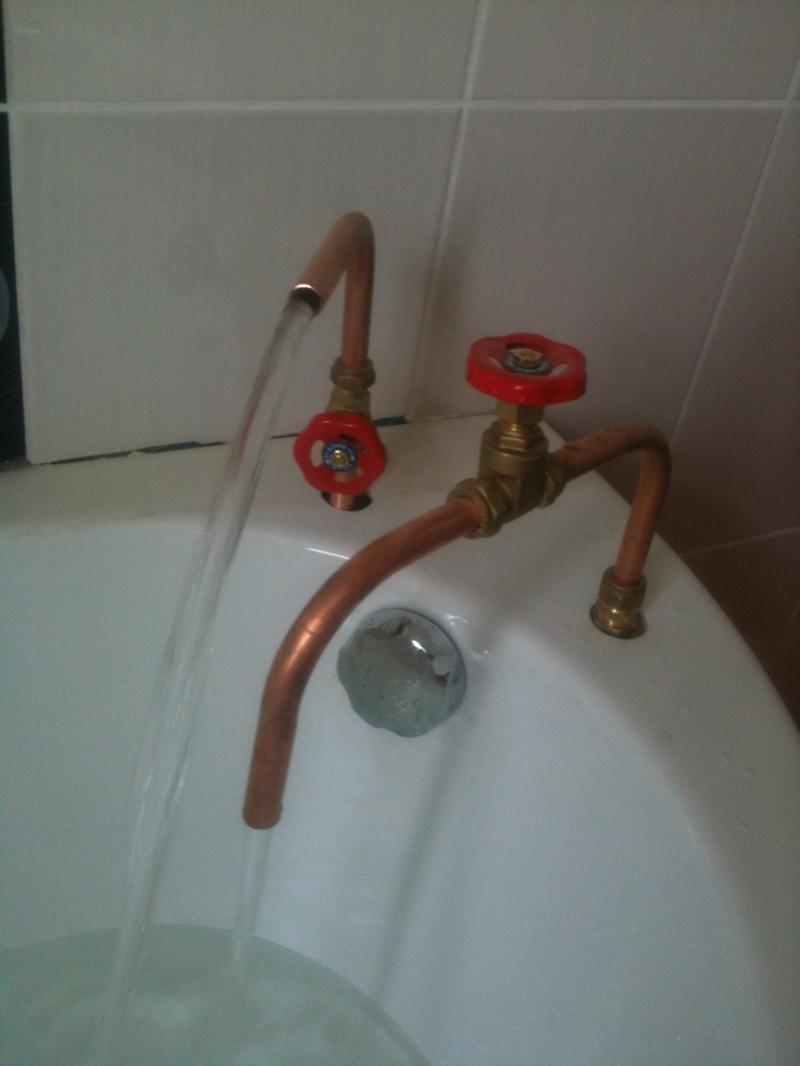
Since I haven't bought my taps yet, I fitted some rather fetching alernatives...
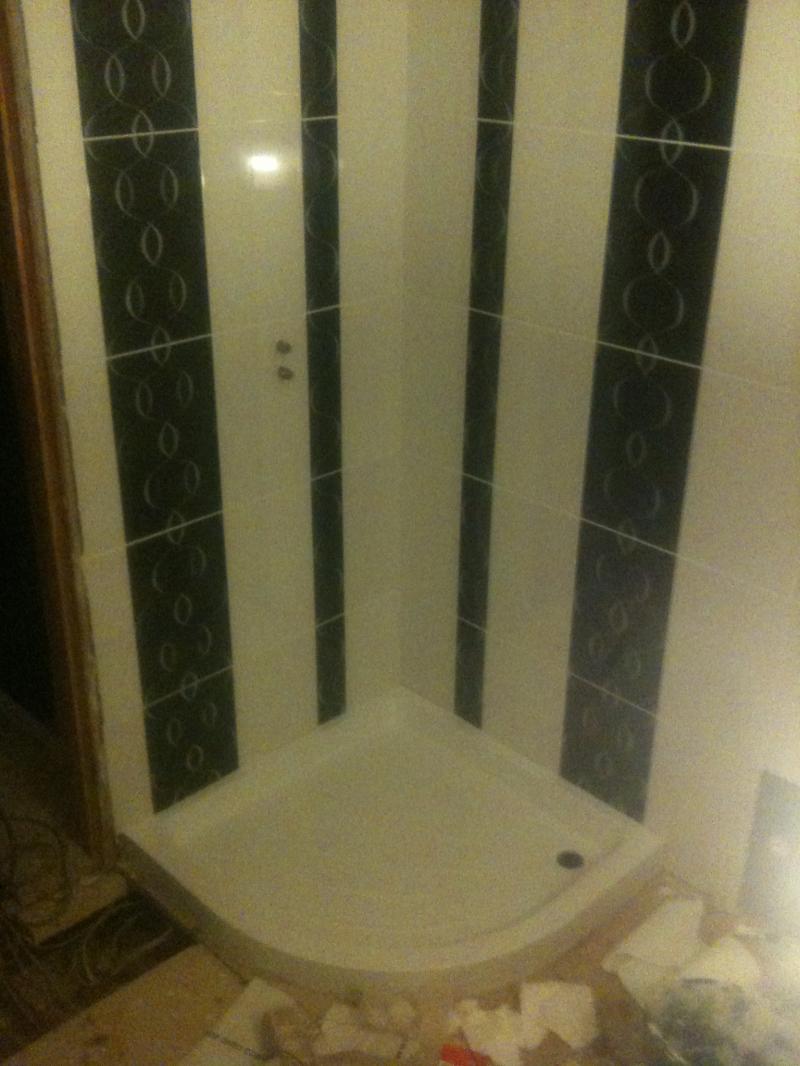
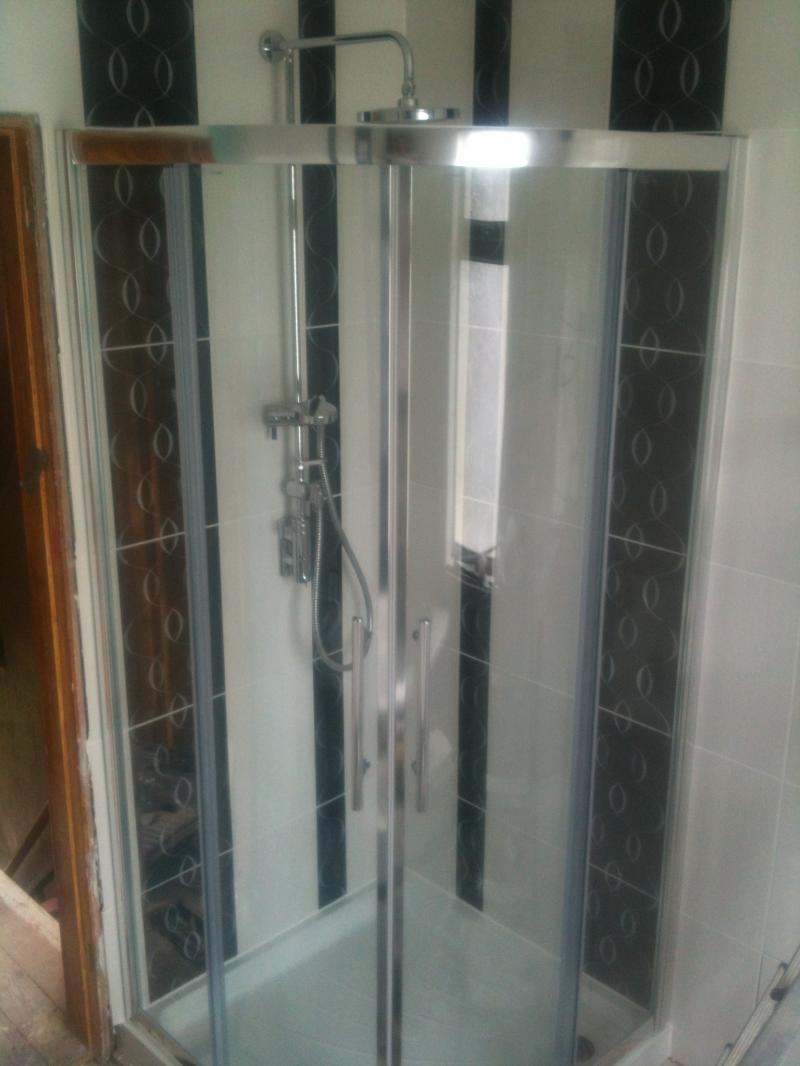
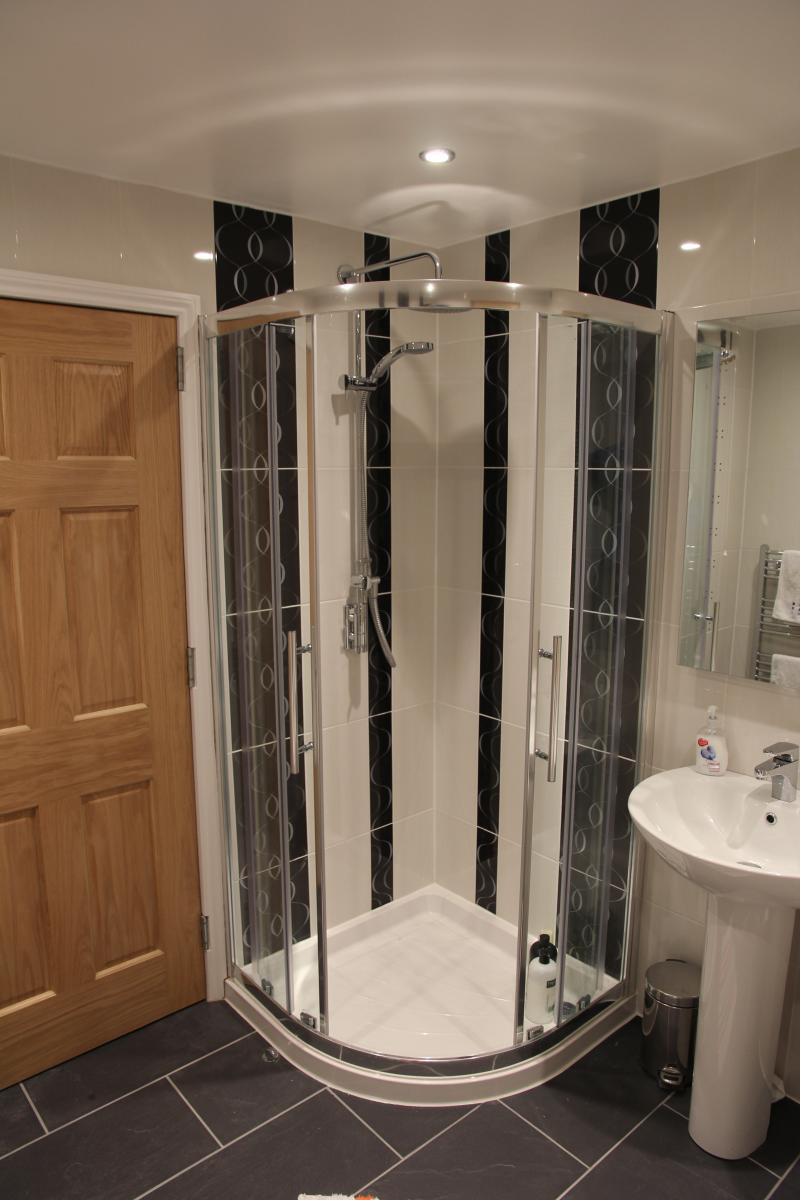
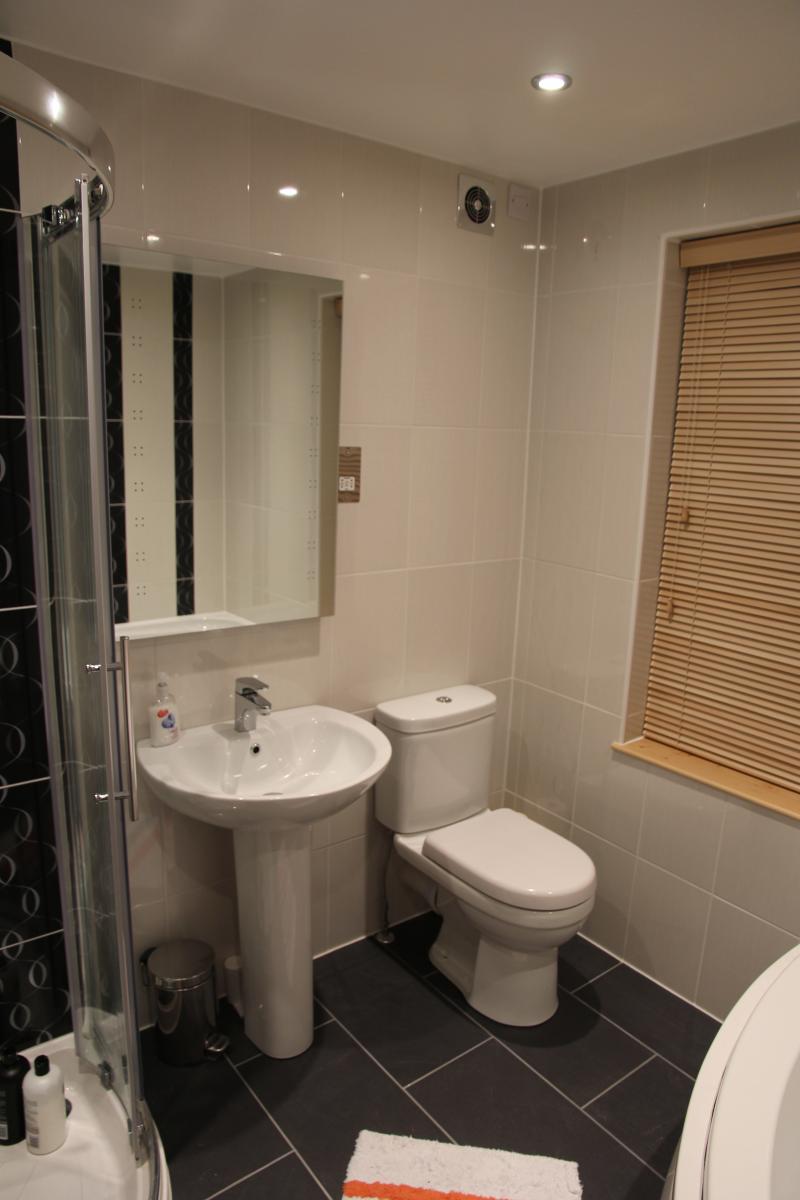
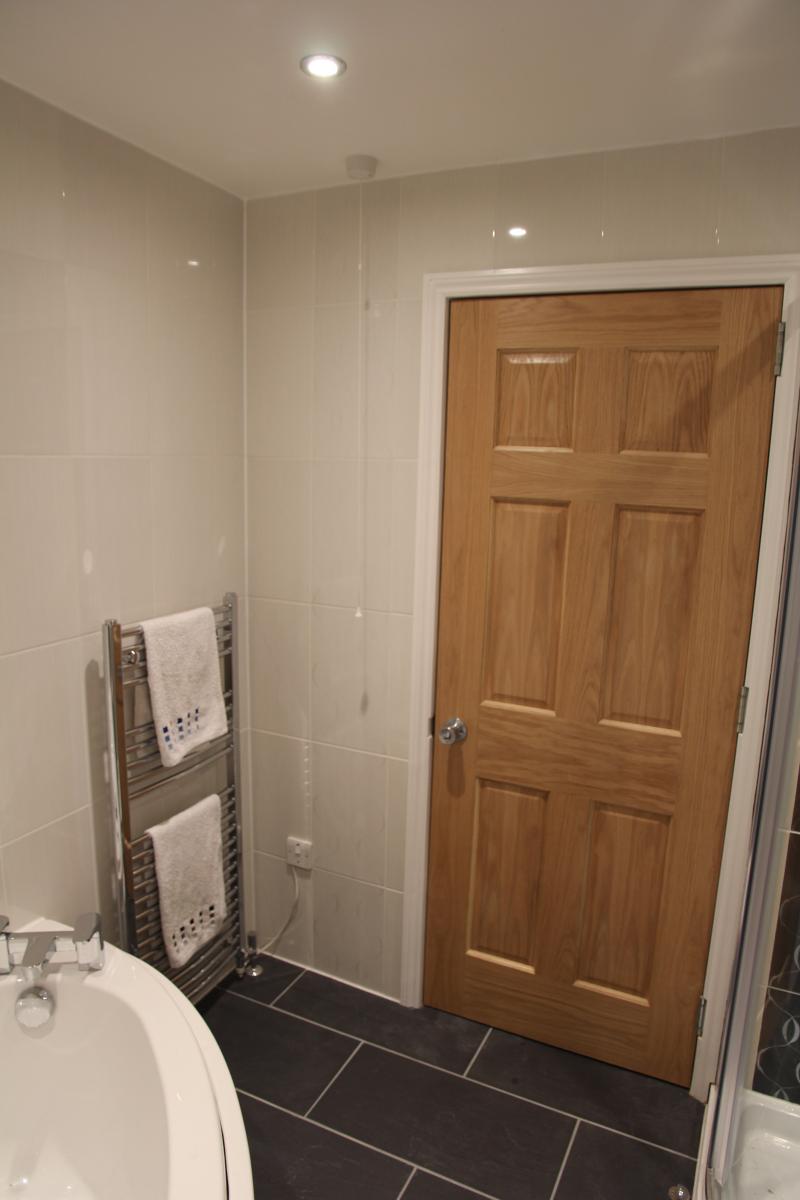
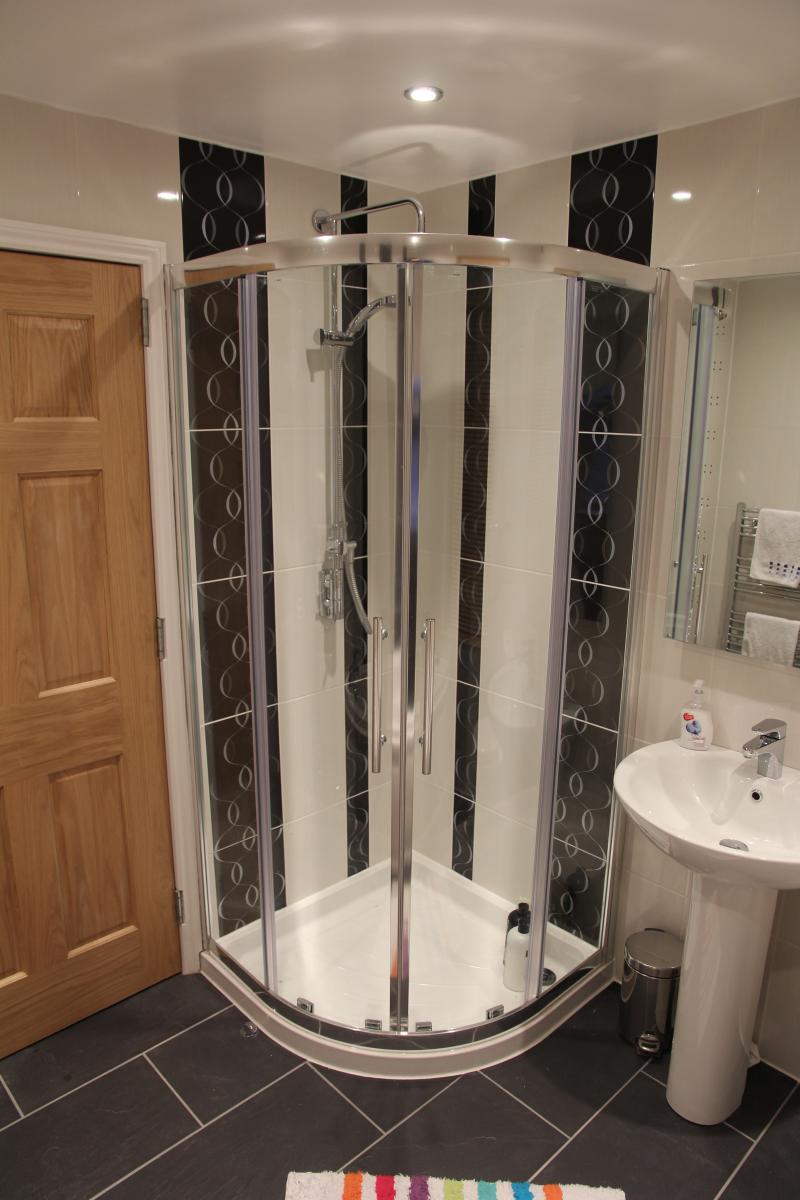
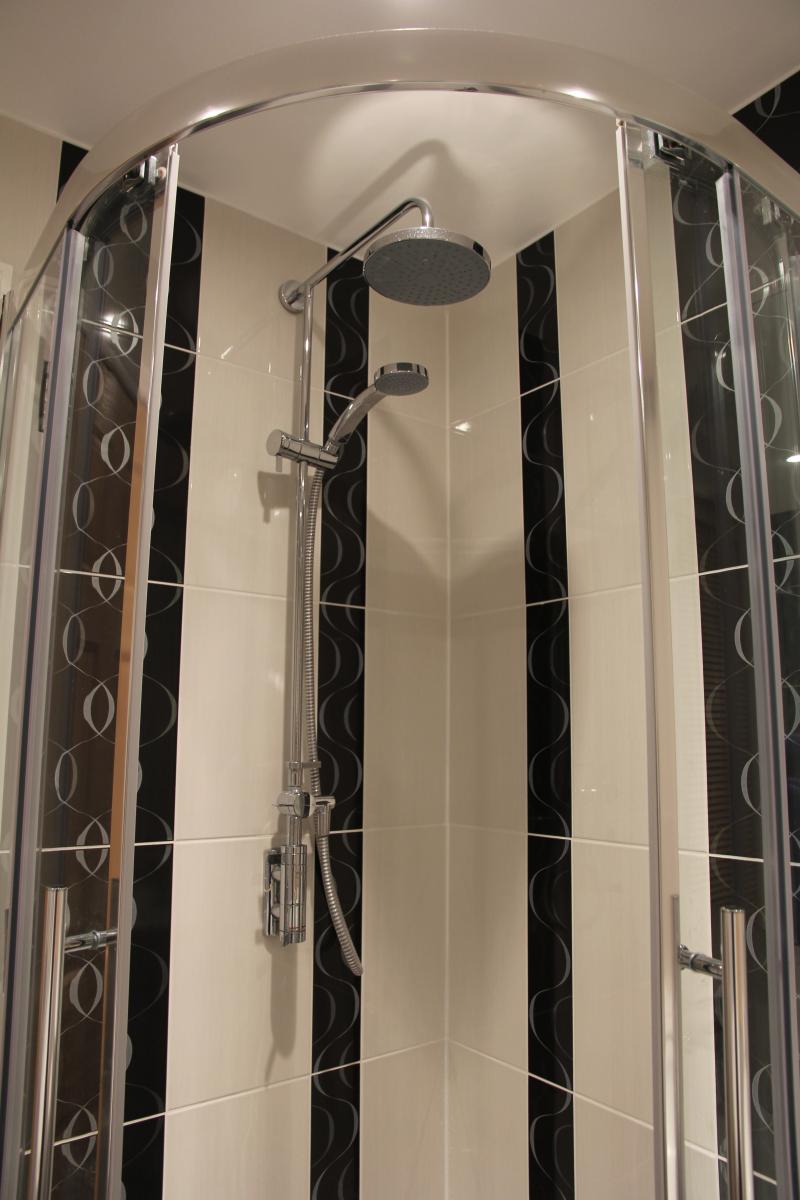
That's all for now, I'm now onto the shower side of the room now so expect more updates soon")
Now that I've just about finished my loft conversion, I thought I better move onto the next item of business, the bathroom. This room was looking pretty dated when I moved in 2 years ago and I'd had to rip up the floor to replace the lead pipe, so it was looking pretty grim. This is my first attempt at a bathroom, so any tips would be greatly appreciated!
Anyhow, here's the room when I moved in...
First job was to start stripping out all the old tiles and fittings, I quickly realised that the tiles were stuck to the plaster much better than the plaster was stuck to the walls, so decided to fully remove all the plaster. The internal walls were plasterboard, each 8' x 4' sheet was held in place by just 6 drywall screws, I'm amazed it held all that time....

Next I fitted a false ceiling, so I could fit downlights (the loft conversion above prevented me from fitting them to the existing ceiling)...
I also discovered the lintel was supported on nothing more than a pebble at either end, so that was remortared in place...
Once the old plasterboard was removed, I fixed up the studwork to be as flat as possible, filled it with rockwool (for sound insulation) and covered with moistureboard...
For the flooring I've fitted 25mm WBP ply, underside sealed with acrylic primer...
And for the external walls I've gone with 20mm Marbox Multiboard, fixed in place with dot 'n dab and plastic 'spankers' (gave me a chuckle!)...
Bath supports in place...
Bath fixed in position...
Tiling and grouting around bath...
Since I haven't bought my taps yet, I fitted some rather fetching alernatives...
That's all for now, I'm now onto the shower side of the room now so expect more updates soon
")