

How do.
In a bid to improve my wood-working skills, I'm putting myself about abit like some sawdust coated slapper. Started a job for my brother, replacing his old handrail and spindles on his stairs. Going to take a couple of weeks as I will be doing the work at weekends, making the parts 'off-site' (get me! ) and stripping the old Newl posts in situ before putting it all together on-site (obviously).
The old set is full of nail holes from where it was enclosed in hardboard and the handrail is covered in about 40yrs of gloss paint as well as having chunks missing from the wood.


He couldn't afford the £200 odd quid that it would have cost to get it from B&Q or the likes so I'm making the whole thing from scratch....
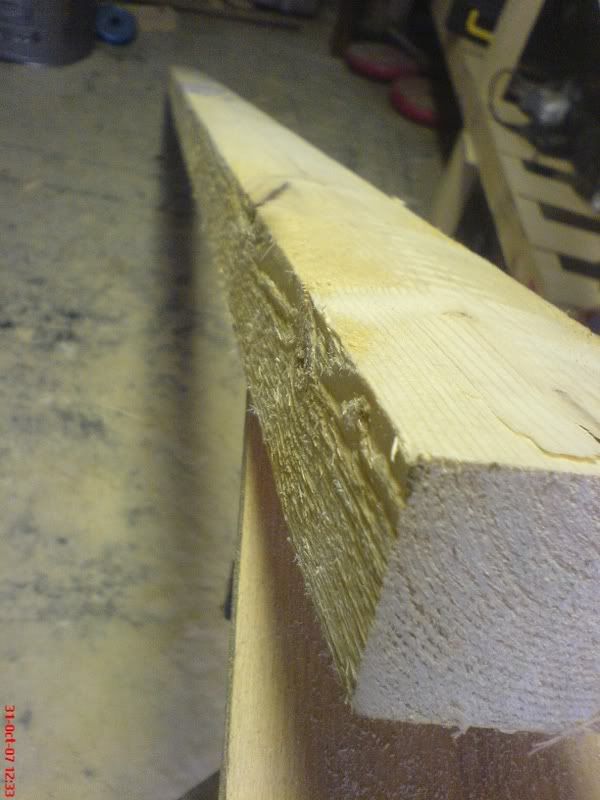
Soooo...Started out with a couple of lengths of 72mm X 47mm, roughsawn kilndried timber from B&Q for the handrails. £2.50 per 2.4m.
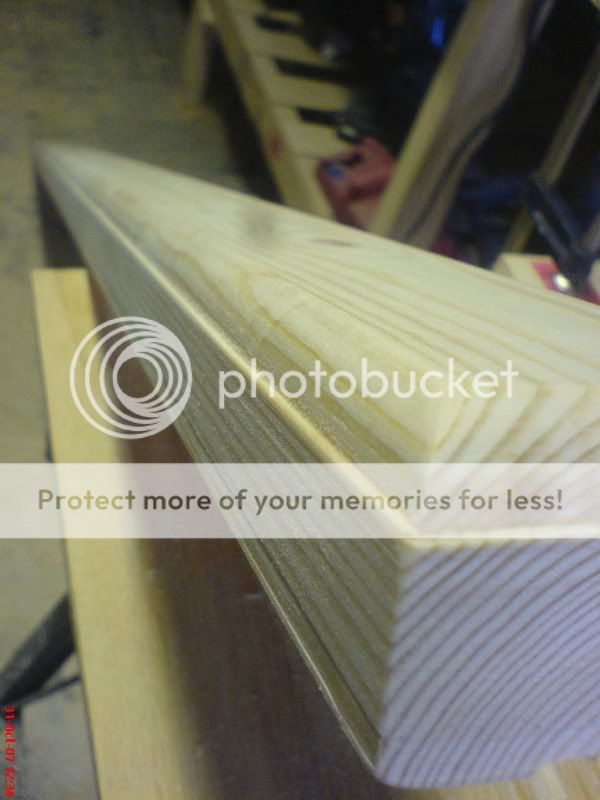
Beat the pants off it with my beltsander, followed by my random orbital sander, going from 60grt, 80grt, 150grt and 220grt. Then, I ran it over my home-made, 1/4 router table (table was home-made, not the router ) using a large 1/4 round beading cutter (think that's the right name for it), a 1/4 round groove cutter (leaves the opposite of the beading cutter - christ, I need to learn the names of things!) and finally; used a 14mm straight cutter to create the spindle channel on the underside of the handrail.
yes, I know the time stamps are only 1min apart - first pic is of the 2nd of the 2 lengths. Both lengths started out the same.
That's pretty much as far as I've gotten for now. Going to make the spindles from 34mm X 34mm batons from that glorious land of bodgers. Planning on keeping them simple, just a small chamfer on each corner starting about 50mm from either end.
Base rails will be made from 18mm X 70mm stock, with a 34mm X 7mm spindle channel routed down the centre, chamfered on the corners to match the spindles and a 11mm X 10mm rebate under one underside edge to provide an expansion gap for the Engineered Oak flooring at a later date.
Newl posts will be stripped in situ and re-used.
Budget so far works out at:
£10 for 4m of handrails;
£38 for wood for spindles;
£6 for 4m of baserails.
Other items such as screws, sandpaper, brad pins, glue and clear varnish - I have already but will assume they add up to around £30.
More to follow!
In a bid to improve my wood-working skills, I'm putting myself about abit like some sawdust coated slapper. Started a job for my brother, replacing his old handrail and spindles on his stairs. Going to take a couple of weeks as I will be doing the work at weekends, making the parts 'off-site' (get me!
) and stripping the old Newl posts in situ before putting it all together on-site (obviously). The old set is full of nail holes from where it was enclosed in hardboard and the handrail is covered in about 40yrs of gloss paint as well as having chunks missing from the wood.
He couldn't afford the £200 odd quid that it would have cost to get it from B&Q or the likes so I'm making the whole thing from scratch....
Soooo...Started out with a couple of lengths of 72mm X 47mm, roughsawn kilndried timber from B&Q for the handrails. £2.50 per 2.4m.
Beat the pants off it with my beltsander, followed by my random orbital sander, going from 60grt, 80grt, 150grt and 220grt. Then, I ran it over my home-made, 1/4 router table (table was home-made, not the router
) using a large 1/4 round beading cutter (think that's the right name for it), a 1/4 round groove cutter (leaves the opposite of the beading cutter - christ, I need to learn the names of things!) and finally; used a 14mm straight cutter to create the spindle channel on the underside of the handrail.
yes, I know the time stamps are only 1min apart - first pic is of the 2nd of the 2 lengths. Both lengths started out the same.
That's pretty much as far as I've gotten for now. Going to make the spindles from 34mm X 34mm batons from that glorious land of bodgers. Planning on keeping them simple, just a small chamfer on each corner starting about 50mm from either end.
Base rails will be made from 18mm X 70mm stock, with a 34mm X 7mm spindle channel routed down the centre, chamfered on the corners to match the spindles and a 11mm X 10mm rebate under one underside edge to provide an expansion gap for the Engineered Oak flooring at a later date.
Newl posts will be stripped in situ and re-used.
Budget so far works out at:
£10 for 4m of handrails;
£38 for wood for spindles;
£6 for 4m of baserails.
Other items such as screws, sandpaper, brad pins, glue and clear varnish - I have already but will assume they add up to around £30.
More to follow!
")

 ]
]