Hi
My tiny kitchen in a 1 bed flat is in its 5th week of installation - (supposed to be 2 weeks) and while there's just flooring, touching up and an external vent to go in...
they promised me an "excellent finish "and showed me pictures of their previous jobs that looked nice... this was the site manager for the housing association (not the builders/joiners doing the work) - after a while, I noticed the colors did not match at all or anywhere near what was on the selection sheet, that was returned back 4-5 months ago and the job was initiated 2 years ago...
now the electrical, plumbing, tiling, and plastering were SPOT ON... brilliant work.
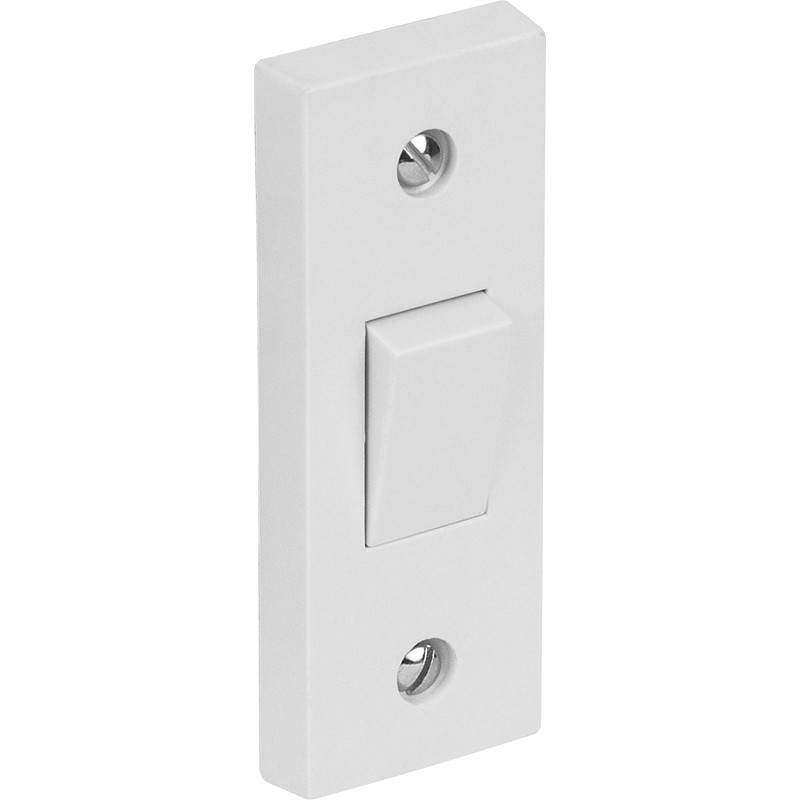
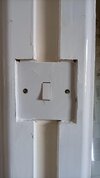
but look at the state of this "light switch"(bad cuts, gloss used as a filler, runs on frames which are also on the door - which no longer closes) - when previously it was screwed into the wood frames itself and filled with grout at top and bottom in-between the frames, painted the same color as the wall.
had I had the offcuts I could have fixed it myself by restoring the frame, back in with sawdust and glue, sanding the frame, re-painting, and fixing the plate into the wood, but I don't have them...
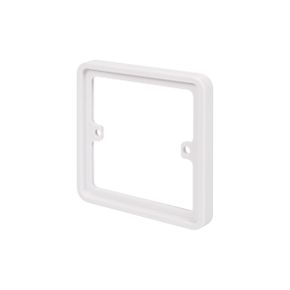
surrounding plates I've looked at don't have enough room (side bits too wide on them) , so I'm wondering if any "real joinery experts" can please tell me the best way to fix this 'schoolboy error" ?look - cuts like dog's back legs, uses gloss paint as filler..
I have many years of building trade experience and have installed a kitchen before. and know of a way to fix it, but would like to hear from the experts...
edit: I reiterate: the rest of the kitchen is of a high standard. THIS is the only issue (so far) but its almost finished
advice from anyone would be appreciated..
thanks in advance
My tiny kitchen in a 1 bed flat is in its 5th week of installation - (supposed to be 2 weeks) and while there's just flooring, touching up and an external vent to go in...
they promised me an "excellent finish "and showed me pictures of their previous jobs that looked nice... this was the site manager for the housing association (not the builders/joiners doing the work) - after a while, I noticed the colors did not match at all or anywhere near what was on the selection sheet, that was returned back 4-5 months ago and the job was initiated 2 years ago...
now the electrical, plumbing, tiling, and plastering were SPOT ON... brilliant work.
but look at the state of this "light switch"(bad cuts, gloss used as a filler, runs on frames which are also on the door - which no longer closes) - when previously it was screwed into the wood frames itself and filled with grout at top and bottom in-between the frames, painted the same color as the wall.
had I had the offcuts I could have fixed it myself by restoring the frame, back in with sawdust and glue, sanding the frame, re-painting, and fixing the plate into the wood, but I don't have them...
surrounding plates I've looked at don't have enough room (side bits too wide on them) , so I'm wondering if any "real joinery experts" can please tell me the best way to fix this 'schoolboy error" ?look - cuts like dog's back legs, uses gloss paint as filler..
I have many years of building trade experience and have installed a kitchen before. and know of a way to fix it, but would like to hear from the experts...
edit: I reiterate: the rest of the kitchen is of a high standard. THIS is the only issue (so far) but its almost finished
advice from anyone would be appreciated..
thanks in advance
Attachments
Last edited: