how to repair cables drilled through doing shelving?

Joined
27 Aug 2011
Messages
9
Reaction score
0
Location
Isle of Wight
Country
United Kingdom
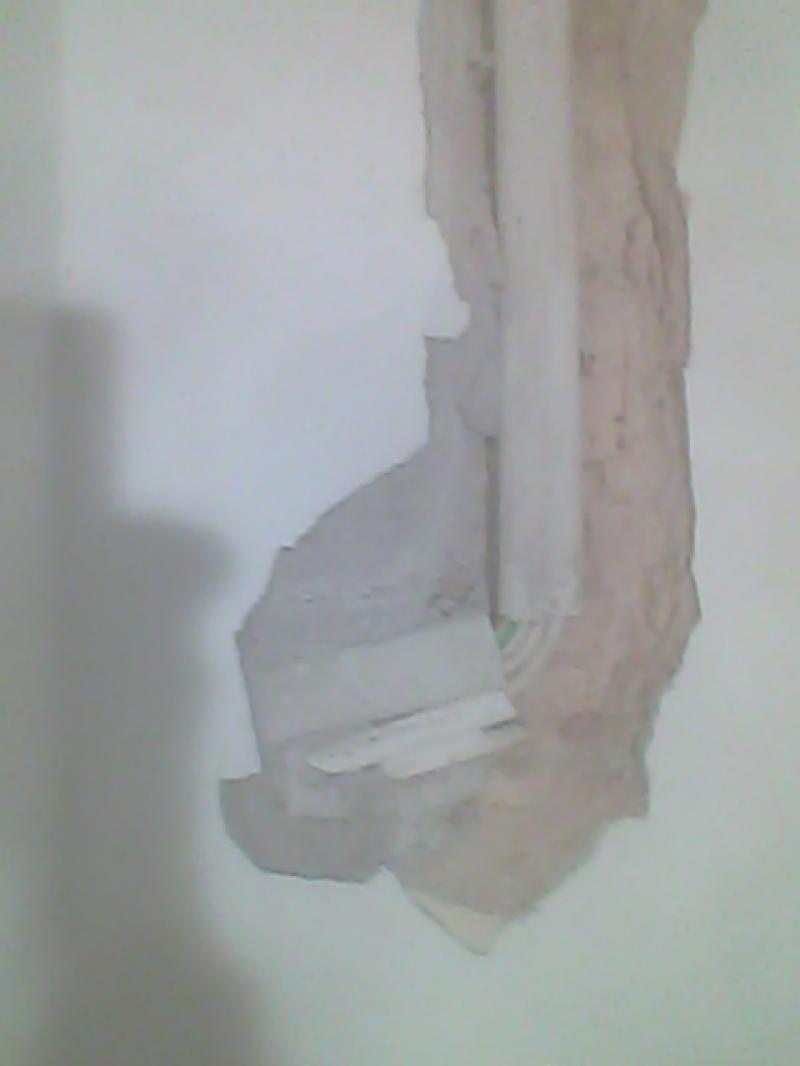
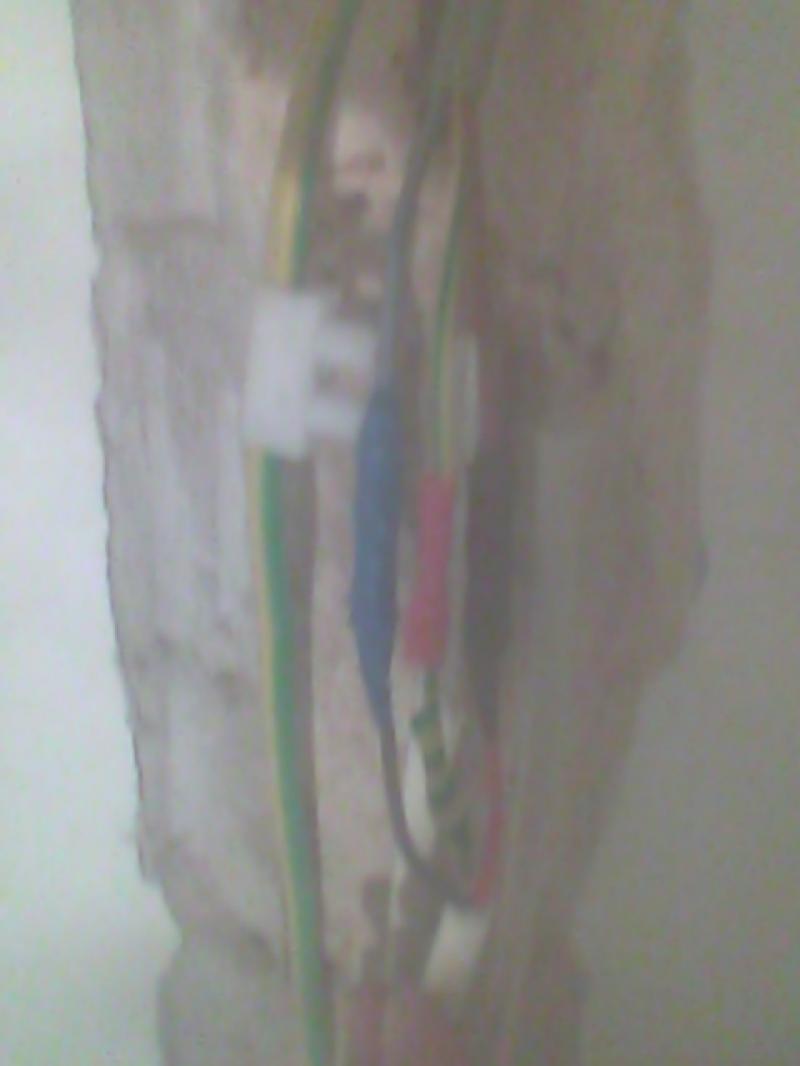
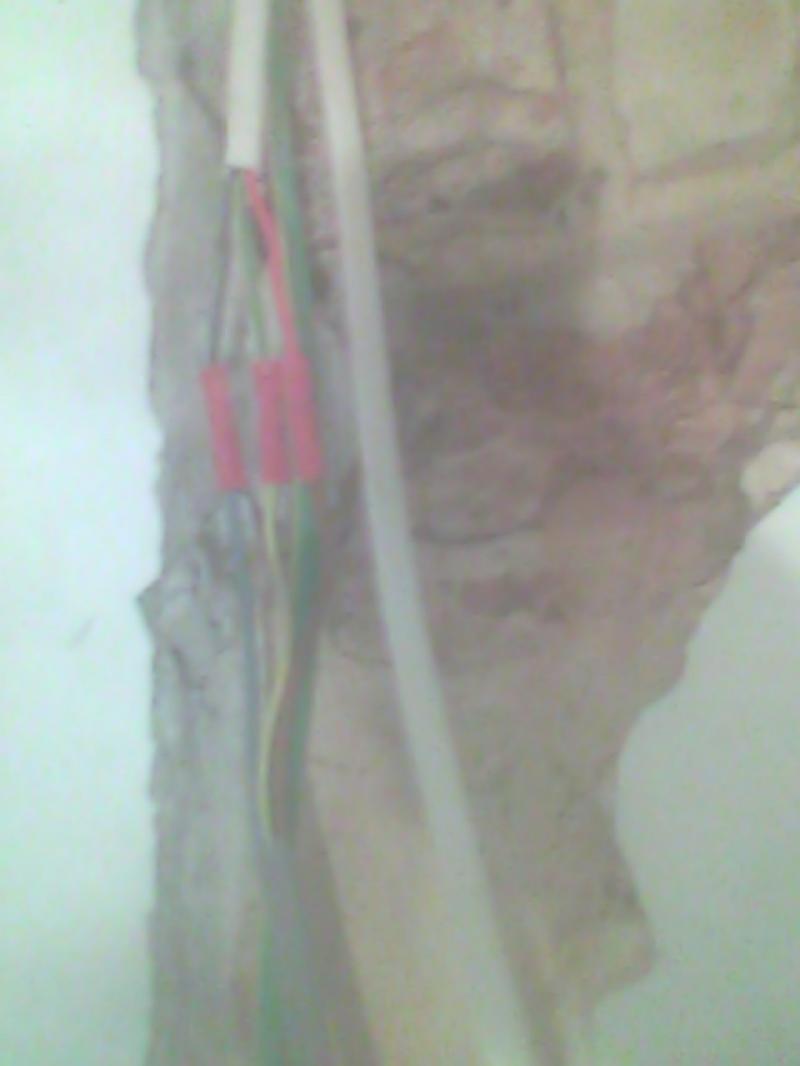
Can't believe how stupid I was - used a wallscanner that gave no reading for electric, but clear reading for metal, somehow thought if it was a cable it would register as machine was pretty good at picking up live wires from lightswitches, should have chiseled off some plaster before drilling to have a look. Anyway there are three cables and an earth in plastic conduit that I have drilled through in 3 places about 1.5m between top and bottom holes drilled into the oval plastic conduit. The consumer unit is only about 2 feet away from the bottom of the damaged section (on the other side of the corner wall mounted in hallway. Do I chisel more plaster away right back to consumer unit or should I just join the wires in the wall near the damaged section ( Iwould need to have two joins to replace the 1.5m damaged section) Would it help to go further up wall to ceiling and remove coving? What connectors and conduit should I use to bury the repair in the wall? I dont think all three wires were damaged by the drill as only the lounge lights tripped, but unless I chisel back to the consumer unit and disconnect the wires I cant remove the conduit to see without cutting right through the lot and sliding it off?
Was planning to PVA and use two coats of plaster to repair.
Thanks for your time and help.
 
Sponsored Links
Thise detector things aren't that good, as you now know!

To be fair, those cables should not really be there, although they are in what is know as a "safe zone" - 6inches from a corner.. Unfortunately only electricians know about this.

If you are to bury the joint you must not use screwed connectors. it will need to be crimp connectors and you'll need a proper crimping tool.
also, the entire joint needs to be sealed with heatshrink sleeving, or self amalgamating tape.
 
thanks TTC will nip out and get the crimping tool and ask about the heat shrink or self amalgamating tape, glad I asked - was thinking of screw down connectors
 
Sponsored Links
will nip out and get the crimping tool
Please read the Wiki article TTC pointed you at: //www.diynot.com/wiki/electrics:ratchet.

You need a crimper like this:

DVDHCR15.JPG


not like this:

mediaa543490cl2.jpg


so if "nip out and get the crimping tool" meant get the one you've got in your garage/shed, it's probably not going to be the right sort.
 
Looking at all the damage on the wall, I have to wonder if it's worth replacing the cables, at least as far as the ceiling void. I think joints are better in a ceiling void rather than in plaster, as there's more of a chance of accessing them.
 
Has anyone told him what size crimps he needs?

You can't use any crimps.

They are in different colours for different sizes.

You need to determine the size of all those cables, including the earth cable. If the earth cable is 10 mm2 or greater you will probably need a different crimping tool.

Would really be inclined to get an electrician to fit new cables from the consumer unit to the ceiling void, and do the joints above the ceiling.
 
thanks for all replies - I did buy a ratchet crimping tool, had to practice a bit to get a good tight connection. The two damaged lighting wires are 1.mm, I have cut out a section about 1m long of each and put a patch in using 3 red crimps and the self amalgamating silicone tape. I have some 38mm galvanised capping to cover all before replastering.
Sparkwright you are correct about the need for an additional crimping tool for the earth wire, which is indeed 10mm. I will order a pack of 10mm copper tube but connectors. The earth seems to be the main equipotential bonding for the flat. I take your point about the joints in celing void and do not like to do shoddy work, but I'm in a ground floor flat and presumably would have to take off the coving and also some of the plasterboard ceiling to replace all cables, plus chip off more plaster back to consumer unit.
I enjoy learning new skills and although I appreciate using a good electrician would avoid endangering anyone, do not feel the work is too difficult for me. Of course many people have died from dodgy electrics and carbon monoxide from diy boiler installs, but it's just as bad if you break the 30mph speed limit when driving.
If anyone wants to explain how the lighting and earth bonding cables are replaced in a flat, that would be great, am in no rush and if the job doesn't involve too much expense would consider doing the best repair possible. Can't see that three red crimps pose much of a danger though?
The block on the earth is just temporary, so I can use electric.

 
what you could have done before crimping was slide some heatshrink over the whole cable.

And don't turn the power back on until the plaster has dried completely.
 
what you could have done before crimping was slide some heatshrink over the whole cable.

And don't turn the power back on until the plaster has dried completely.

Because the crimps are bunched together and not offset, he would have trouble getting the correct size HS over that lot.

He would have had to use a larger size which probably would not shrink enough.
 
what you could have done before crimping was slide some heatshrink over the whole cable. And don't turn the power back on until the plaster has dried completely.
Because the crimps are bunched together and not offset, he would have trouble getting the correct size HS over that lot. He would have had to use a larger size which probably would not shrink enough.
...but he's got to do something, hasn't he? I certainly wouldn't be happy with unsheathed conductors and crimps simply buried in plaster, even if one did wait for the plaster to completely dry out (at least 1 week per cm) before turning the power back on, would you? Even 'oversized' HS which did not shrink enough to grip the thinner parts would have been a lot better than nothing.

Kind Regards, John
 

DIYnot Local

Staff member

If you need to find a tradesperson to get your job done, please try our local search below, or if you are doing it yourself you can find suppliers local to you.

Select the supplier or trade you require, enter your location to begin your search.


Are you a trade or supplier? You can create your listing free at DIYnot Local

 
Sponsored Links
Back
Top