

Hi all,
I am hoping to get some advice.
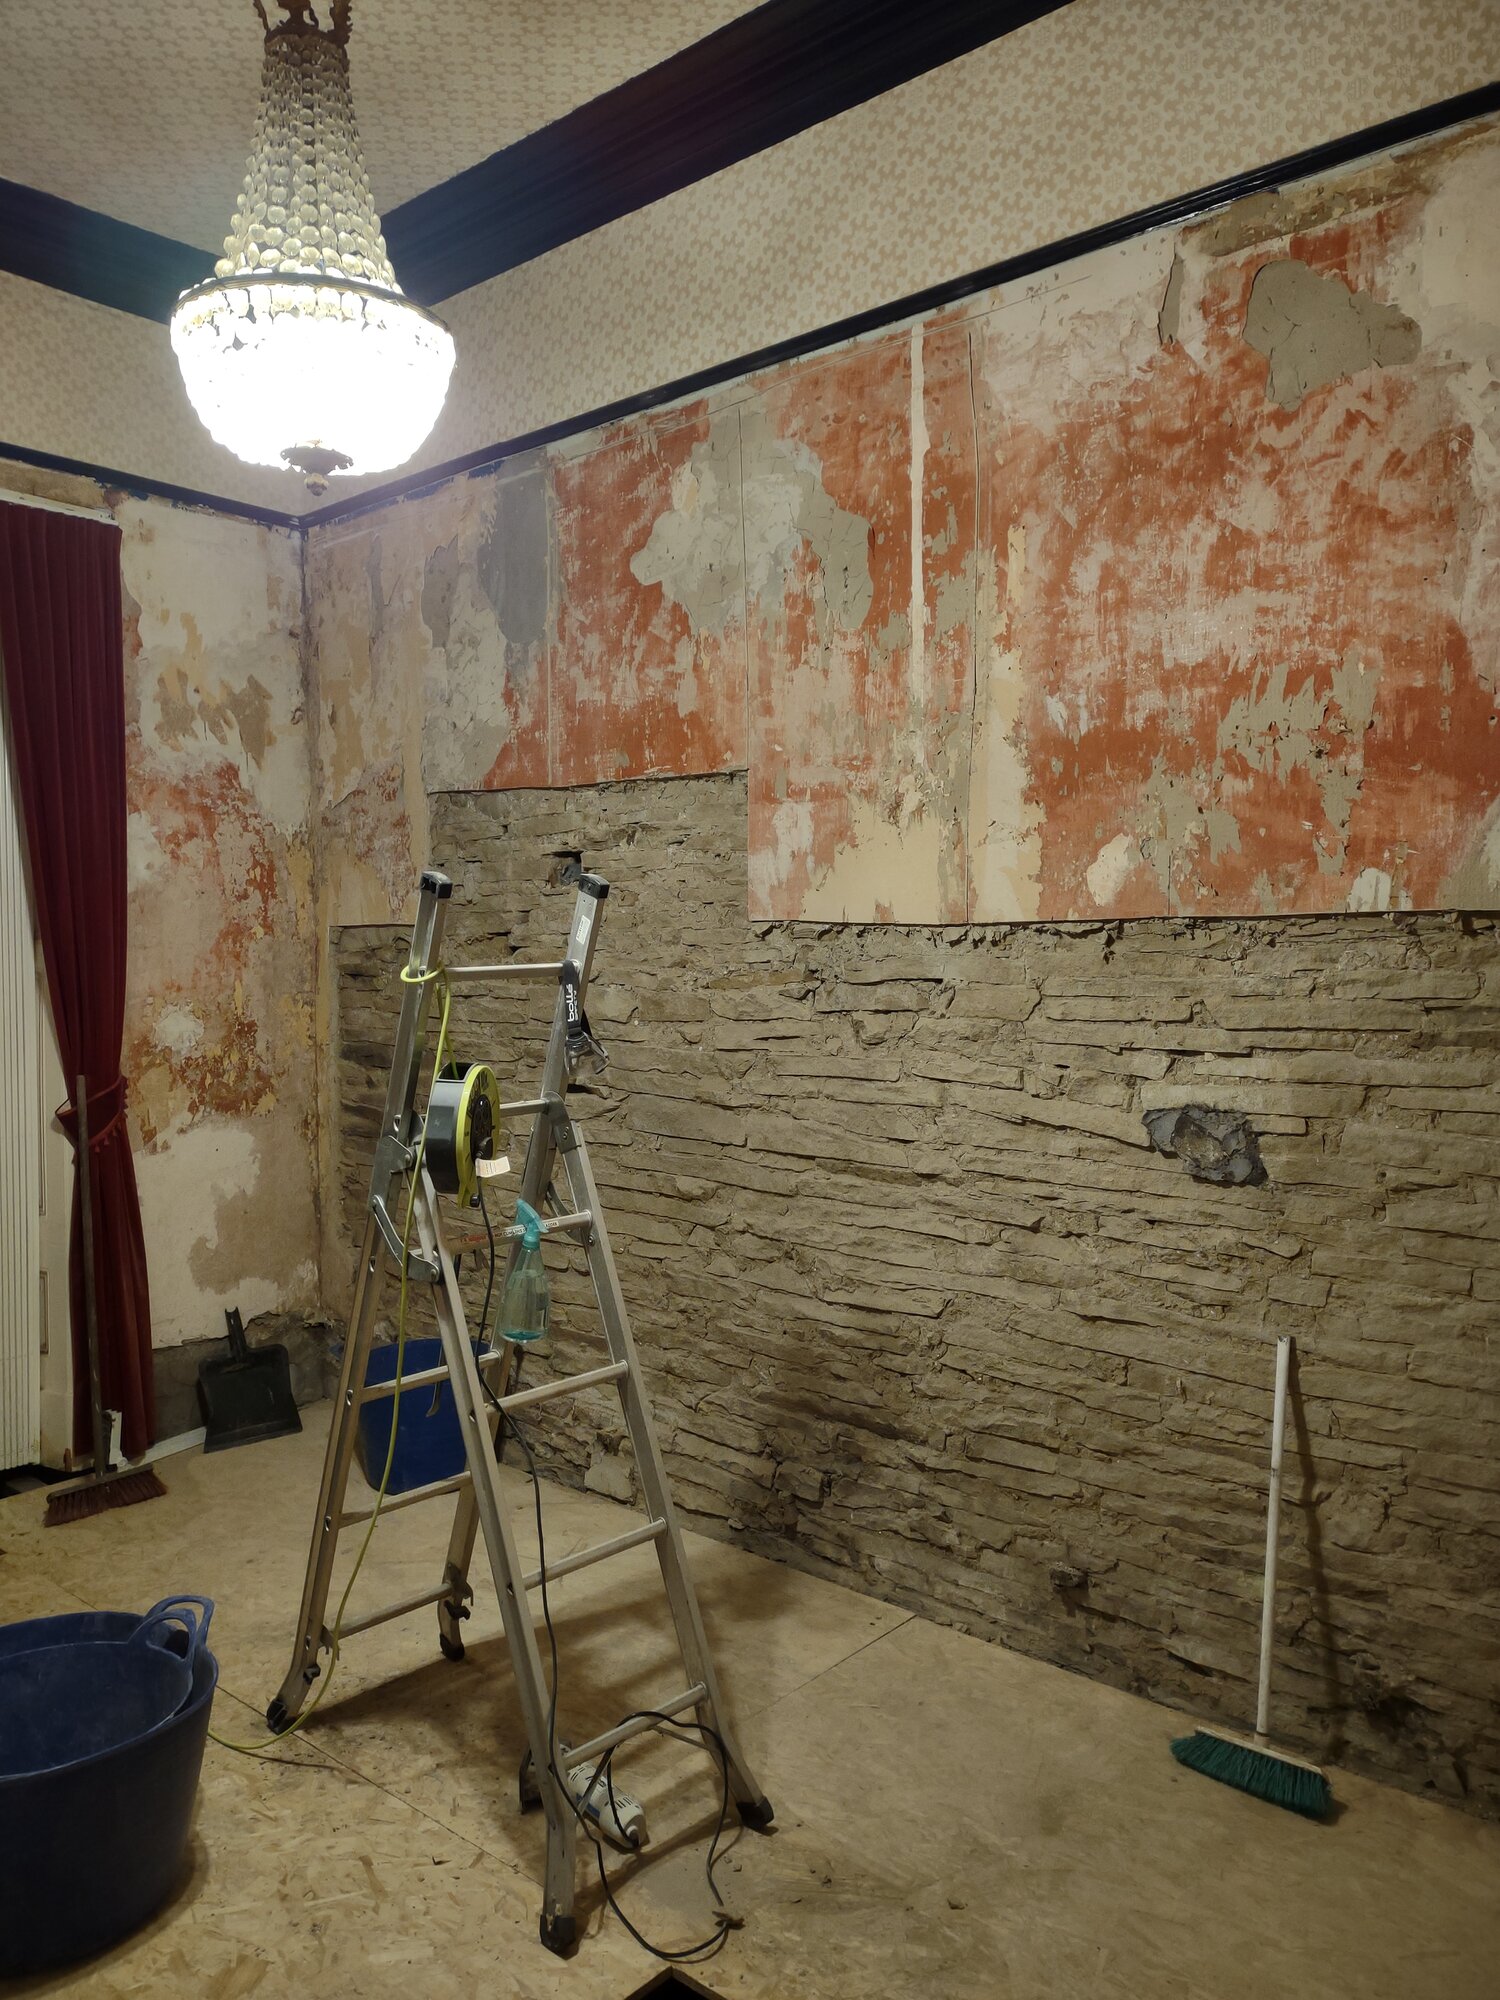
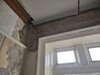
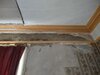
I have a Victorian property where all the walls (internal and external) are solid stone with thick horsehair plaster/ lime and multiple layers of wall paper. Some of the external walls are quite damp as the previous occupants never did any work to the property, neglected the pointing and the roof, resulting in lots of leaks. The internal walls are all dry, but on removing the wallpaper, a lot of the existing skim and plaster has come off so I have decided to remove it completely.
For the external walls, I am likely going to frame it out, insulate it and dryline it. I did consider having it lime plastered, but have struggled to find plasterers to do it, I know it will be expensive, and the insulation will help with the heating bills.
With the internal walls (solid stone walls between rooms), I am not really sure what to do. The options are:
Lime. (expensive and still can't find someone to do it)
Timber battens, or metal (gypliner) and drylining.
Dot and dab and skim. Easiest option, but means that you can never expose the stonework again (not that I plan to)
Sand cement. (Not)
Other?????
All rooms have really high ceilings, picture rails, coving, and large skirting boards. Some rooms have a dado rail as well. I am hoping that I can save the decorative elements, but I know in some rooms where the external walls are too damaged with damp, they will have to be redone.
I know there is no consensus on stone walls, and each property is different, but hoping you guys might have some advice on how to move forward.
Thanks,
Sam

I am hoping to get some advice.
I have a Victorian property where all the walls (internal and external) are solid stone with thick horsehair plaster/ lime and multiple layers of wall paper. Some of the external walls are quite damp as the previous occupants never did any work to the property, neglected the pointing and the roof, resulting in lots of leaks. The internal walls are all dry, but on removing the wallpaper, a lot of the existing skim and plaster has come off so I have decided to remove it completely.
For the external walls, I am likely going to frame it out, insulate it and dryline it. I did consider having it lime plastered, but have struggled to find plasterers to do it, I know it will be expensive, and the insulation will help with the heating bills.
With the internal walls (solid stone walls between rooms), I am not really sure what to do. The options are:
Lime. (expensive and still can't find someone to do it)
Timber battens, or metal (gypliner) and drylining.
Dot and dab and skim. Easiest option, but means that you can never expose the stonework again (not that I plan to)
Sand cement. (Not)
Other?????
All rooms have really high ceilings, picture rails, coving, and large skirting boards. Some rooms have a dado rail as well. I am hoping that I can save the decorative elements, but I know in some rooms where the external walls are too damaged with damp, they will have to be redone.
I know there is no consensus on stone walls, and each property is different, but hoping you guys might have some advice on how to move forward.
Thanks,
Sam
 probably another name change.
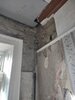
 .
.