Evening all,
I have spotted a leak in the roof near a chimney breast; the roof was entirely replaced about a year ago as a part of an extension project (incorporating raising by about 4" so new and old roof heights match). The builder has been over and seen the job, a whilst it was dried when he saw it, it did suggest one of two places how the water might be getting in, and what he was going to do to solve it. All credit to him for coming back and offering a solution. The basis for my post is to put the question out there to roofers to find out what is the very best way of solving this so it doesn't leak (the builder is a builder, not a roofer, if you get my gist?).
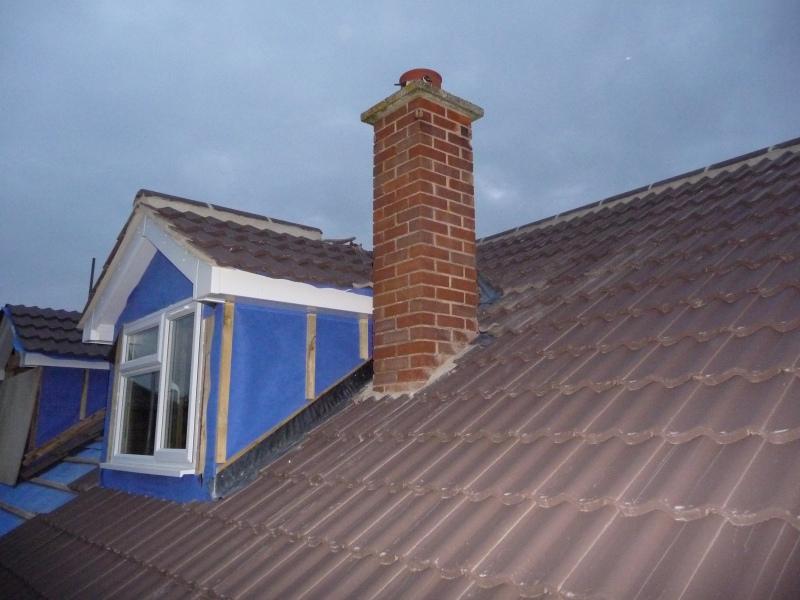
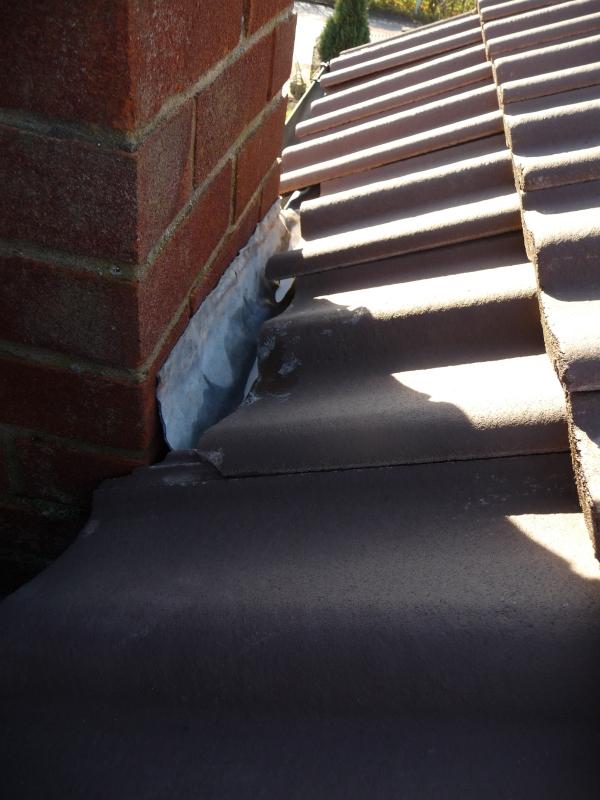
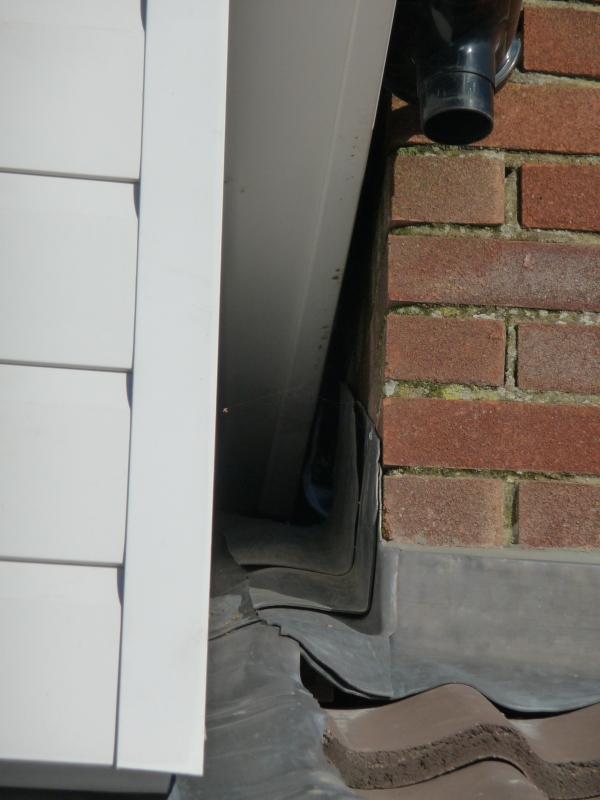
Image shows what was an existing dormer that had been converted from a flat roof to pitched - hence why it is so close to a chimney with insufficient space for a guttering that goes all the way back to the valley/main roof.
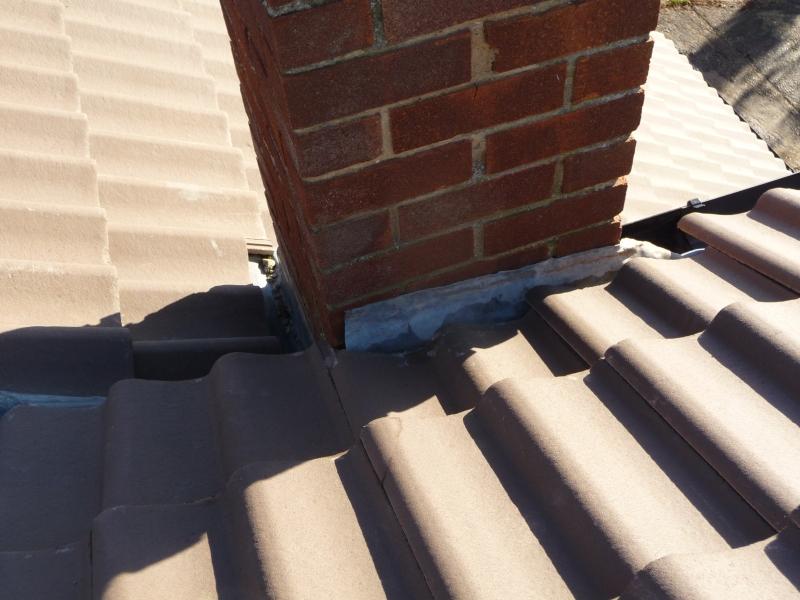
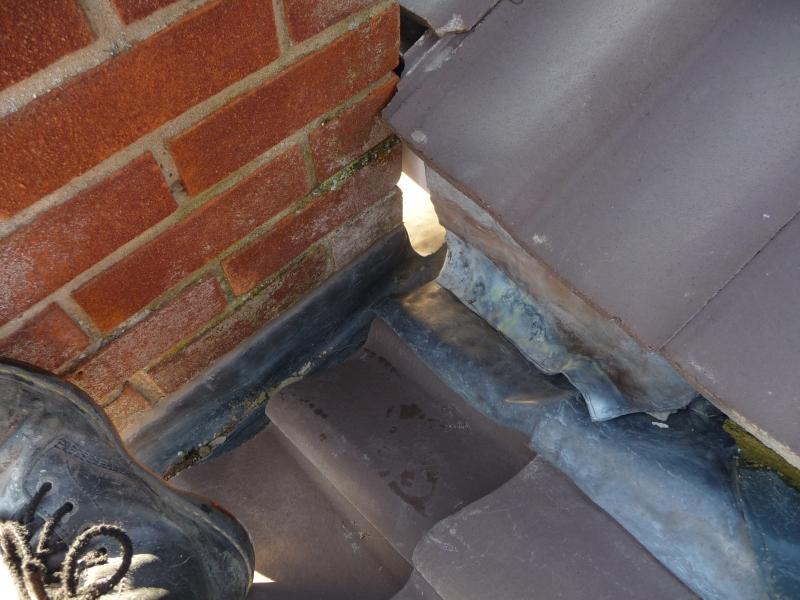
Shows a close up of the interface between the chimney and the roof, with what could be "excessive" flashing, but is it correctly seated/sealed against the chimney?
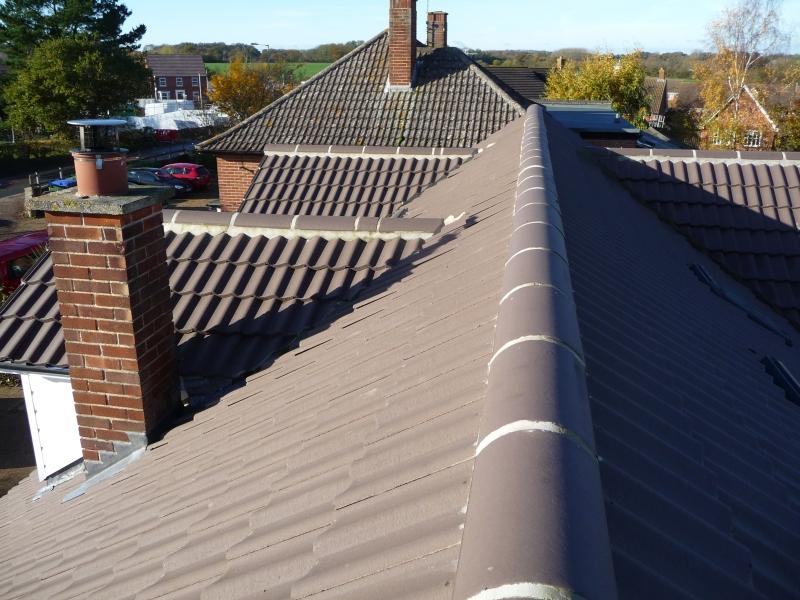
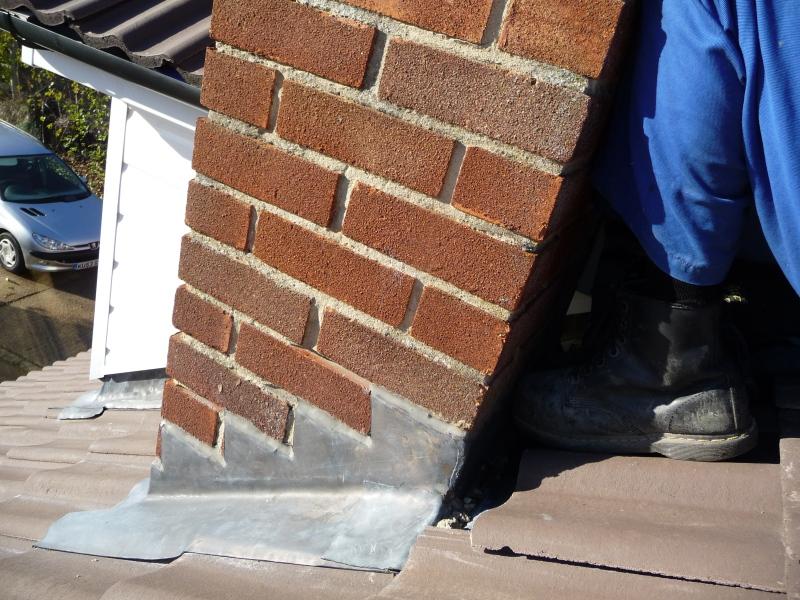
Shows a different view, and the problem with the pitched roof and lack of space to have a gutter all the way back
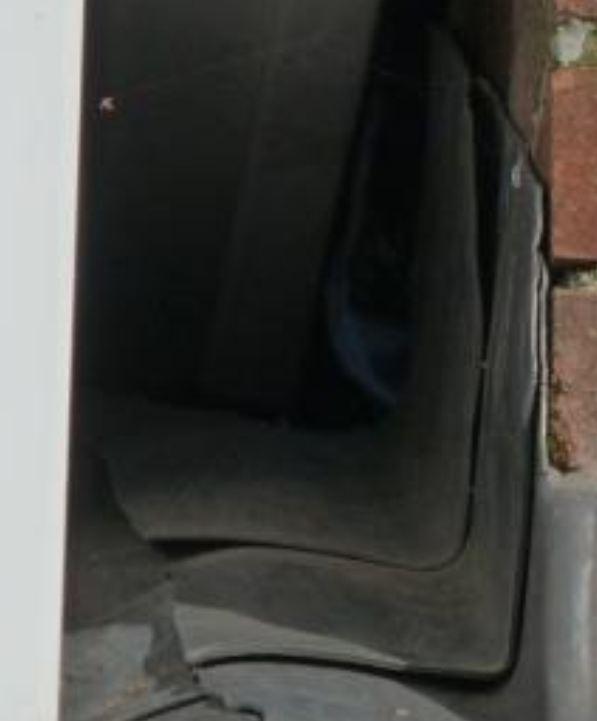
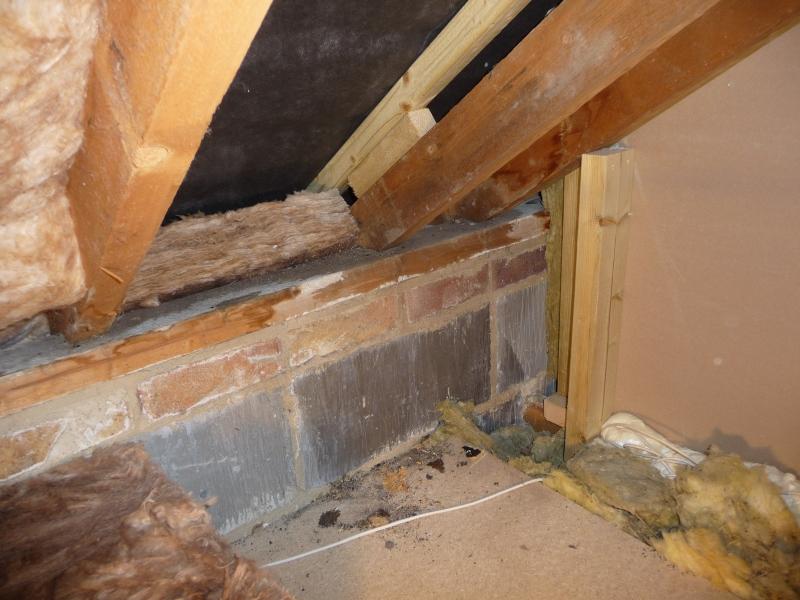
Shows the trusses that are damp/were wet - there's evidence that both were wet, but when I saw it only the middle one of these three in the photo was wet - this is the one that runs right next to the chimney, which is just off the photo to the right.
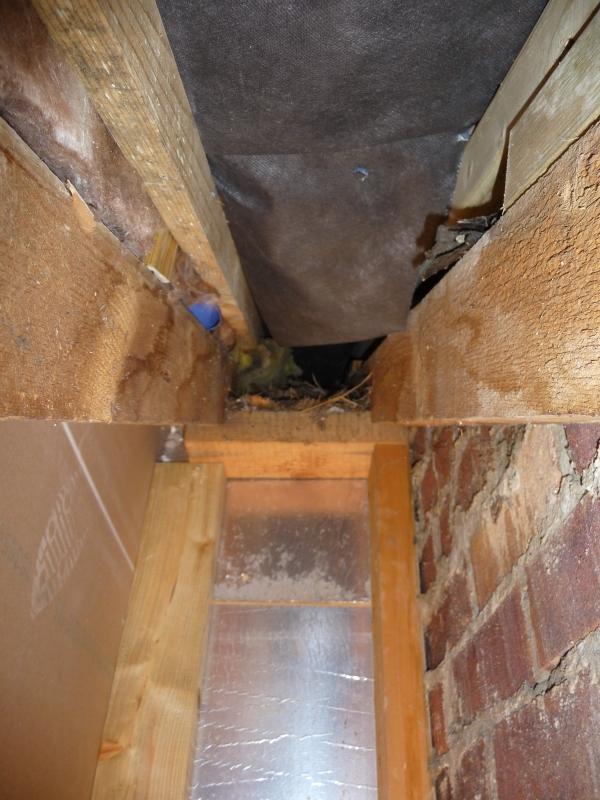
This photo has the chimney to the right and is looking upwards towards the ridge. To the left is the dormer, both of the trusses are original part of the house. Ahead of the photographer is just the rear-side of the internal dwarf walls.
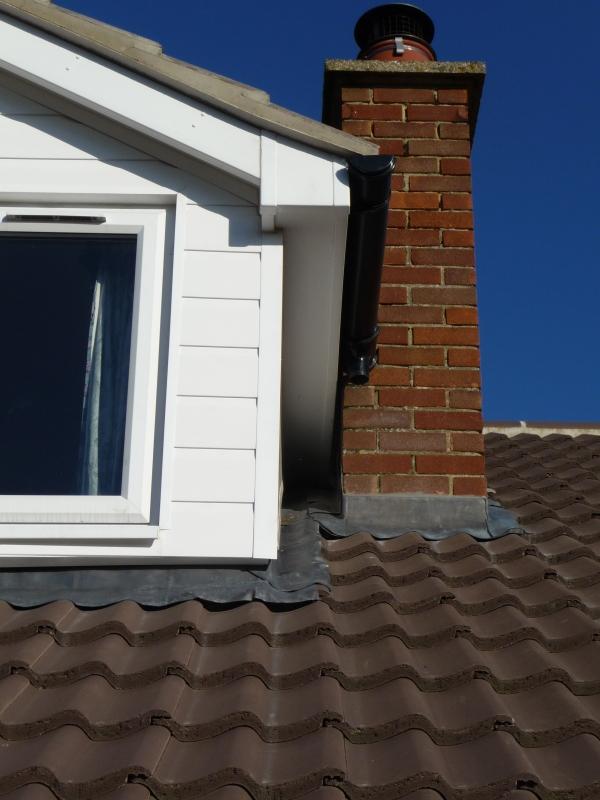
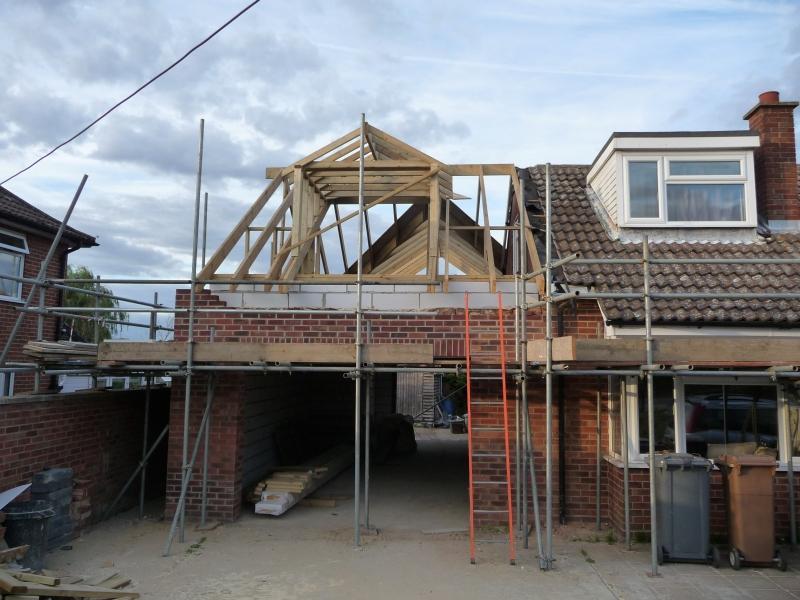
this image shows the old dormer and roof, just for reference really.
The builder is suggesting they construct some sort of leaded valley in there under the tiles across to to the chimney side, though I'm not sure how this will finish front and rear, i.e if the water will just cascade off onto roof or be managed some better way.
So my question to the roofers out there: how would you re-do this to make it better long-term? Many thanks.
Nozzle
I have spotted a leak in the roof near a chimney breast; the roof was entirely replaced about a year ago as a part of an extension project (incorporating raising by about 4" so new and old roof heights match). The builder has been over and seen the job, a whilst it was dried when he saw it, it did suggest one of two places how the water might be getting in, and what he was going to do to solve it. All credit to him for coming back and offering a solution. The basis for my post is to put the question out there to roofers to find out what is the very best way of solving this so it doesn't leak (the builder is a builder, not a roofer, if you get my gist?).
Image shows what was an existing dormer that had been converted from a flat roof to pitched - hence why it is so close to a chimney with insufficient space for a guttering that goes all the way back to the valley/main roof.
Shows a close up of the interface between the chimney and the roof, with what could be "excessive" flashing, but is it correctly seated/sealed against the chimney?
Shows a different view, and the problem with the pitched roof and lack of space to have a gutter all the way back

Shows the trusses that are damp/were wet - there's evidence that both were wet, but when I saw it only the middle one of these three in the photo was wet - this is the one that runs right next to the chimney, which is just off the photo to the right.
This photo has the chimney to the right and is looking upwards towards the ridge. To the left is the dormer, both of the trusses are original part of the house. Ahead of the photographer is just the rear-side of the internal dwarf walls.
this image shows the old dormer and roof, just for reference really.
The builder is suggesting they construct some sort of leaded valley in there under the tiles across to to the chimney side, though I'm not sure how this will finish front and rear, i.e if the water will just cascade off onto roof or be managed some better way.
So my question to the roofers out there: how would you re-do this to make it better long-term? Many thanks.
Nozzle