Mounting a clothes rail onto the outside of my cupboard...

awm

Joined
28 Jul 2010
Messages
109
Reaction score
4
Location
London
Country
United Kingdom
Hi, I have decided that I would like to mount a bar to the outside of my Ikea cupboard somehow to give me an extra clothes rail on the outside of the cupboard.

So, I would like to add this bar to here...

img_1036.98204


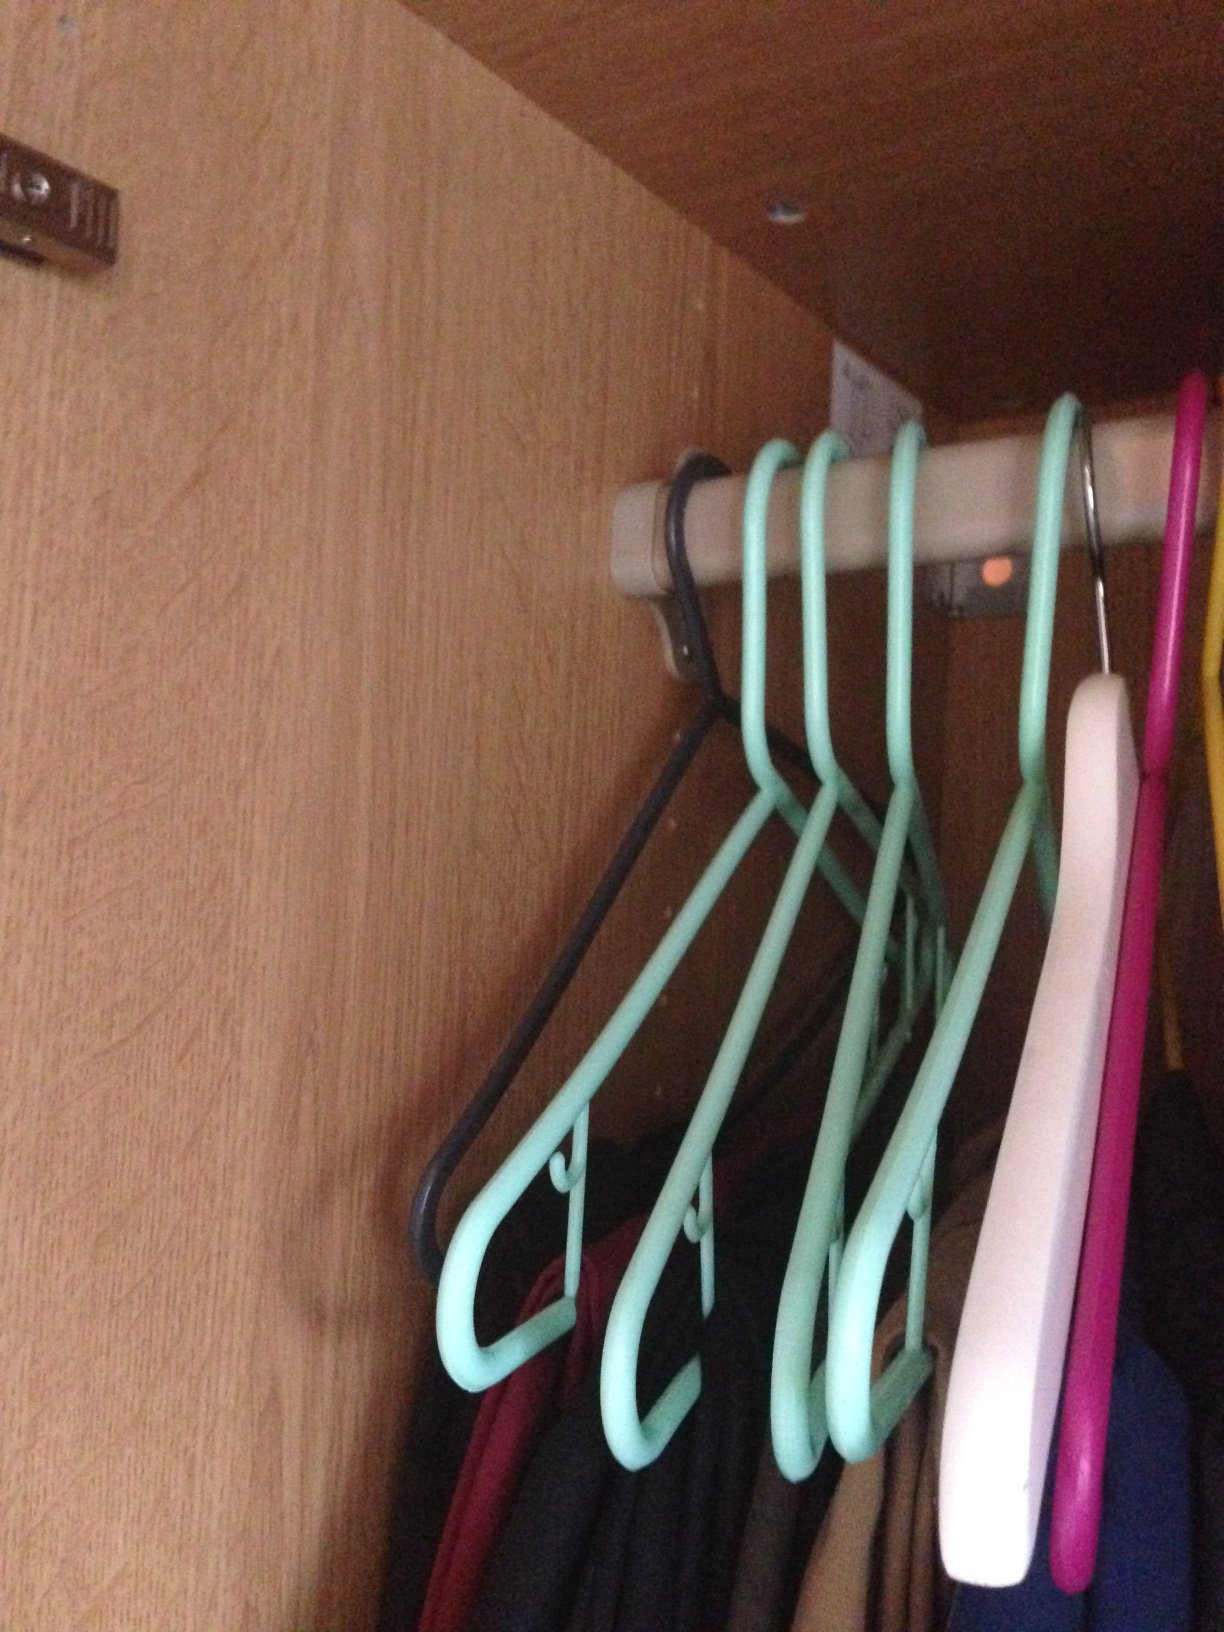
I'm not sure if it helps but this is the inside of the cupboard...

img_1037.98205


Can anyone recommend any tools/fixings/ways I can do this please? Please bear in mind that it will only be fitted at one end of the bar, the other end won't fix to anything, so the fixing may need to go inside the cupboard itself.

It would be much appreciated, thanks.
 
Last edited:
Sponsored Links
The likes of B&Q, Wickes etc have a full range of wardrobe rails, from the sockets to supports to poles.
The pole socket would be fixed to the wardrobe side with cheese head chipboard screws so you'd need a pozidriv screwdriver and a 2.5mm pilot drill to help there.
What is the other end of the pole fixed to?
John :)
 
Okay thanks.

Have you got any links you could send me so I can find these products?

It won't be fitted to anything on the other end, so the fixing will have to be extremely sturdy, or will have to go through to the inside of the cupboard. Sorry I should've made that clear.
 
You pretty much have to support it at both ends
Clothes weigh a lot.

Two options

Non supported:
Buy a much longer rail and bore a hole through your wardrobe so that you have a cantilevered rod that relies on the wardrobe for support. There will be a limit to how long the sticky out bit can be as it may bend
Also be aware of the danger of people walking into the rod end
You might find that curtain pole is a better idea?

Support the rail on BOTH ends

You could have an upstanding support, or hang something from a ceiling joist, or the wall behind the rail

If you want to go for an "industrial" look use keyclamp

https://www.keyclampstore.com/industrial-style-wall-mounted-coat-hanger

This is used in theatres for costume rails
 
Sponsored Links
Hi, I have a much longer rail which I was planning to mount on the inside (other end) of the cupboard and use the cupboard as a support as you suggested.

However, this keyclampstore product might just do it, it's not too pricey so I've just purchased one! This is probably the wrong time to ask but how to I fix each end of it? Is it quite straight forward?
 
Key clamp has ends and rails plus bends
Look at their range of fixings. They are cast so that the rails fit into the sockets and you use an Allen key to tighten. Then screw the ends to the wall/floor

You could stick with the galvanised finish or get it powdercoated (posh paint) for not too much
Or just paint it.
They might do a stainless finished product for the food trade but that would be expensive

For weight/postage I would go with aluminium
Various places sell it locally

Out of interest, it was developed near me- originally for milking parlour use!
But it is widely used for all sorts
 
Last edited:
Okay, thanks, I'll get it set up loose and will likely be back on here for advice as to next steps.

Really useful thanks!
 
you need support both ends if you fix to just one end it will fail
if you go for a triangulation at 2 points on the side it will collapse under any more than 2 or 3 items
 
Hi guys, I know this is far from good DIY but I ordered the rail recommended above and in the past hour I decided to give it a bash and put it through the side of the wardrobe and fix it on the inside. I don't have much time at the moment but I've just ordered some new shirts, so I need somewhere to hang them, so I've come up with this!

Again, I know this isn't good DIY, I'm not claiming it to be but it seems to do the job for now, that's all I care about. It's not fixed on both ends so I used cable tyres for safety and. See photos below...

IMG_1214.JPG IMG_1215.JPG IMG_1216.JPG IMG_1217.JPG IMG_1218.JPG IMG_1222.JPG IMG_1223.JPG

I know this will open up lots of question marks but ultimately do you guys think there's anything important I need to think about here? I am wary that the wardrobe might fall apart! But if it does, I'll learn! ;)
 
keep your eye on the hole
with all that weight the chipboard may start to crumble or crush
 
Okay, thanks for not slating my DIY skills :) That's the kind of advice I was looking for, I'll keep my eye on it. I actually think the cable tyres will help, because they should hold the majority of the weight.
 
If you buy another wall plate, you could do a spot of metal work to make it a through bracket.
I think at the moment the base has an internal stop?

Then fit the bracket to the chipboard and slide the rail through.

To be honest, I assumed that you'd support the end with a vertical.

Take care not to get that end in your face as it will hurt! You can buy plastic caps in yellow that act as a warning. A thing that I do while working on old motorbikes is cut a hole in a tennis ball and shove it on the end of the handlebars.
 
If you buy another wall plate, you could do a spot of metal work to make it a through bracket.
I think at the moment the base has an internal stop?

Just to let you know, I took a look on the key clamp website and saw they offer a bored out option on the flange plates, pop one of those on the rail that is protruding through the side, screw that in and an end stop in plastic, and you have a fairly finished article there, could ditch the cable ties im sure!

Great, thanks! Could you send me a link to this?
 

DIYnot Local

Staff member

If you need to find a tradesperson to get your job done, please try our local search below, or if you are doing it yourself you can find suppliers local to you.

Select the supplier or trade you require, enter your location to begin your search.


Are you a trade or supplier? You can create your listing free at DIYnot Local

 
Sponsored Links
Back
Top