

I've bought a 60's house and prior to moving in carried out some demolition work downstairs - I've removed a breeze block wall, and a builder has installed a couple of doors through 2 other block walls. We are also having a new bathroom built upstairs.
We have now moved in to the house with a fair bit of work still to do, but it is liveable....
The original idea was to get a plasterer in to carry out all the repair and plastering work once the bathroom had been built (We'd been told that plasterers don't do "bitty" work - they'd come in and do the whole lot at once, rather than do bits as they were ready), however due to delays in the bathroom build, it doesn't look like we'll be seeing any plastering done for at least a month, and that is holding up the installation of a floor downstairs.
I have a theory that its worth giving the downstairs patching a try myself. If it works, I've saved money. If it doesn't, then we'll get a plasterer in to do it properly anyway.
I've bought a bag of bonding plaster, and a bag of multi-finish plaster. I just want to run my plan past you guys as a sanity check!!!
I've removed as much of the old wallpaper either side of the working area as possible. It will all be properly stripped off at a later date and new paper applied.
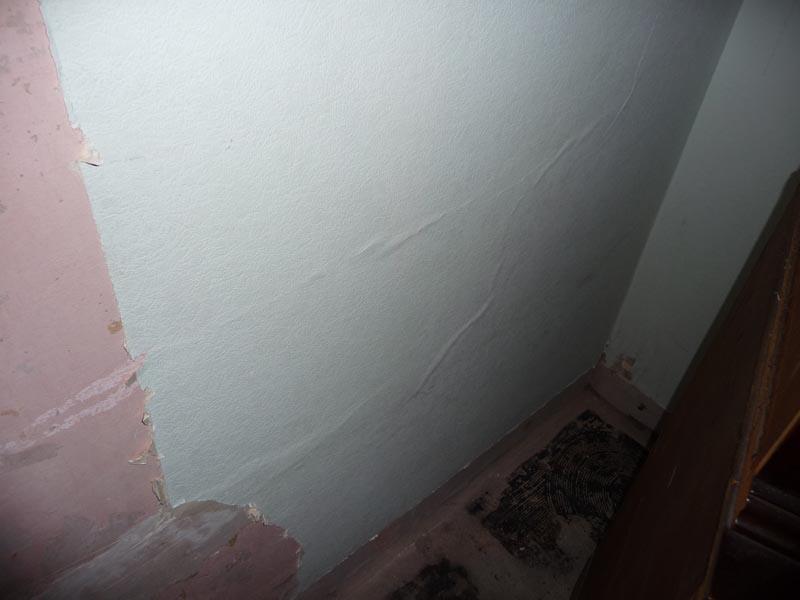
Where I've taken the wall out, there are gaps down to the blockwork, which I plan to "fill" with bonding plaster, and then skim to the level of the neighbouring walls. I have PVA'd the existing blockwork / sand & cement backing to seal it. The neighbouring walls are not at the same level it seems, so there will be a fairly obvious change in level between them - I could put some beading in and have an edge, but I was just going to slope them together (for want of a better way of explaining it!)
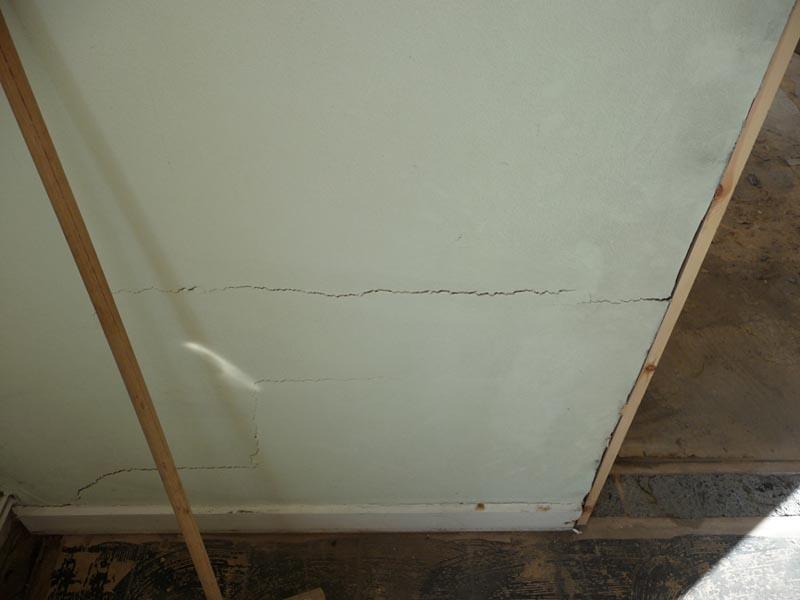
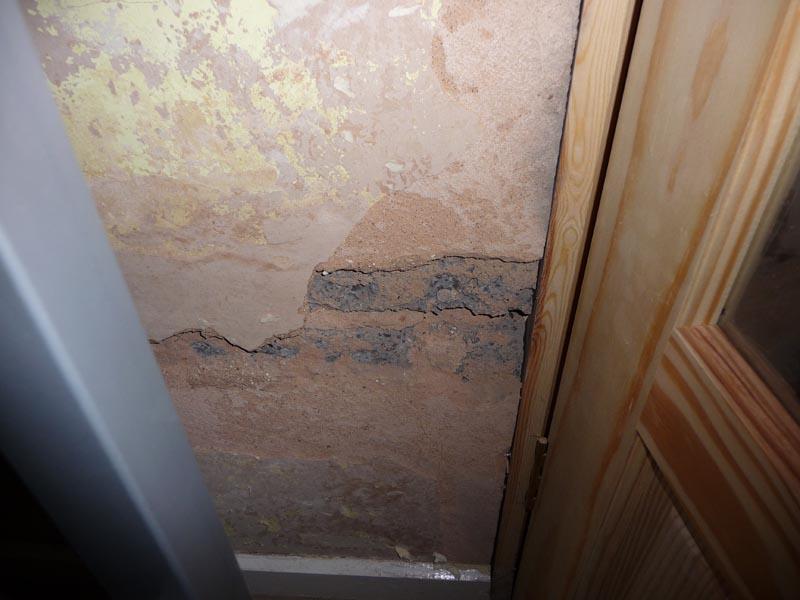
The gap in the ceiling in this area appears to be mostly plasterboard, and the bits of old plaster hanging down seem to be supported by some kind of scrim / hessian material. I plan on scrim taping any gaps (or inserting some old scrap plasterboard sections and then taping), and then skimming over.
The doors both have lintels inserted over, which have been sealed in with sand / cement mortar which has been scratched. Can I skim straight over this, or do I need to use bonding plaster first? There are gaps between the door frame and the walls, which I did consider filling or injecting with calk or something before plastering, but I was told there was no point. Is that correct? If so, then I was just going to skim over the existing PVA'd plaster and over any gaps. Will that work??
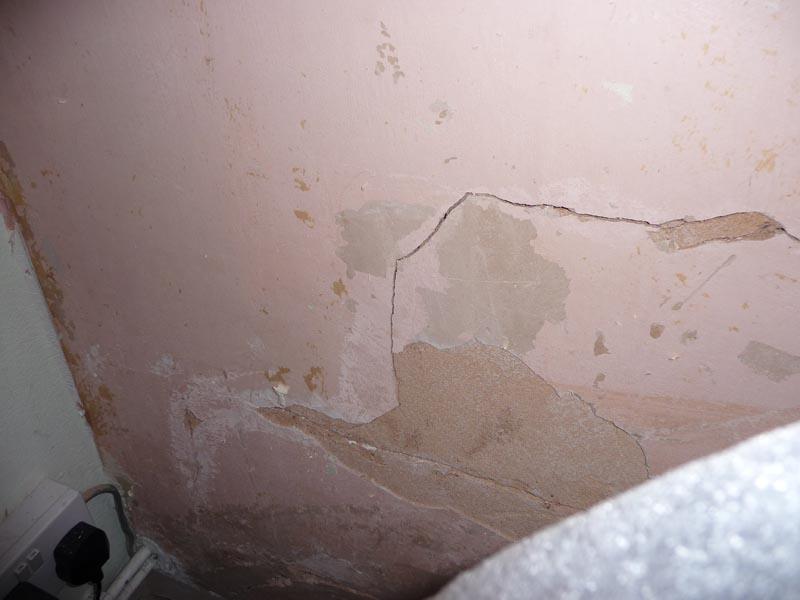
I also have a few walls where some of the old skimmed surface has come off with the paper. I guess I just PVA and then skim level with the surrounding secure plaster?
If I do a reasonable job at this, I may consider skimming the bathroom rather than getting a plasterer in...
Oh, I am a COMPLETE novice....
Is my logic / process correct??
We have now moved in to the house with a fair bit of work still to do, but it is liveable....
The original idea was to get a plasterer in to carry out all the repair and plastering work once the bathroom had been built (We'd been told that plasterers don't do "bitty" work - they'd come in and do the whole lot at once, rather than do bits as they were ready), however due to delays in the bathroom build, it doesn't look like we'll be seeing any plastering done for at least a month, and that is holding up the installation of a floor downstairs.
I have a theory that its worth giving the downstairs patching a try myself. If it works, I've saved money. If it doesn't, then we'll get a plasterer in to do it properly anyway.
I've bought a bag of bonding plaster, and a bag of multi-finish plaster. I just want to run my plan past you guys as a sanity check!!!
I've removed as much of the old wallpaper either side of the working area as possible. It will all be properly stripped off at a later date and new paper applied.
Where I've taken the wall out, there are gaps down to the blockwork, which I plan to "fill" with bonding plaster, and then skim to the level of the neighbouring walls. I have PVA'd the existing blockwork / sand & cement backing to seal it. The neighbouring walls are not at the same level it seems, so there will be a fairly obvious change in level between them - I could put some beading in and have an edge, but I was just going to slope them together (for want of a better way of explaining it!)
The gap in the ceiling in this area appears to be mostly plasterboard, and the bits of old plaster hanging down seem to be supported by some kind of scrim / hessian material. I plan on scrim taping any gaps (or inserting some old scrap plasterboard sections and then taping), and then skimming over.
The doors both have lintels inserted over, which have been sealed in with sand / cement mortar which has been scratched. Can I skim straight over this, or do I need to use bonding plaster first? There are gaps between the door frame and the walls, which I did consider filling or injecting with calk or something before plastering, but I was told there was no point. Is that correct? If so, then I was just going to skim over the existing PVA'd plaster and over any gaps. Will that work??
I also have a few walls where some of the old skimmed surface has come off with the paper. I guess I just PVA and then skim level with the surrounding secure plaster?
If I do a reasonable job at this, I may consider skimming the bathroom rather than getting a plasterer in...
Oh, I am a COMPLETE novice....
Is my logic / process correct??
")

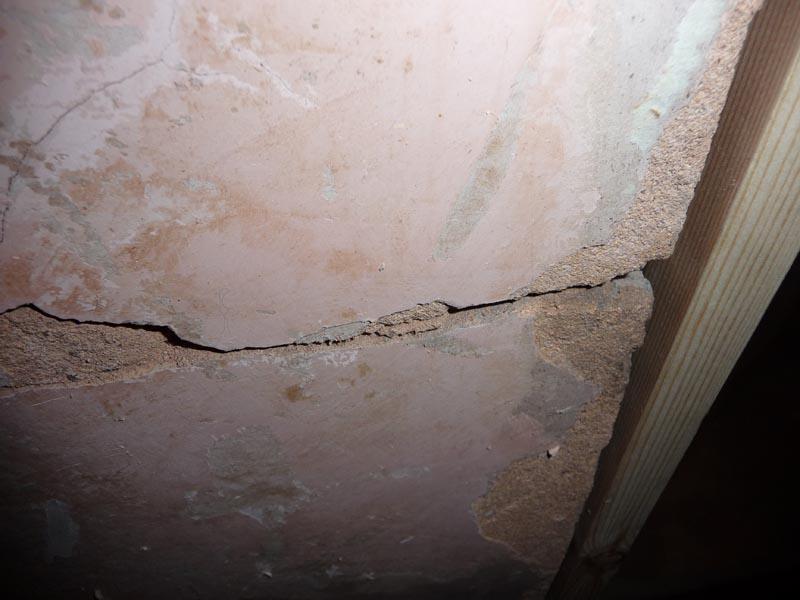
 dodgy! you sure it doesnt need rebuilt?
 .
.