

Well, I now officially hate grouting natural stone tiles. 
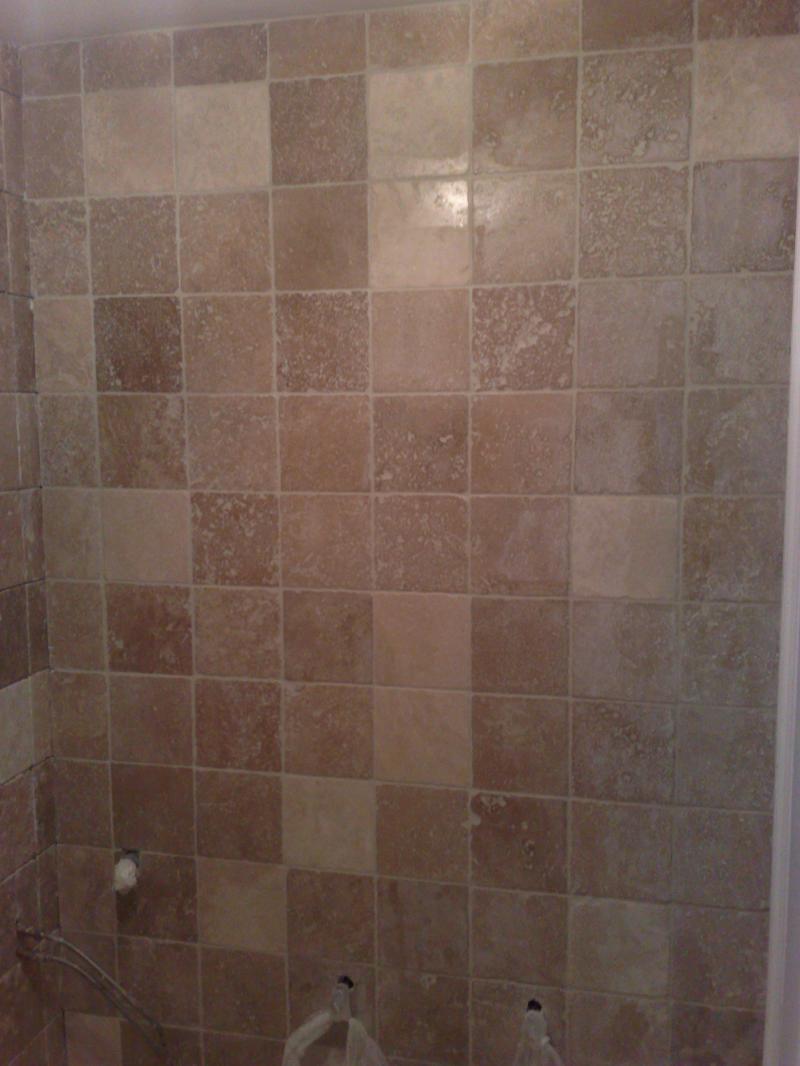
One wall done, took nearly two hours to do one small wall!!! wtf?
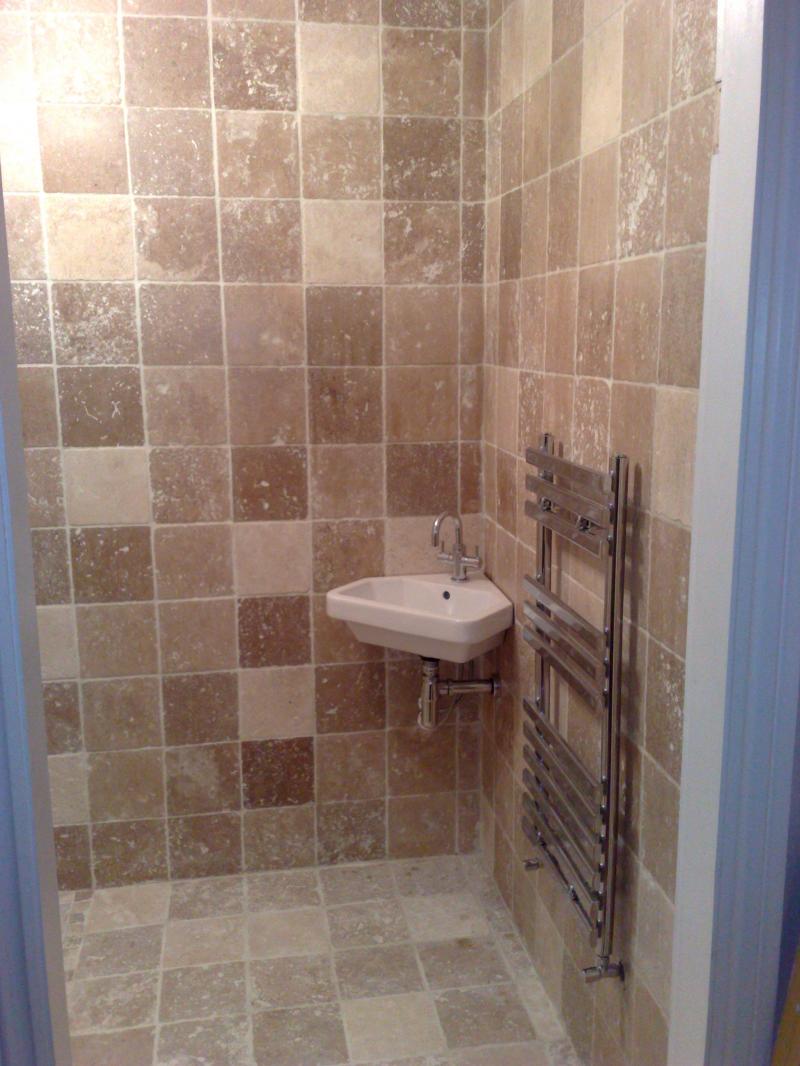
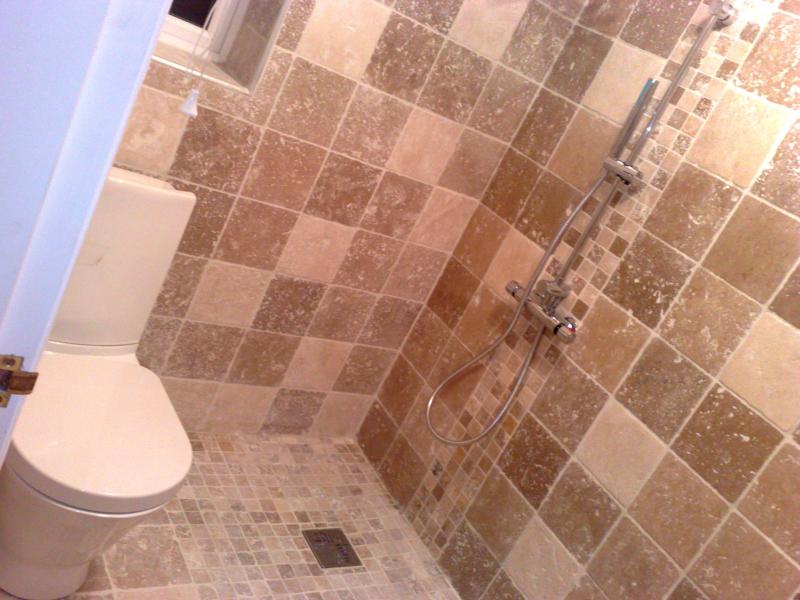
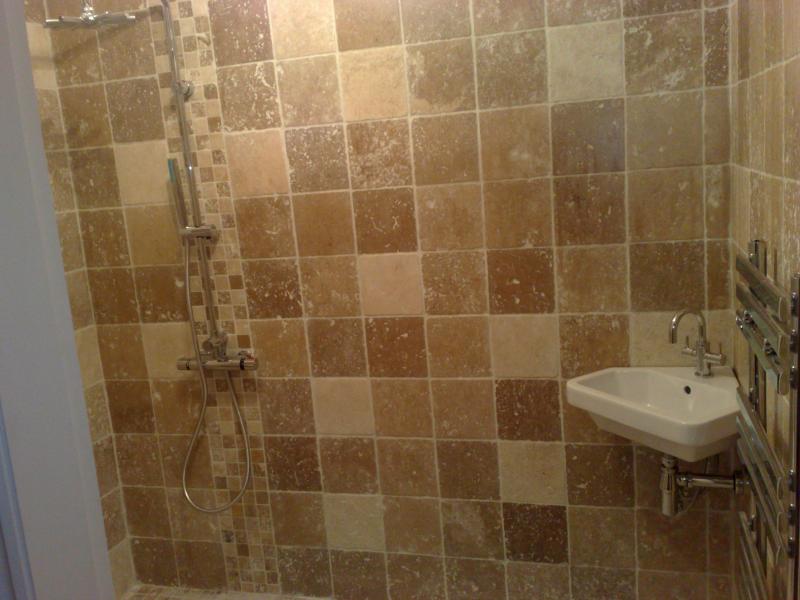
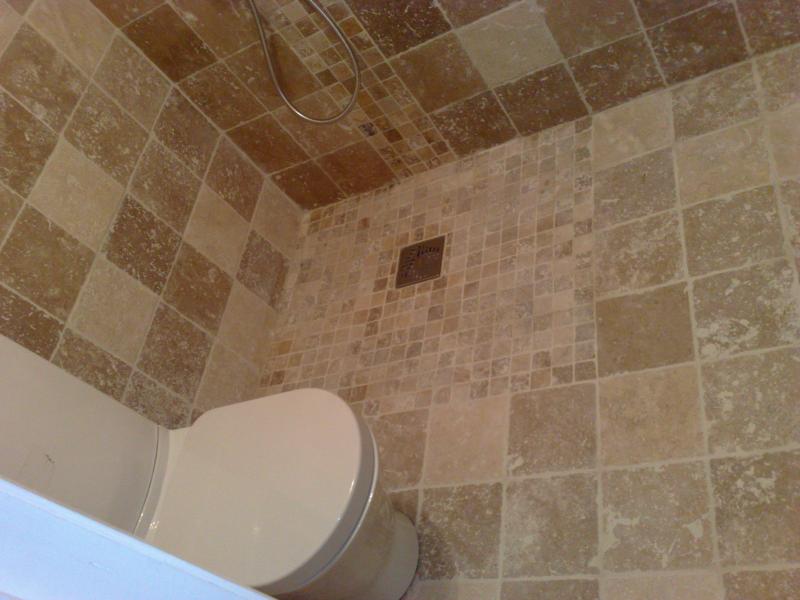
Anyway, comparing the two, grouted and ungrouted:-
Think I do prefer it grouted actually.
Just 3 more to do so it's going to take longer again than expected. I'm off for a take away now and a couple of shandies.
")
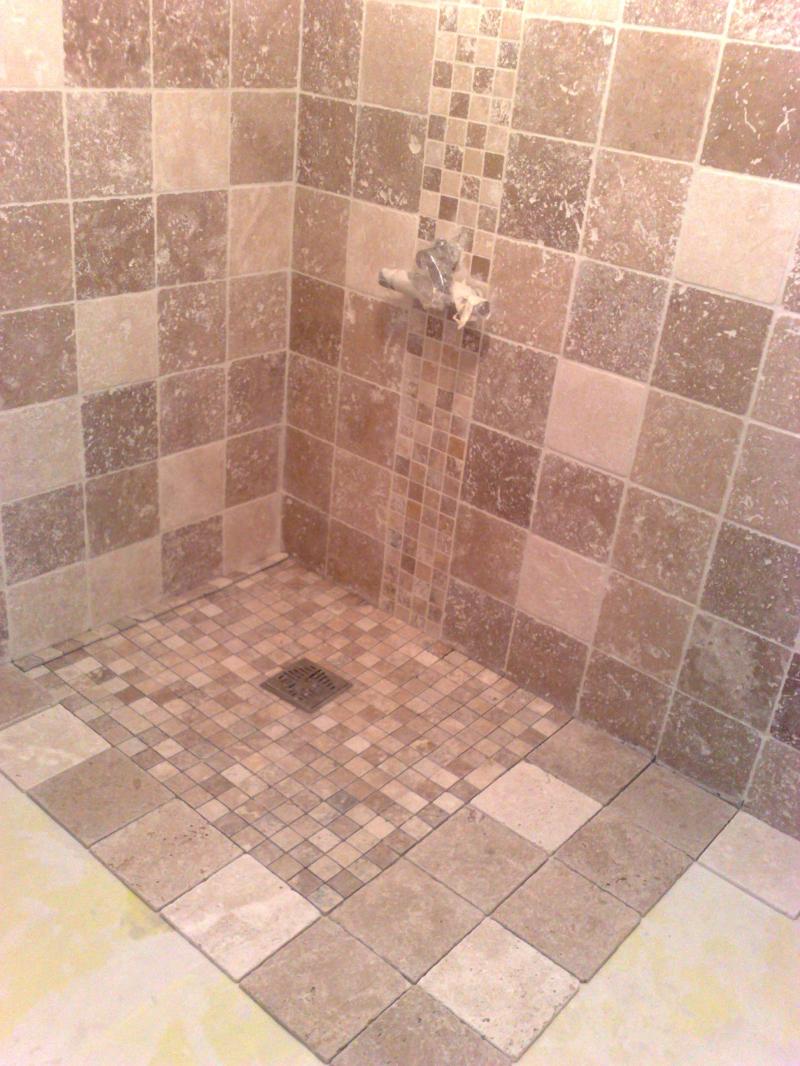
One wall done, took nearly two hours to do one small wall!!! wtf?
Anyway, comparing the two, grouted and ungrouted:-
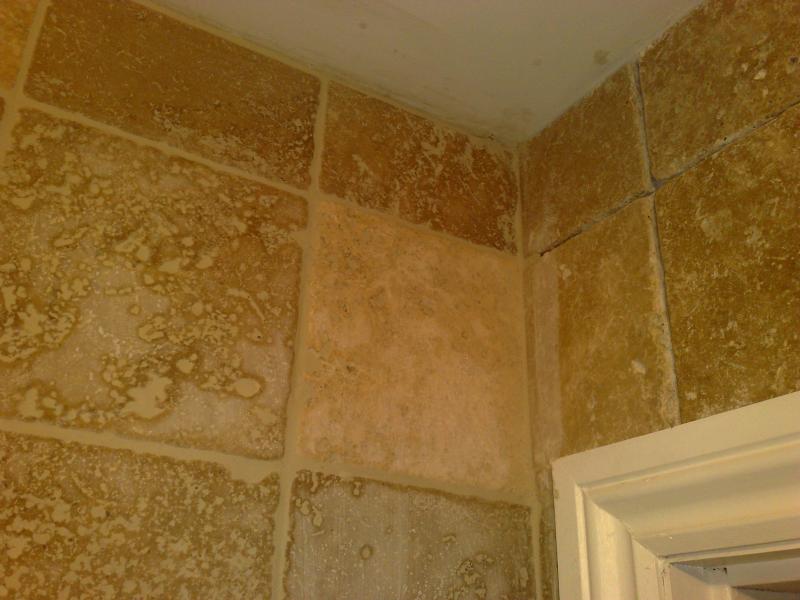
Think I do prefer it grouted actually.
Just 3 more to do so it's going to take longer again than expected. I'm off for a take away now and a couple of shandies.


")