
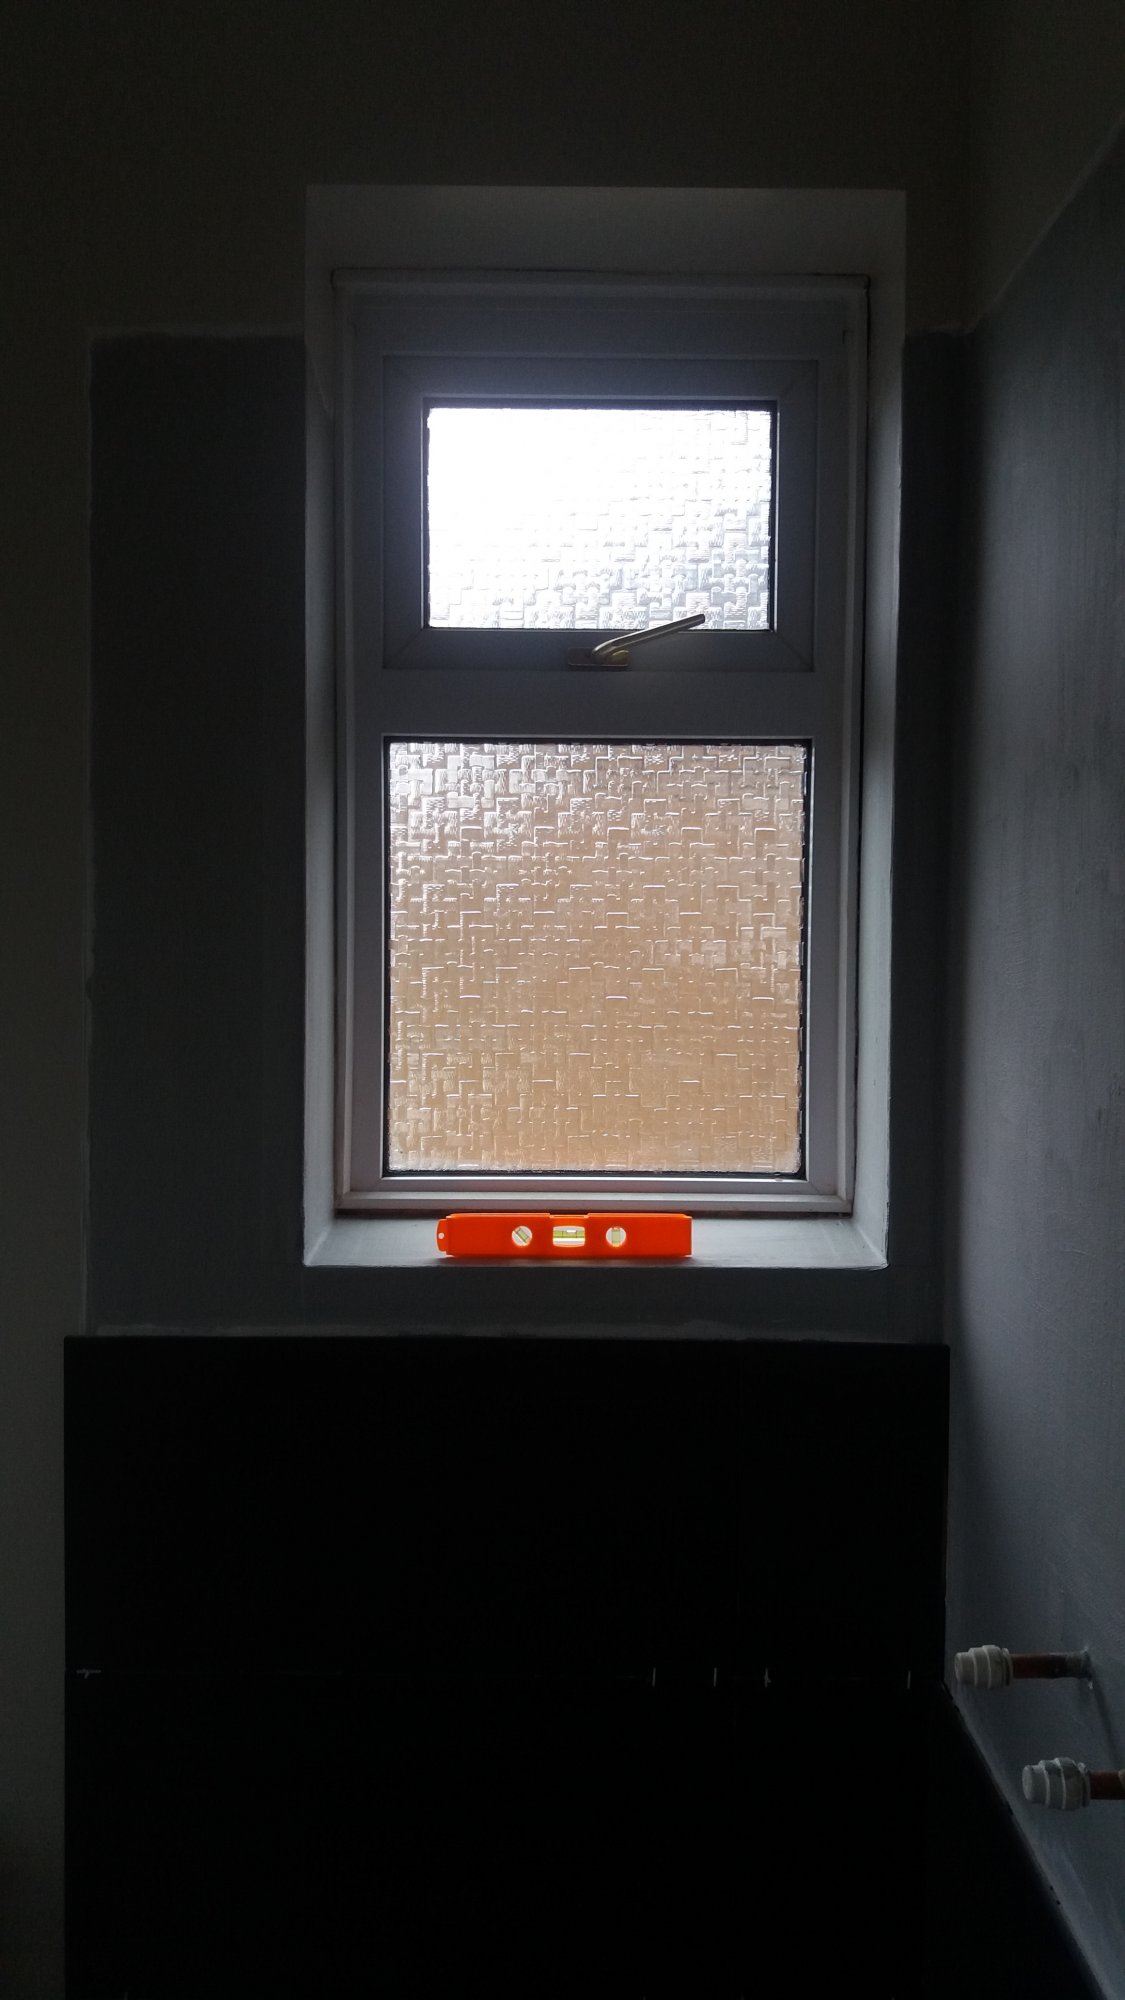
I'm looking for some advice on how to tile round a window. In what order should the tiling be done is it the wall first and then the window reveal, I also have some straight edge trim that we might use. The window ledge is also not quite level. Photo of the window below, the tiling will go more than three-quarters up.

You are using an out of date browser. It may not display this or other websites correctly.
You should upgrade or use an alternative browser.
You should upgrade or use an alternative browser.
Tiling round a window
- Thread starter Kitsune
- Start date
When I get chance to get to a computer, I'll tell u how to do it - I'm using my phone at the mo and the answer will be quite long winded.
That would be great we have an idea of which way to do it but not sure if it's the right way.When I get chance to get to a computer, I'll tell u how to do it - I'm using my phone at the mo and the answer will be quite long winded.
OK, sorry for the delay.
1) Work out where your first tile is going to go in terms of left anf right. Every other tile will fall on the wall relative to this first one - basic rule is, you want to make sure of two things:
i) That the last full column of tiles moving towards each edge of the wall finishes far enough away from the corner so that the cut tiles (the ones actually tucking into the edges) are of a decent size - you don't want to be shaving a tiny bit off a full tile, or making tiny slither cuts all the way up the left or rigt side of the wall
ii) That the cuts around the window reveal (vertically) are of a decent size too, for the same reasons as above.
A simple method "to try" would be to mark the centre of the reveal and try the following two arrangements
i) line the centre of a tile with the centre mark on the reveal and see where your cuts will fall
ii) if your cuts are a bit slim, frame shifting the whole lot across half a tile, i.e. line up the edge of your first tile with the centre line on the reveal. See where your cuts fall now. Remember, you need to be thinking about your cuts up each side of the wall and also up each side of the window reveal.
If niether method gives you acceptable cuts, try shifting the whole frame along quarter of a tile - less desirable, but practicality should prevail over aesthetics when it comes to DIY if i) and ii) dont work.
2) Once you have established the positioning of the first tile right and left, you need to repeat the same procedure moving from top to bottom. Your aiming for decent size cuts at the top and bottom of the wall and also at the top and bottom of the reveal. The procedure is the same as above.
You can make a gauge rod to help show you where your cuts will fall - a piece of timber with several tiles and grout lines marked on it. This can be slid from left to right and top to bottom. REMEMBER - you should know what size cuts (roughly) you will have all the way around the edge of the wall and the reveal before you start.
3) Once you have the starting height on the wall established, fix a batten horizontally at this level and work from there. Mark your first tile (left to right) on the batten and away you go. Fix your full tiles and give yourself a vertical column of tiles all the way up passed the top of the reveal. In your case, this will only be on the left side of the reveal as you will have cuts running up the other side of the wall, unless you're using really tiny tiles.
4) When it comes to the reveal - you need to establish where the reveal is its smallest top to bottom - looking at the spirit level, its likely to be on the left. When you have worked this out, mark your first cut tile so that it runs a few mm passed the bottom of the reveal at this narrowest point. Mark all the other tiles running across the bottom of the reveal the same size as this one. You want a cut line of tiles to all be in line with each other running across the bottom of the reveal. If the reveal runs out a lot, when you look at the back of the tiles you have just cut and fixed, you will see the reveal running out. Now cut a small piece of trim and slide it down behind the tiles and then slide it from the corner of the reveal to the other. This will clean out the adhesive in that area and will give you time to fix the rest of the tiles before fitting trim. If you dont do this, when you come to fit the trim later, it wont slide in because of the dried adhesive.
5) Repeat this process for the sides of the reveal.
6) If youre only tiling halfway up the wall, you will need to run trim across the top row of tiles and will need to externally mitre it into the reveal. You can buy 3 way corner trim blocks that fit on the corners of the reveal and you just run your trim up to them. Probably better than a dodgy 3 way mitre.
Hope this helps.
Will
Last edited:
The above process if how to tile a window wall - didnt realise you had already started it. Still, the procedure for the reveal is the same. If you decide you would prefer a 3 way mitre at the corners, there are google pages explaining how to do it. Very difficult to explain.
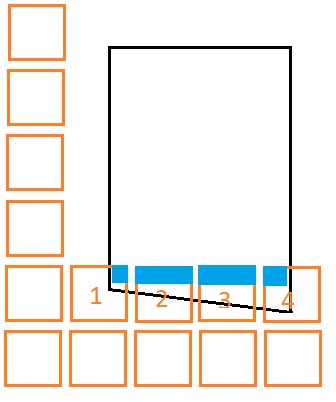
The above is a quick sketch ive knocked up - the blue bits are the cut outs. Same principle all the way round the reveal - this will get rid of any unlevelness in the reveal.
Thanks Will that's really helpful and now I know how to get the ledge and sides looking straight.
I'm not sure where it's best to have the tile trim. From what I can think of we have two options both with pros and cons.
Either inside the window reveal
or on the window wall
Inside the window reveal would mean the tile trim goes behind the tiles on the wall and also covers the L cuts on the tile. The difficulty I can see with this is that as you cut your tiles for the wall first and fix them you need to allow for the depth of tile and adhesive bed on the window reveal so when these are fixed afterwards they are level with the trim. I would be worried about getting this right.
If the trim went on the window wall then it would go under the tiles on the reveal and would still cover the L cuts on the wall tiles. Looks wise I don't like this option as much but it does appear it may be easier to fit this way.
What do you think, I hope I made sense, is there a standard when it comes to straight edge tile trim as to where it is fitted or is it either option is ok and personal preference.
Thanks for your help
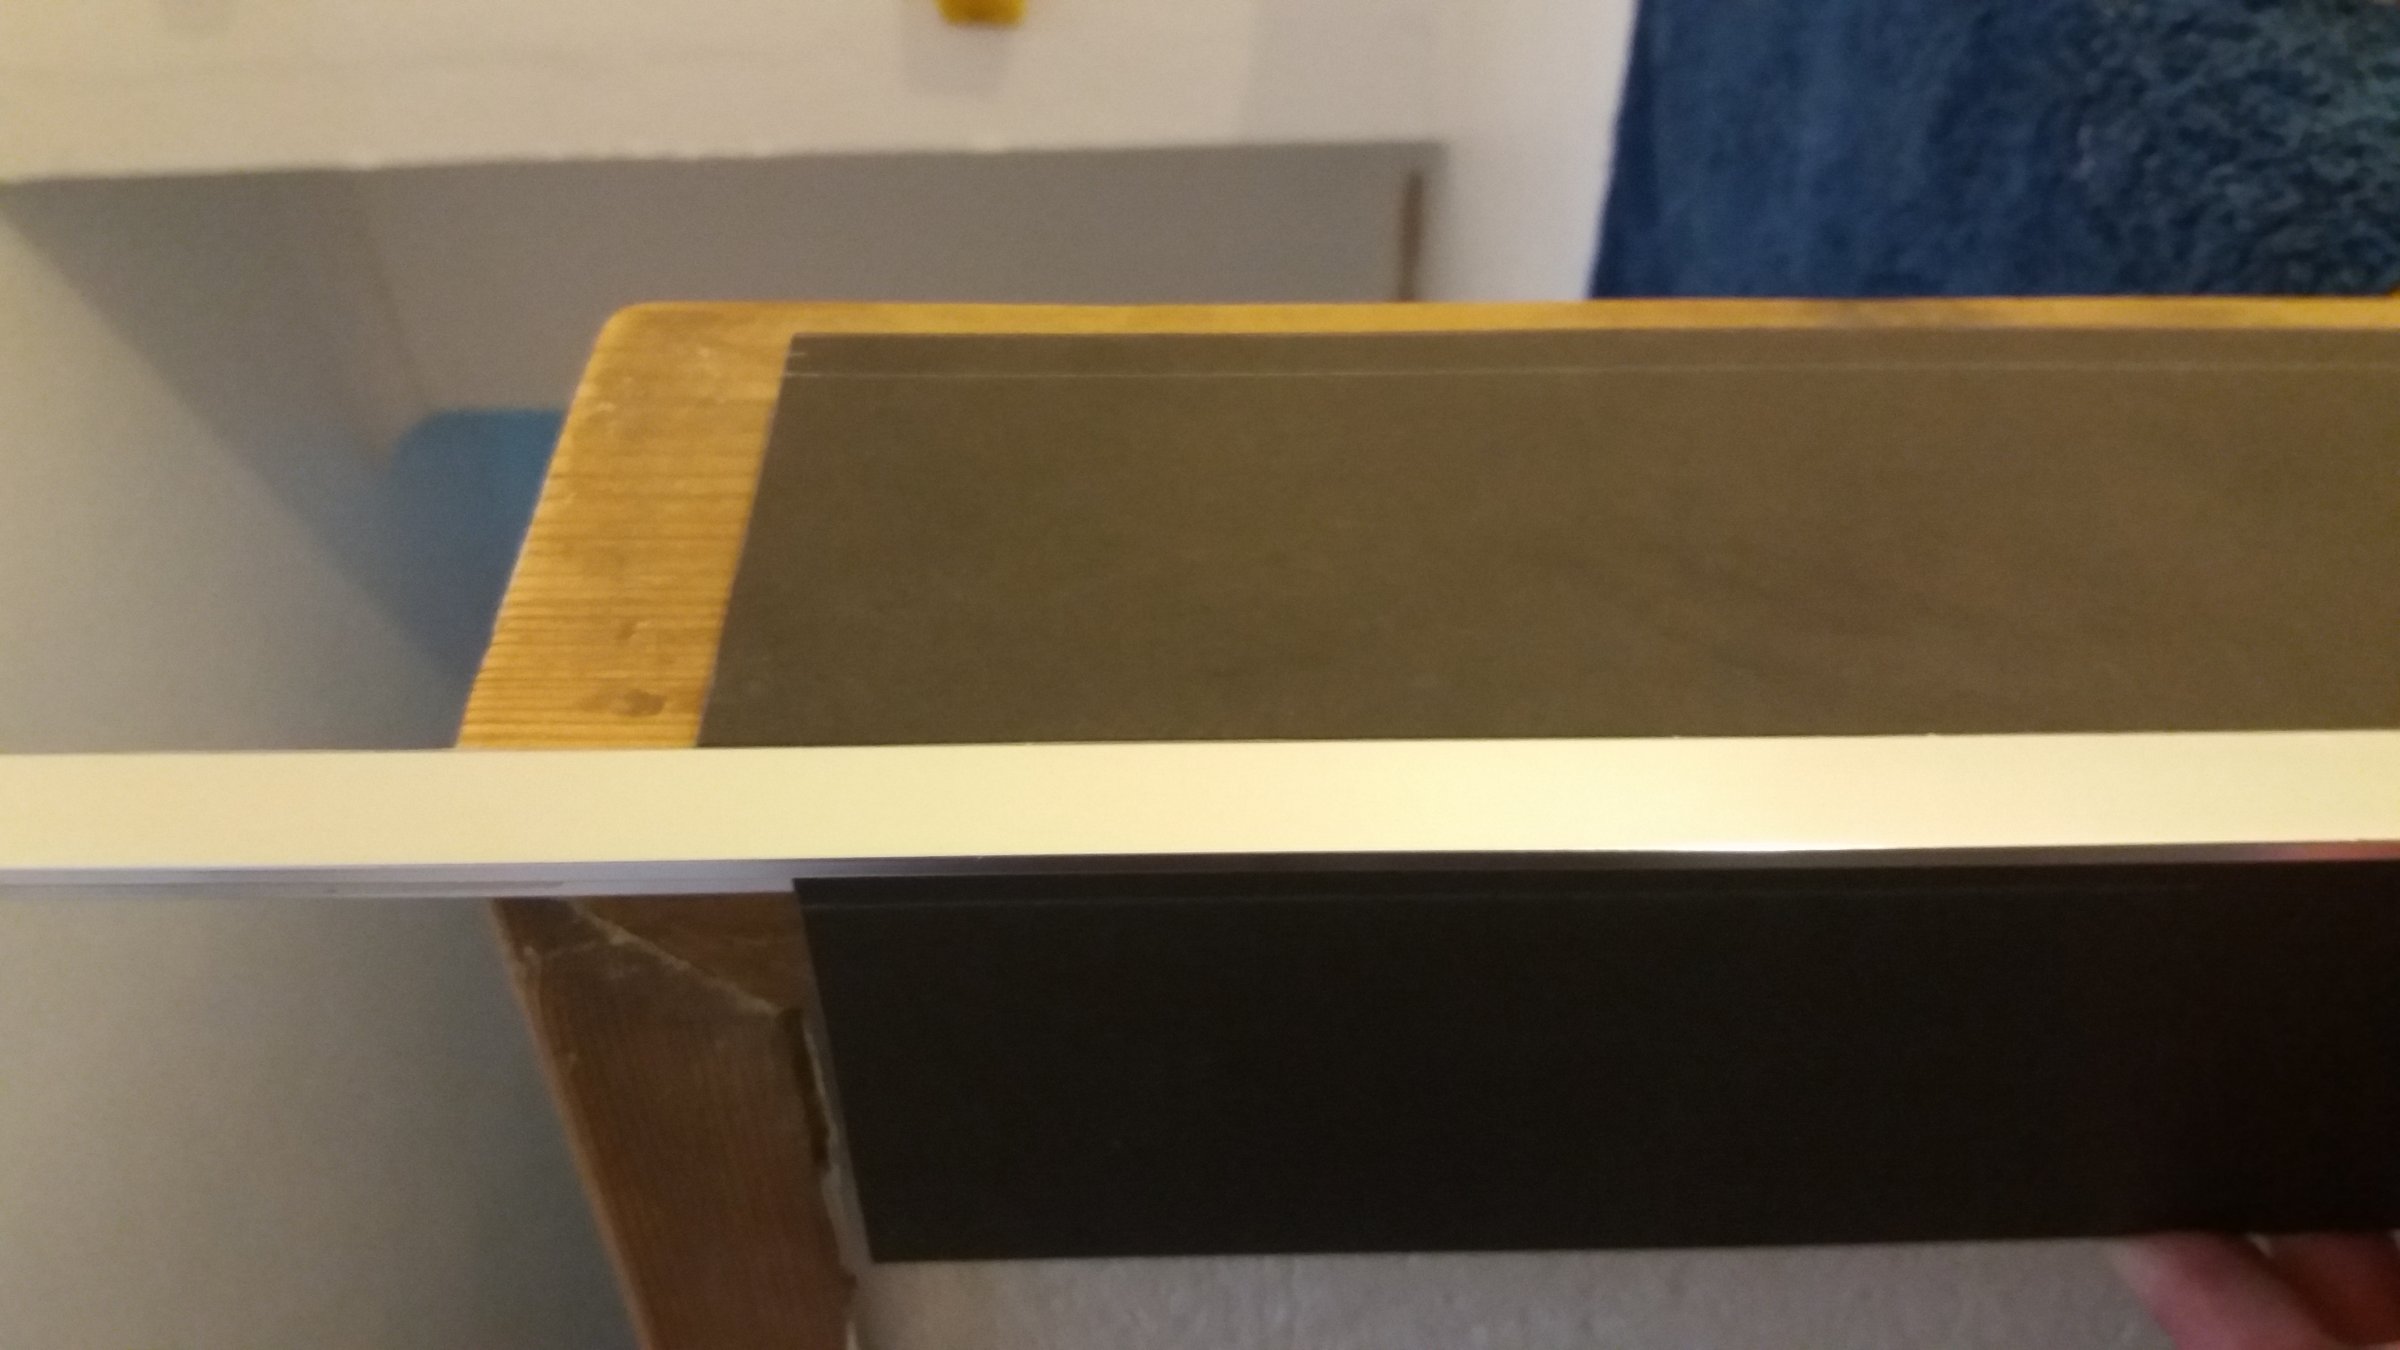
Your choice mate as to which way around you get the trim - but in response to your concerns about getting the cuts big enough to allow for the adhesive and tile coming out of the reveal - you need to ensure that your your first tile (number 1 in the sketch) is cut so that it extends a few mm passed the bottom of the reveal - the trim will add a bit of height too. You then build up the reveal with adhesive to get the reveal tiles level.
I always use single part flexi adhesive (bag of powder) for the insides of the reveals as it sets via hydration and can be built up nice and think, where as tub adhesive has to 'dry' and this can be problematic when its too thick.
As long as your first tile is cut passed the reveal a few mm, then your trim is on top, you will see how much thickness you have to play with - your better having a few mm too much than 1 mm to little. Thickness can be accomodated with addy, but if the tiles on the face face of the wall around the reveal are cut too close to the edge then there is nothing you can do about it.
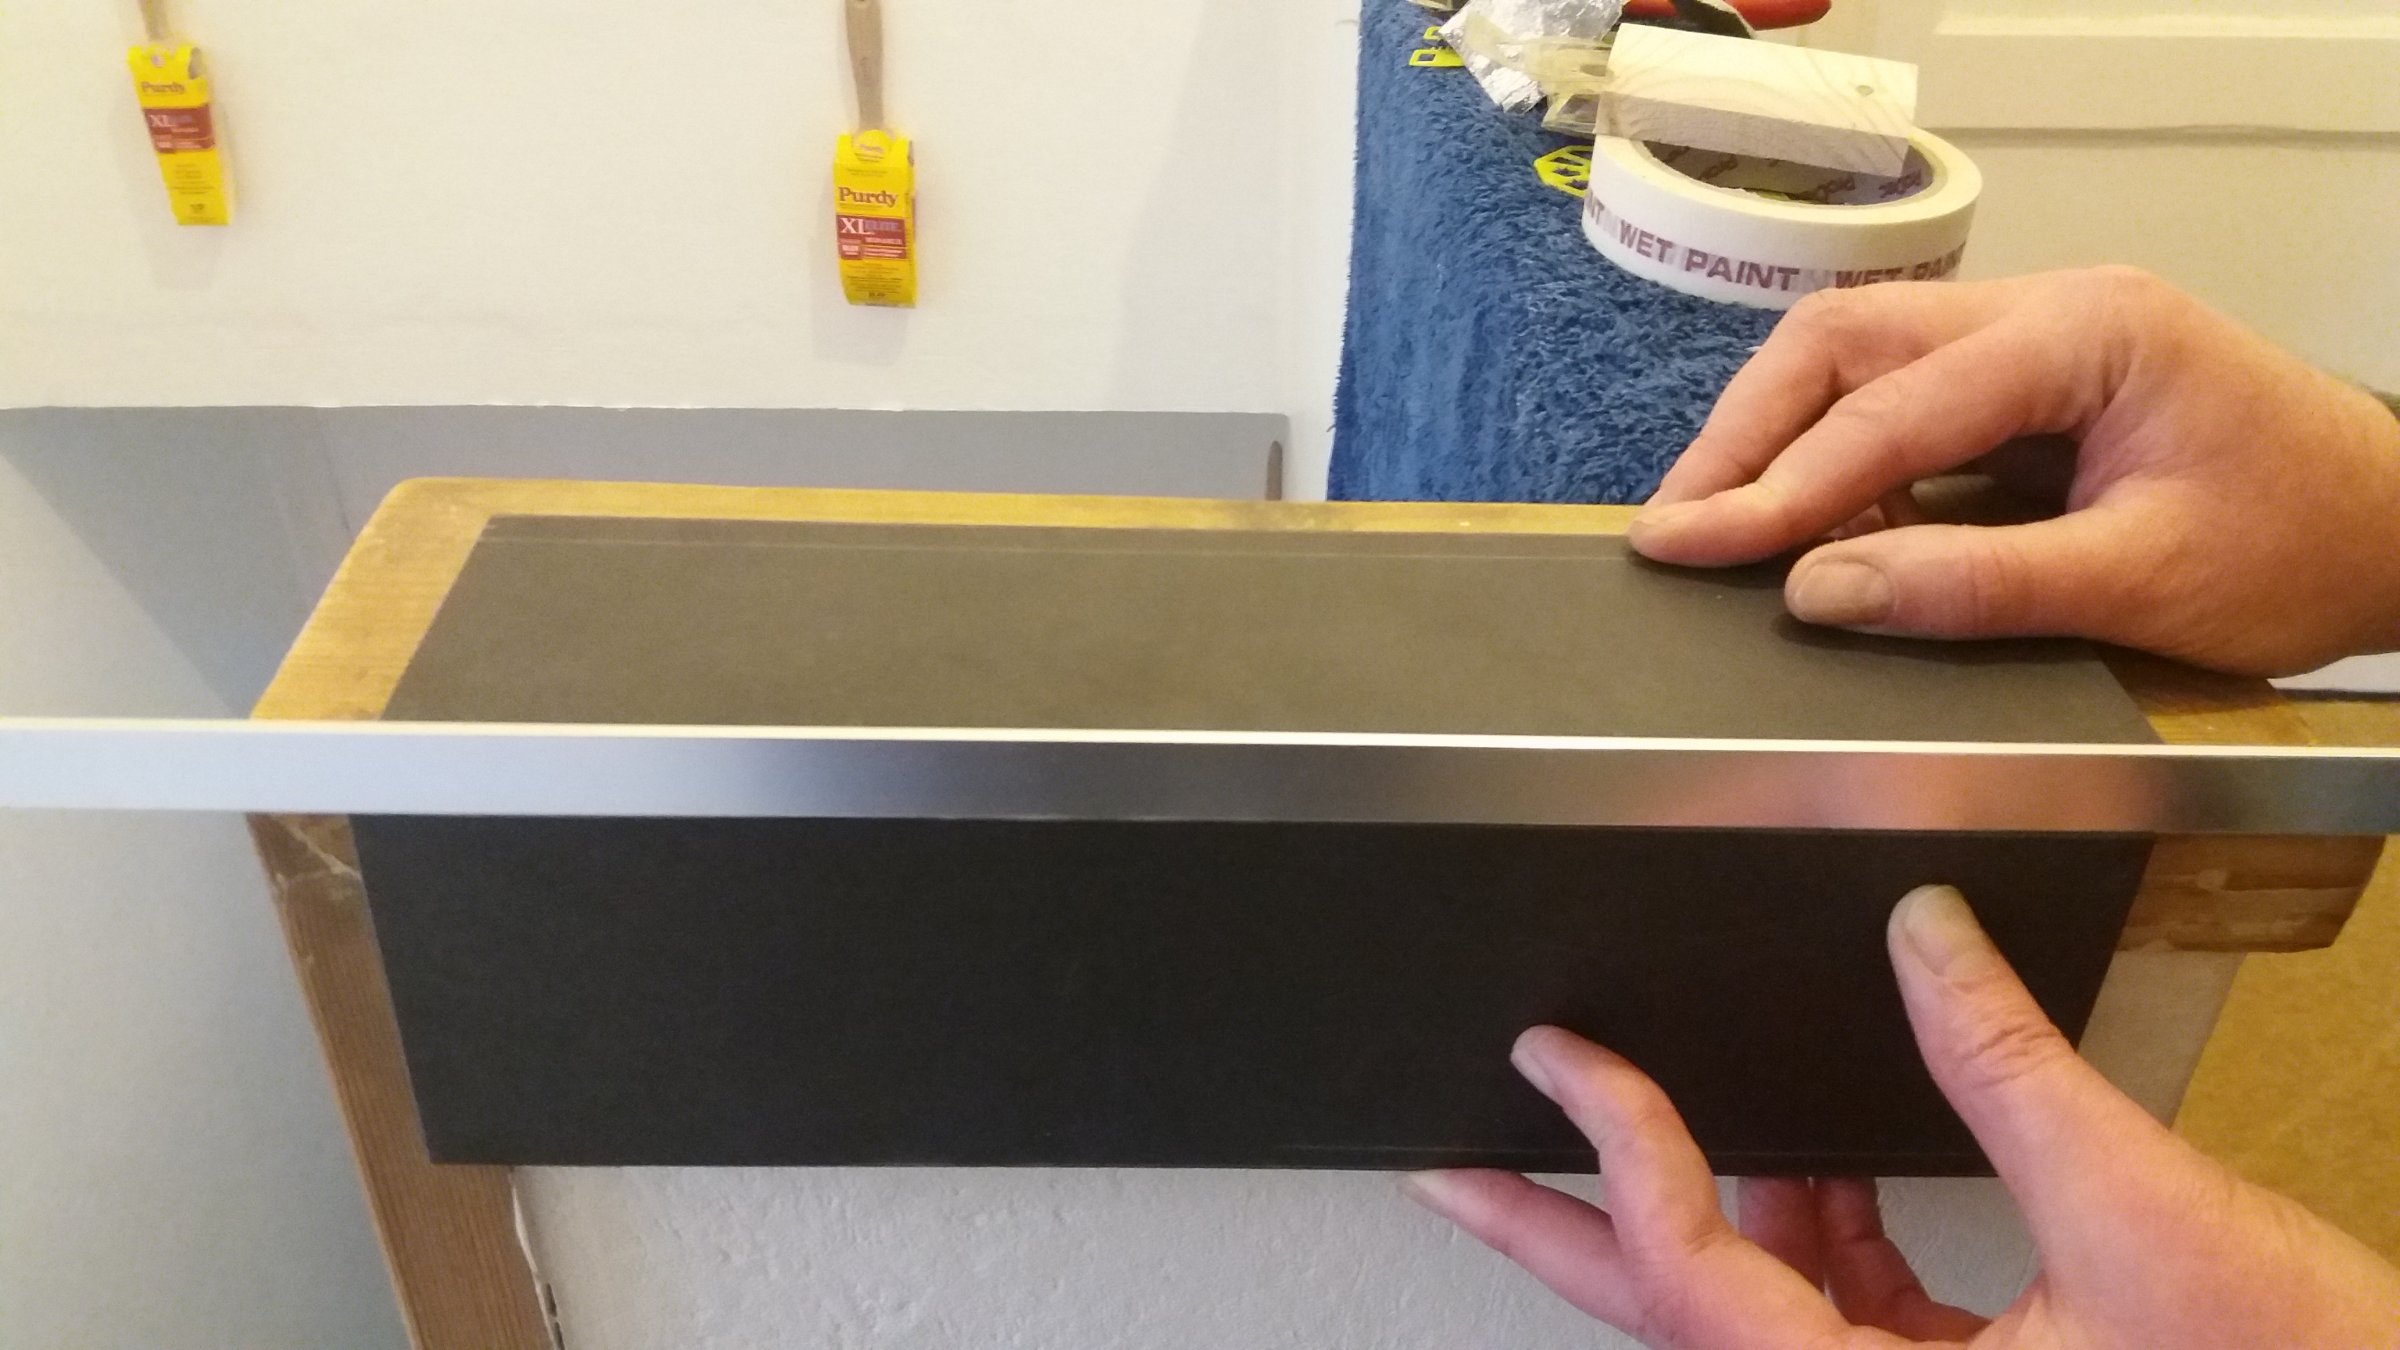
Cut your first one (tile 1 in the sketch) and place it in position dry. Then place a piece of trim on top and look at the backside. How far passed the reveal does it extend? Place cut piece of tile on the reveal and but this up to the back of tile 1 - without any addy under this cut piece, it should be sat about 3 to 4 mm below the upper level of the trim.
I always use single part flexi adhesive (bag of powder) for the insides of the reveals as it sets via hydration and can be built up nice and think, where as tub adhesive has to 'dry' and this can be problematic when its too thick.
As long as your first tile is cut passed the reveal a few mm, then your trim is on top, you will see how much thickness you have to play with - your better having a few mm too much than 1 mm to little. Thickness can be accomodated with addy, but if the tiles on the face face of the wall around the reveal are cut too close to the edge then there is nothing you can do about it.
Cut your first one (tile 1 in the sketch) and place it in position dry. Then place a piece of trim on top and look at the backside. How far passed the reveal does it extend? Place cut piece of tile on the reveal and but this up to the back of tile 1 - without any addy under this cut piece, it should be sat about 3 to 4 mm below the upper level of the trim.
DIYnot Local
Staff member
If you need to find a tradesperson to get your job done, please try our local search below, or if you are doing it yourself you can find suppliers local to you.
Select the supplier or trade you require, enter your location to begin your search.
Please select a service and enter a location to continue...
Are you a trade or supplier? You can create your listing free at DIYnot Local