Use of compressible joint when encasing rainwater pipe

Joined
11 Apr 2006
Messages
2,154
Reaction score
201
Location
Berkshire
Country
United Kingdom
I'm running a 100mm pipe over 10 metres. The pipe will connect the bottom of my rainwater guttering to my new soakaway.

Since the top of the pipe will be 20cm below the surface of an existing concrete drive, I'm going to put the pipe on a 10cm bed of pea shingle, then encase the remainder in concrete.

This will mean the pipe will have 10cm of concrete to each side, and 20cm above.

I'm using standard orange pvc sewer pipe with sliding fit rubber seals. Do I need to use compressable board at each joints to allow each section of pipe and concrete to move independantly?

The reason I ask, is that the concrete is bound to bond in to the existing driveway, so it's not really going to be able to move in reality. It's not like they'll be fully floating as they would be if I was burying it all in soil...

thanks

Gary
 
Sponsored Links
My quick answer is to lay the pipe on pea gravel as you suggest (with the right fall) then surround with pea gravel and finish with a suitable hardcore before concreting over the top to the level of the drive.

Unless I’m missing something i can't see why you would need to completely concrete the pipe into the trench and even if you did do that you might put a piece of plastic over the pipe socket(s) and they should be fine.

Trouble with concreting it all in is you would have terrible trouble getting at it again if necessary; with hardcore between the pea gravel and concrete you could at least break the concrete and shovel out the gravel to the pipe.

Remember not to allow leaves etc down the pipe to the soak away as the debris will block it up eventually.
 
Thanks Aqua. I've just phoned my BCO to check that this will be acceptable, given that he'll be the guy signing it off. He seems happy with 10cm pea shingle beneath and to the sides, and around 1 inch of pea on top so as to maximise the amount of concrete (given that I'll have limited space, this should give me around 17cm of concrete)

He also said I should consider including some A412 mesh into the mix...
 
Sponsored Links
Would have thought dog kennel would have been finished by now.

Cheers oldun. What can I say, I'm a slow worker! I think we had it plastered and 'finished' in around late November but then got distracted by Christmas. So now I need to sort the final loose ends to get BCO sign off - things like installing loft insulation, and the soakway pipe.

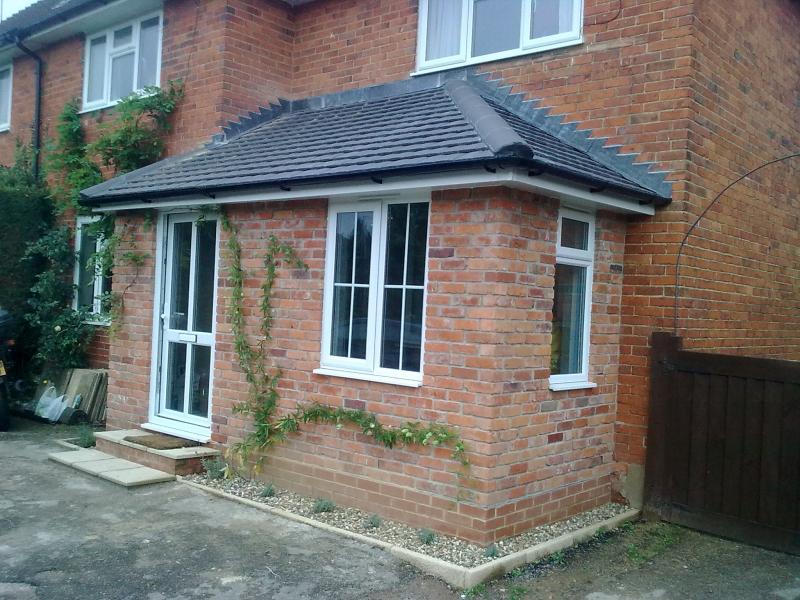
I don't have any pics of the inside unfortunately, but the old front door opening has been opened up by 20cm either side, so it's really transformed the downstairs/lobby area of the house.


We've acid cleaned the bricks since this photo so the brick colour match is a bit better. As you can see, I went with a hip end at either end of the roof... what a pain that was!

I've got a 9" cutter so I'll cut two slits as you say. What do you think about adding some concrete fibres rather than mesh? I'm going to chuck in some black dye too so that it blends in with the driveway slighly better.

Cheers

Gary
 

DIYnot Local

Staff member

If you need to find a tradesperson to get your job done, please try our local search below, or if you are doing it yourself you can find suppliers local to you.

Select the supplier or trade you require, enter your location to begin your search.


Are you a trade or supplier? You can create your listing free at DIYnot Local

 
Back
Top