
- Joined
- 23 Dec 2017
- Messages
- 50
- Reaction score
- 5
- Country

Backround
I bought my 2 bed house in December 2016 and have completely modernised the whole house - new carpets, radiators, kitchen floor, worktops.
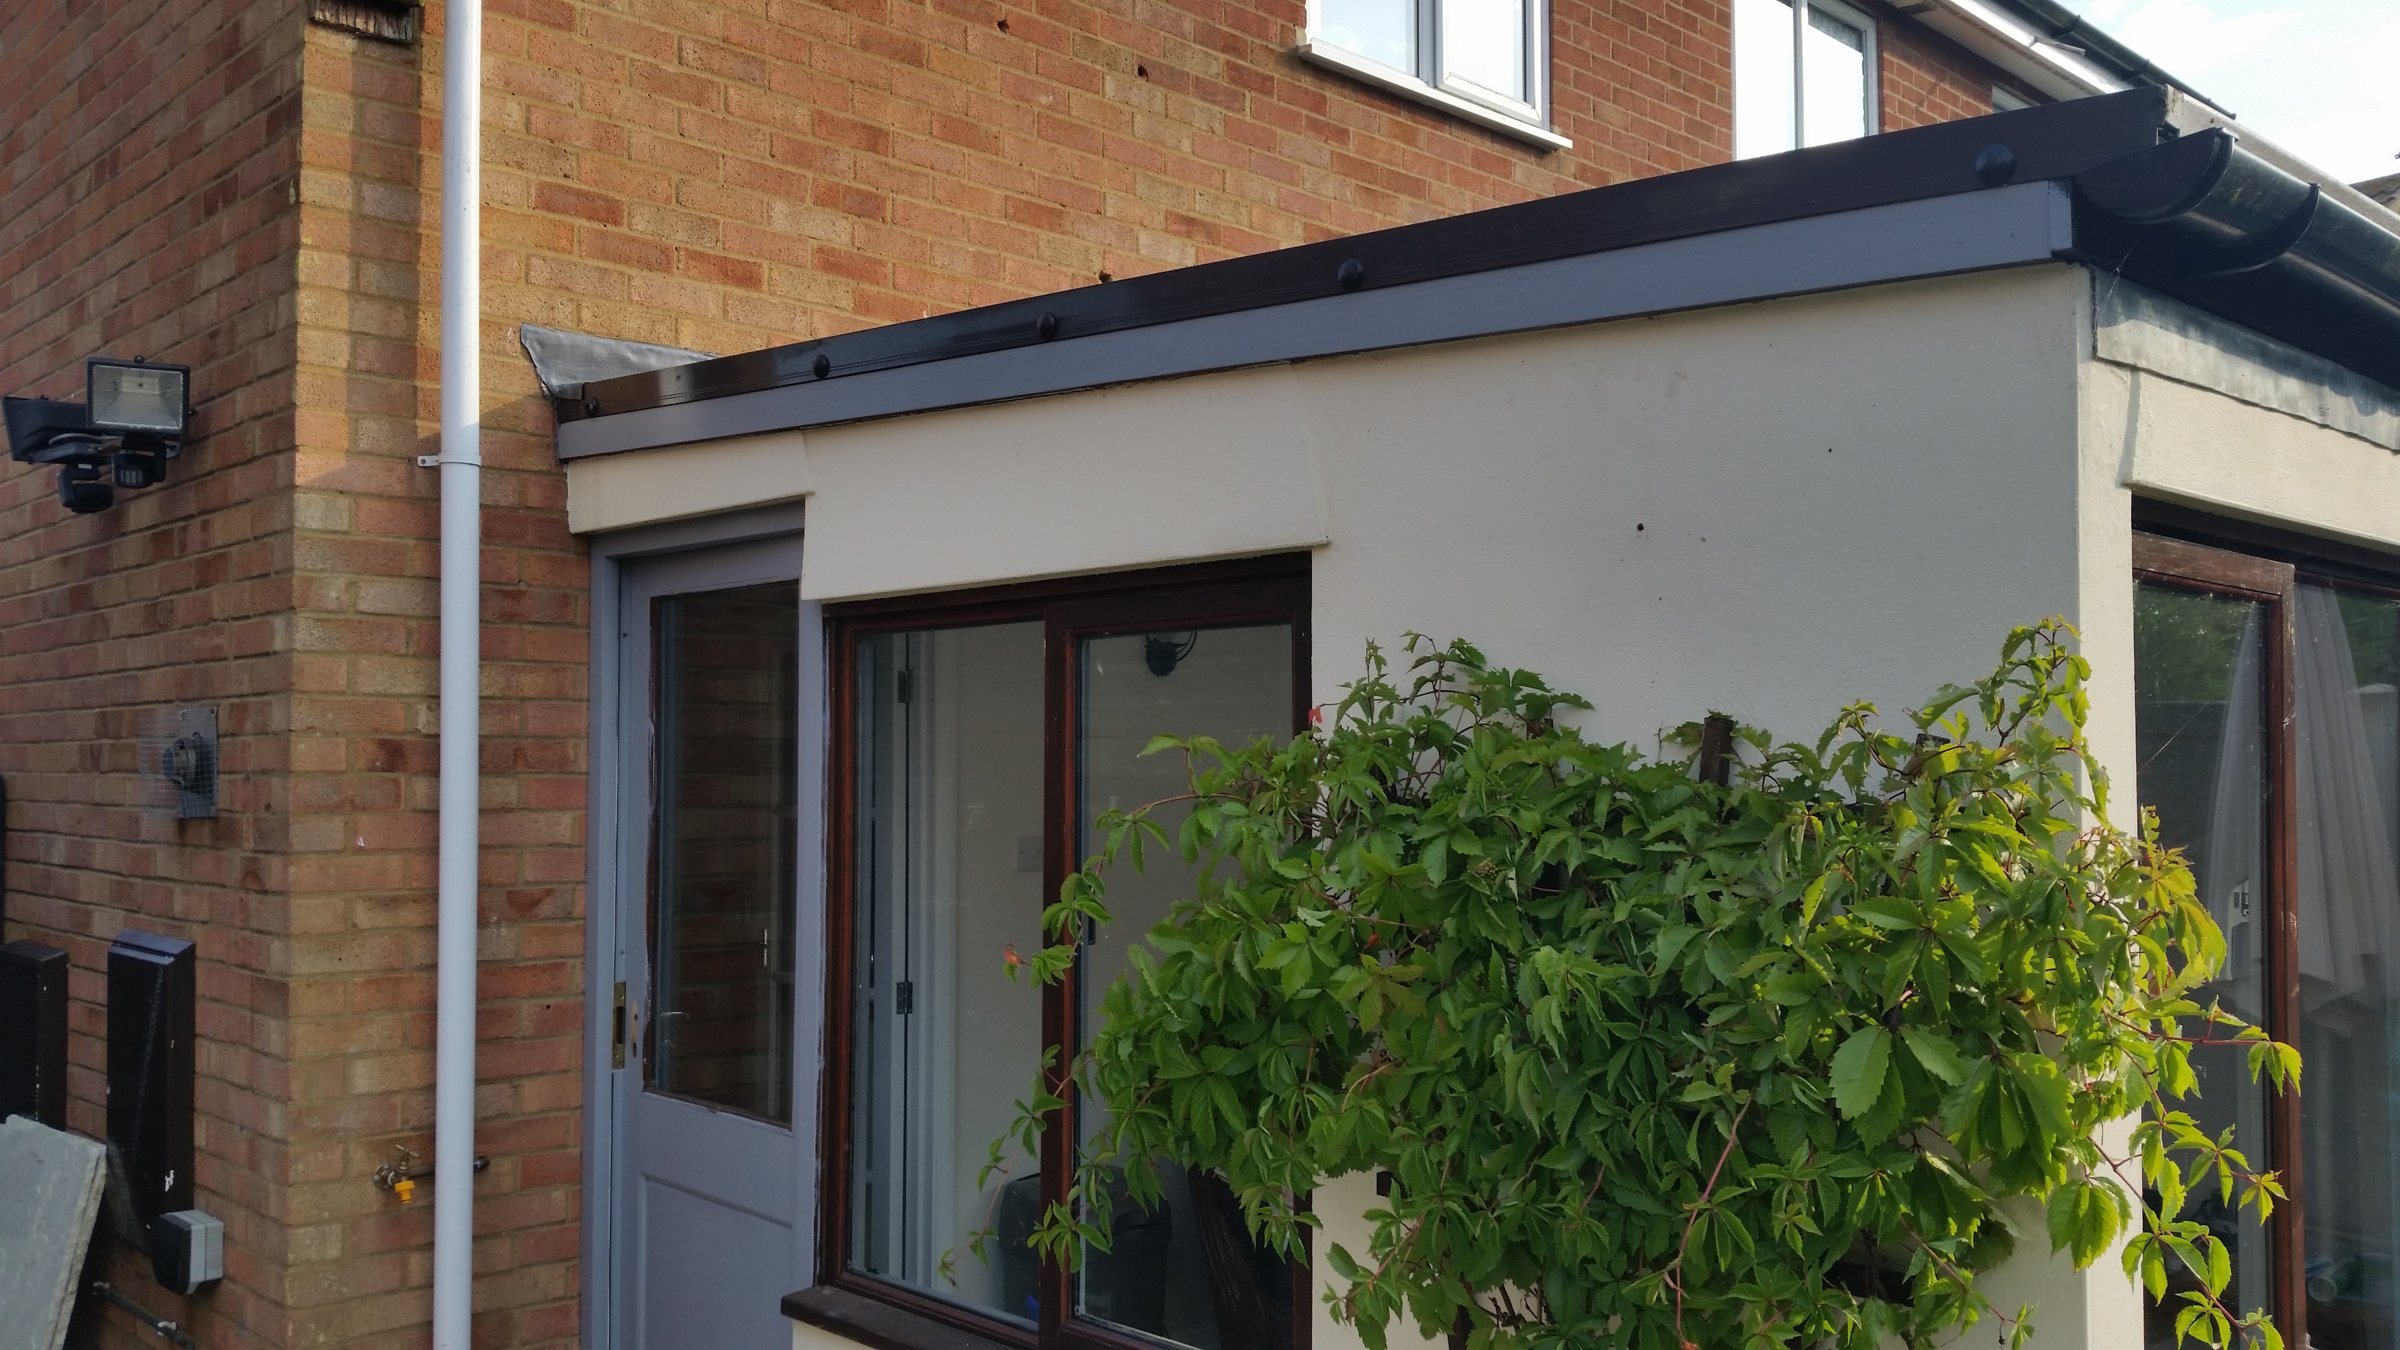
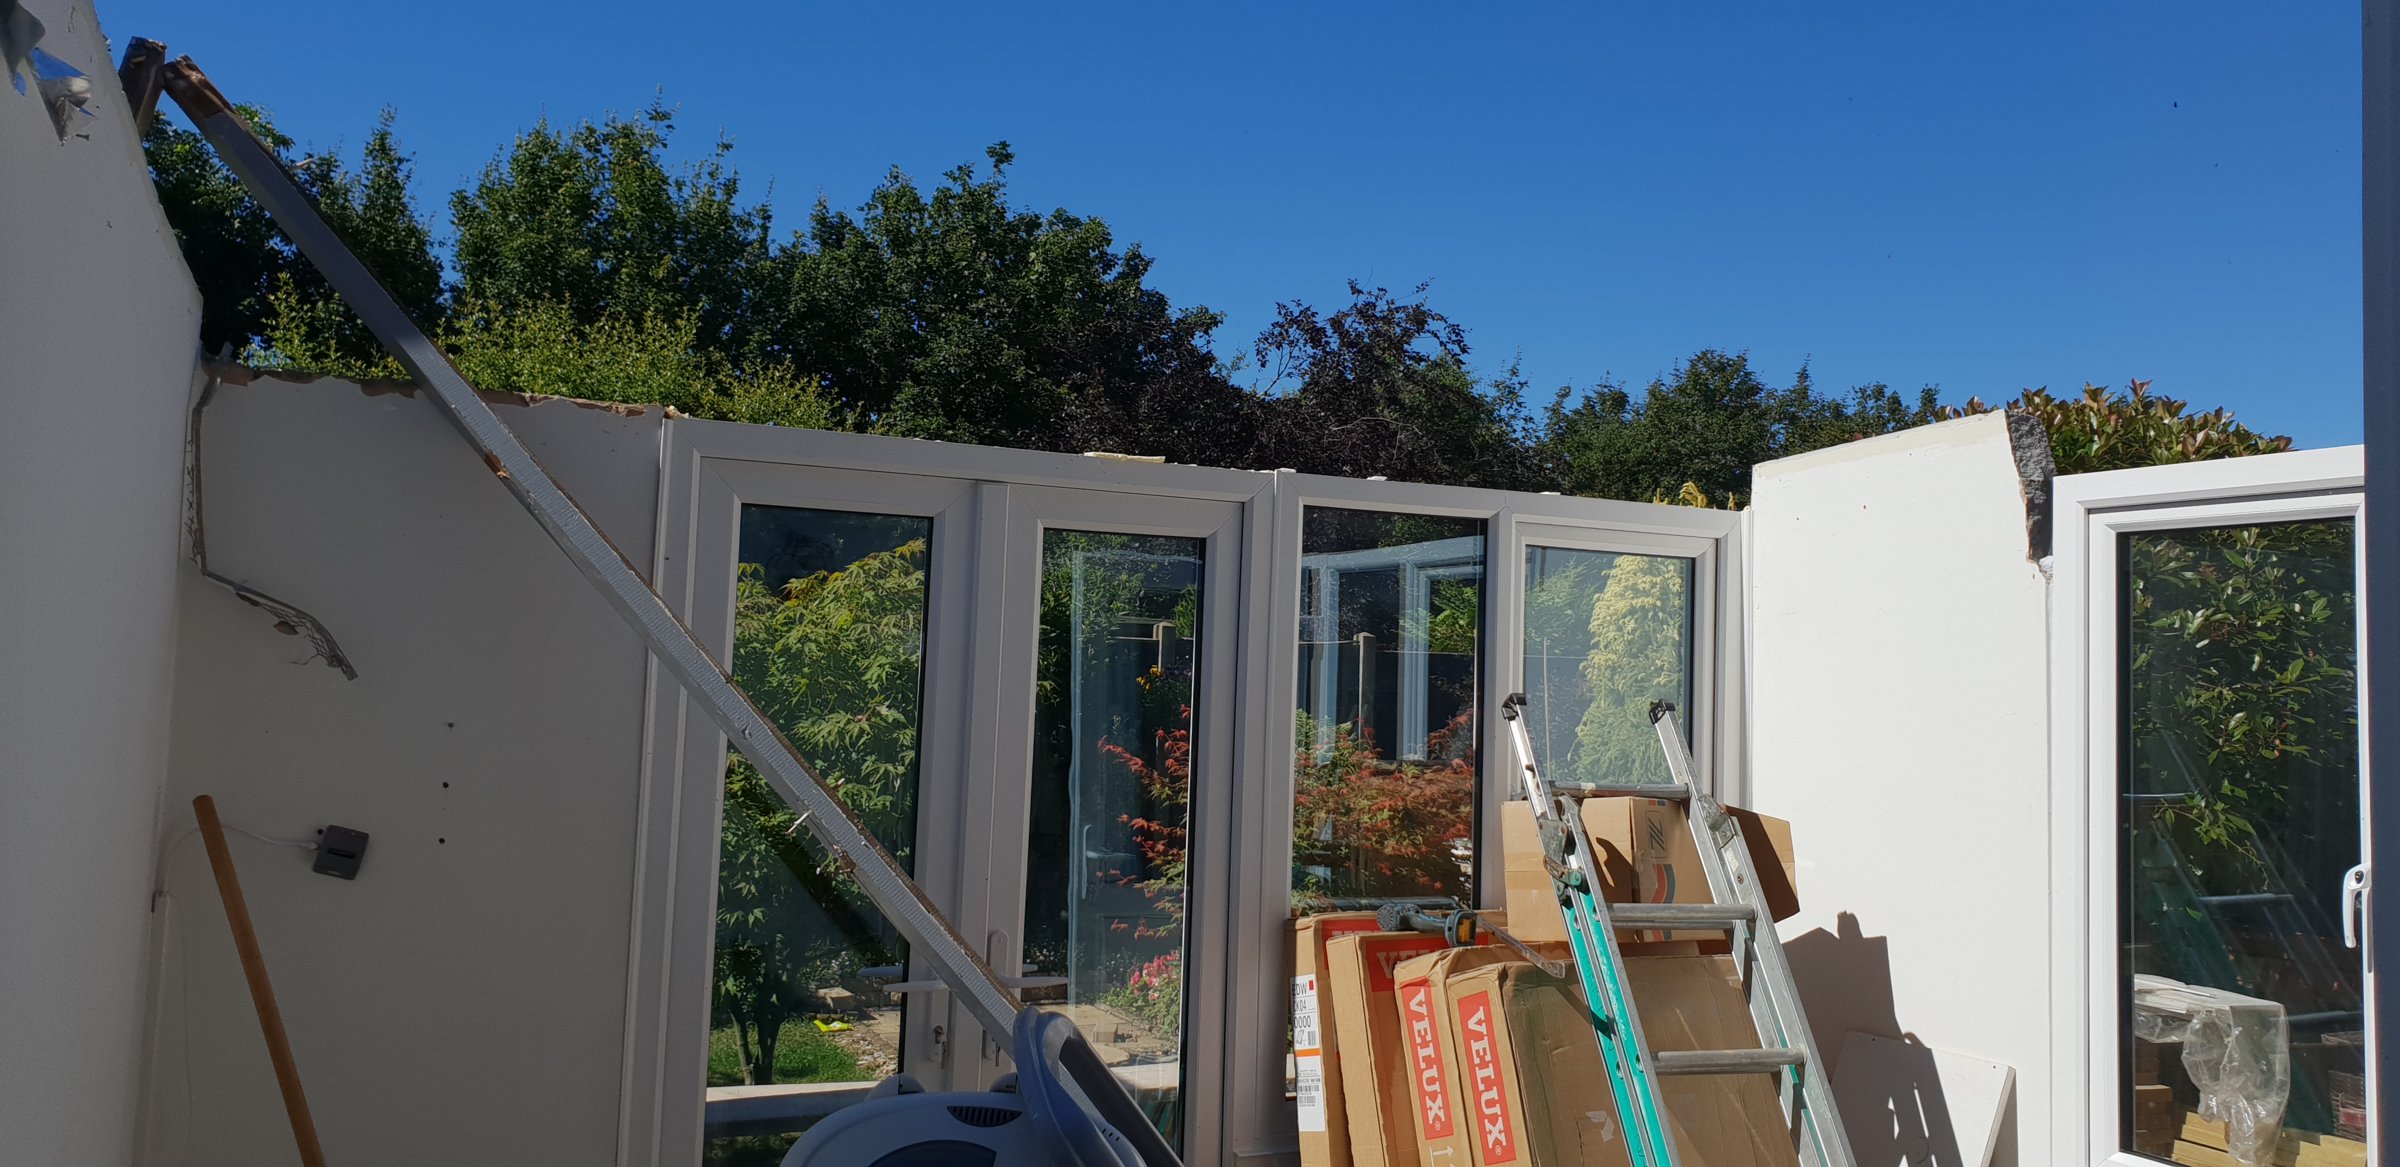
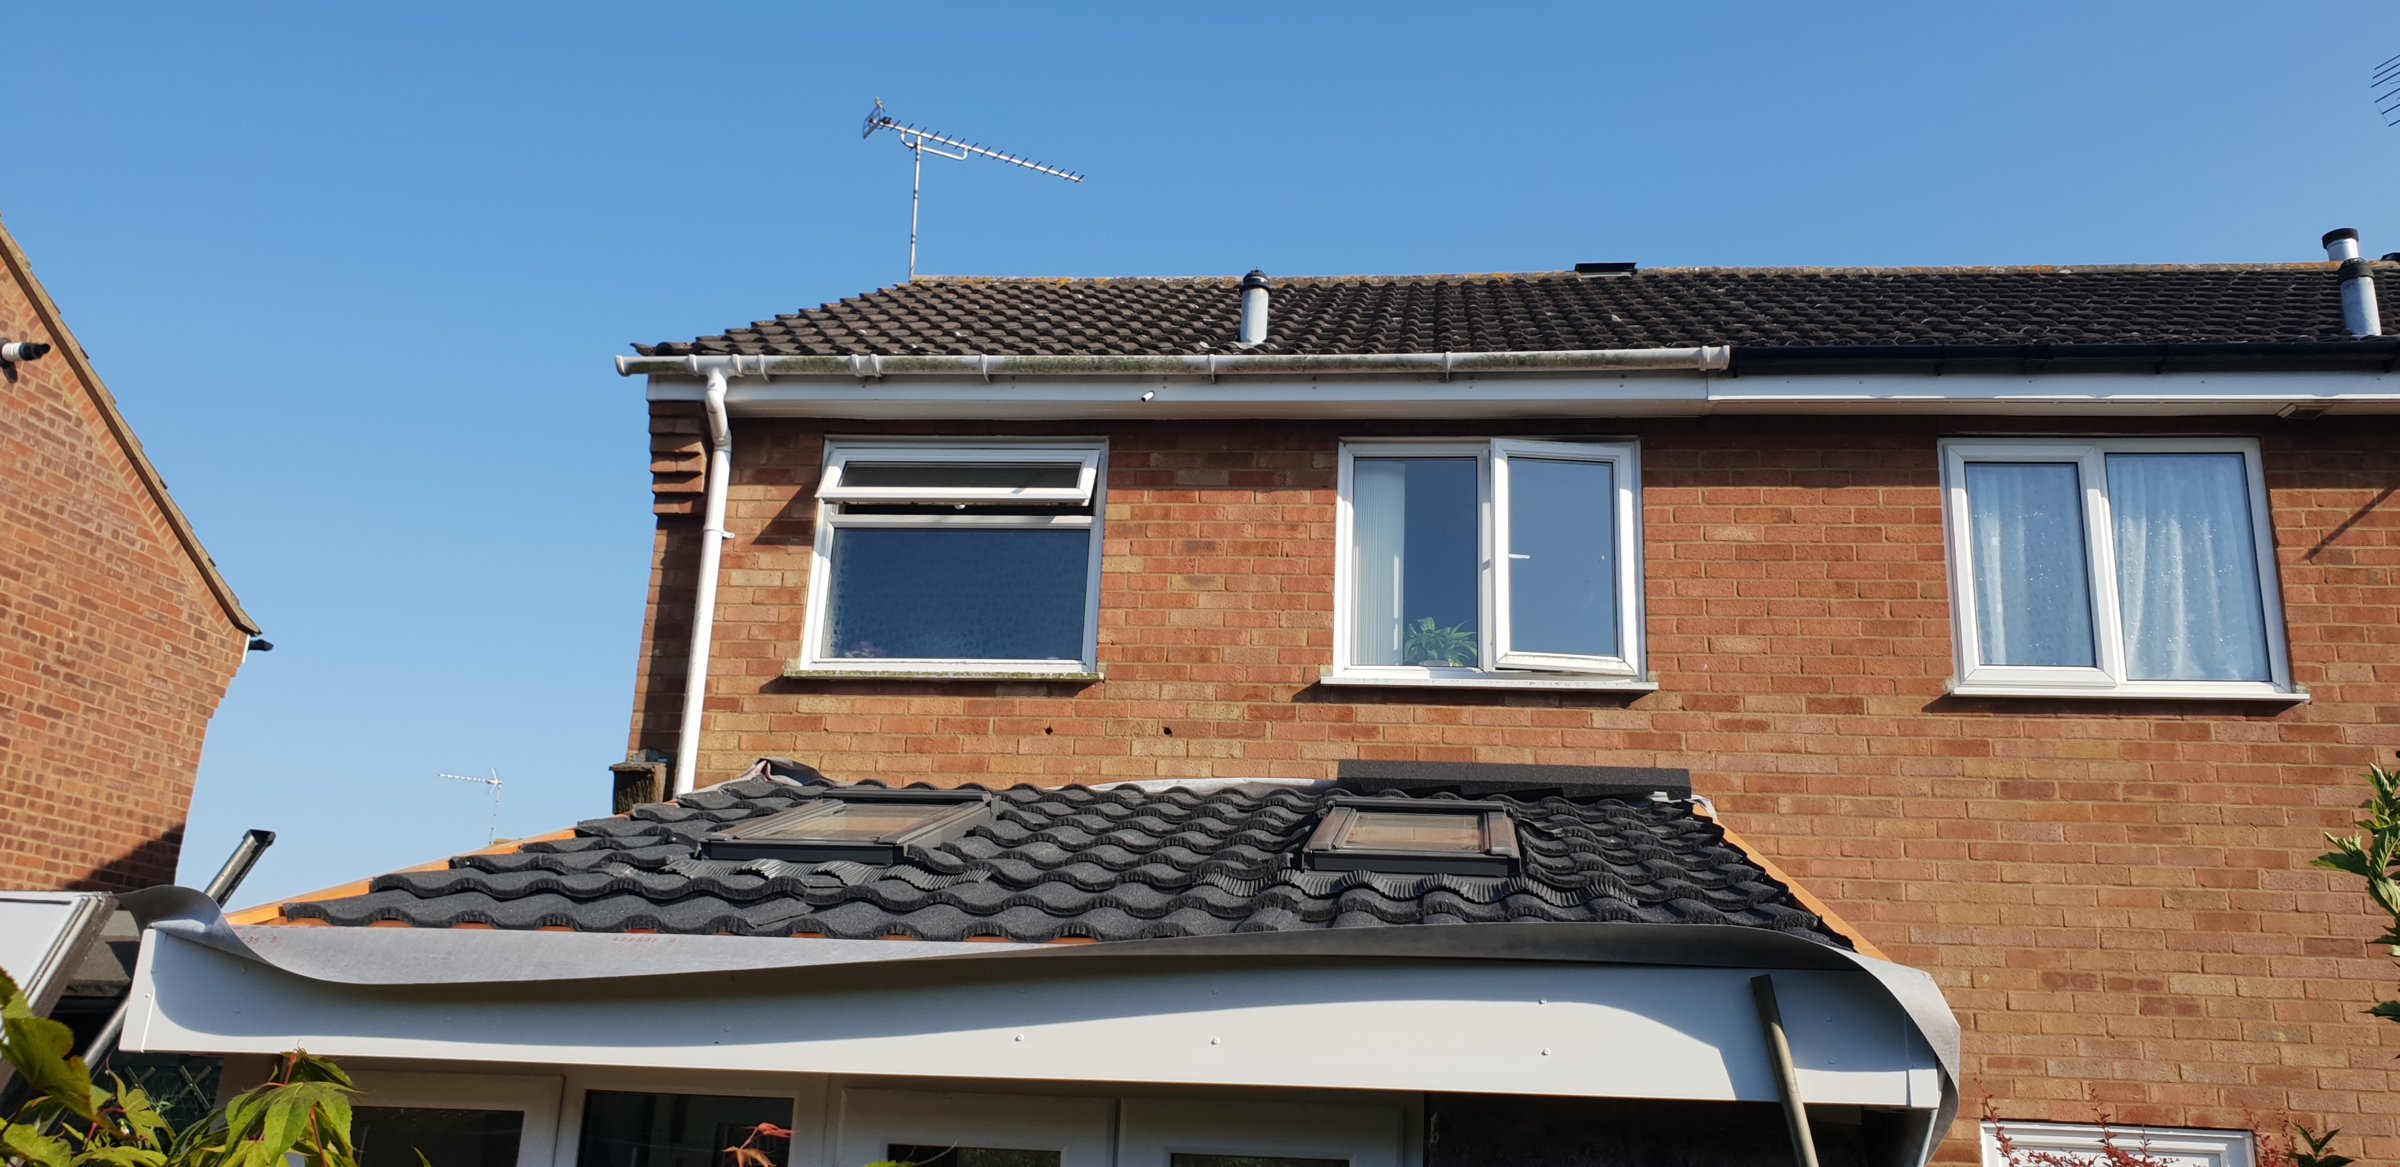
Then it came to the conservatory which I had painted - the room basically went down to outside temperature in the winter. It had a poly carb roof and part blockwork, part glazed.
This is how it stood:
The Plan
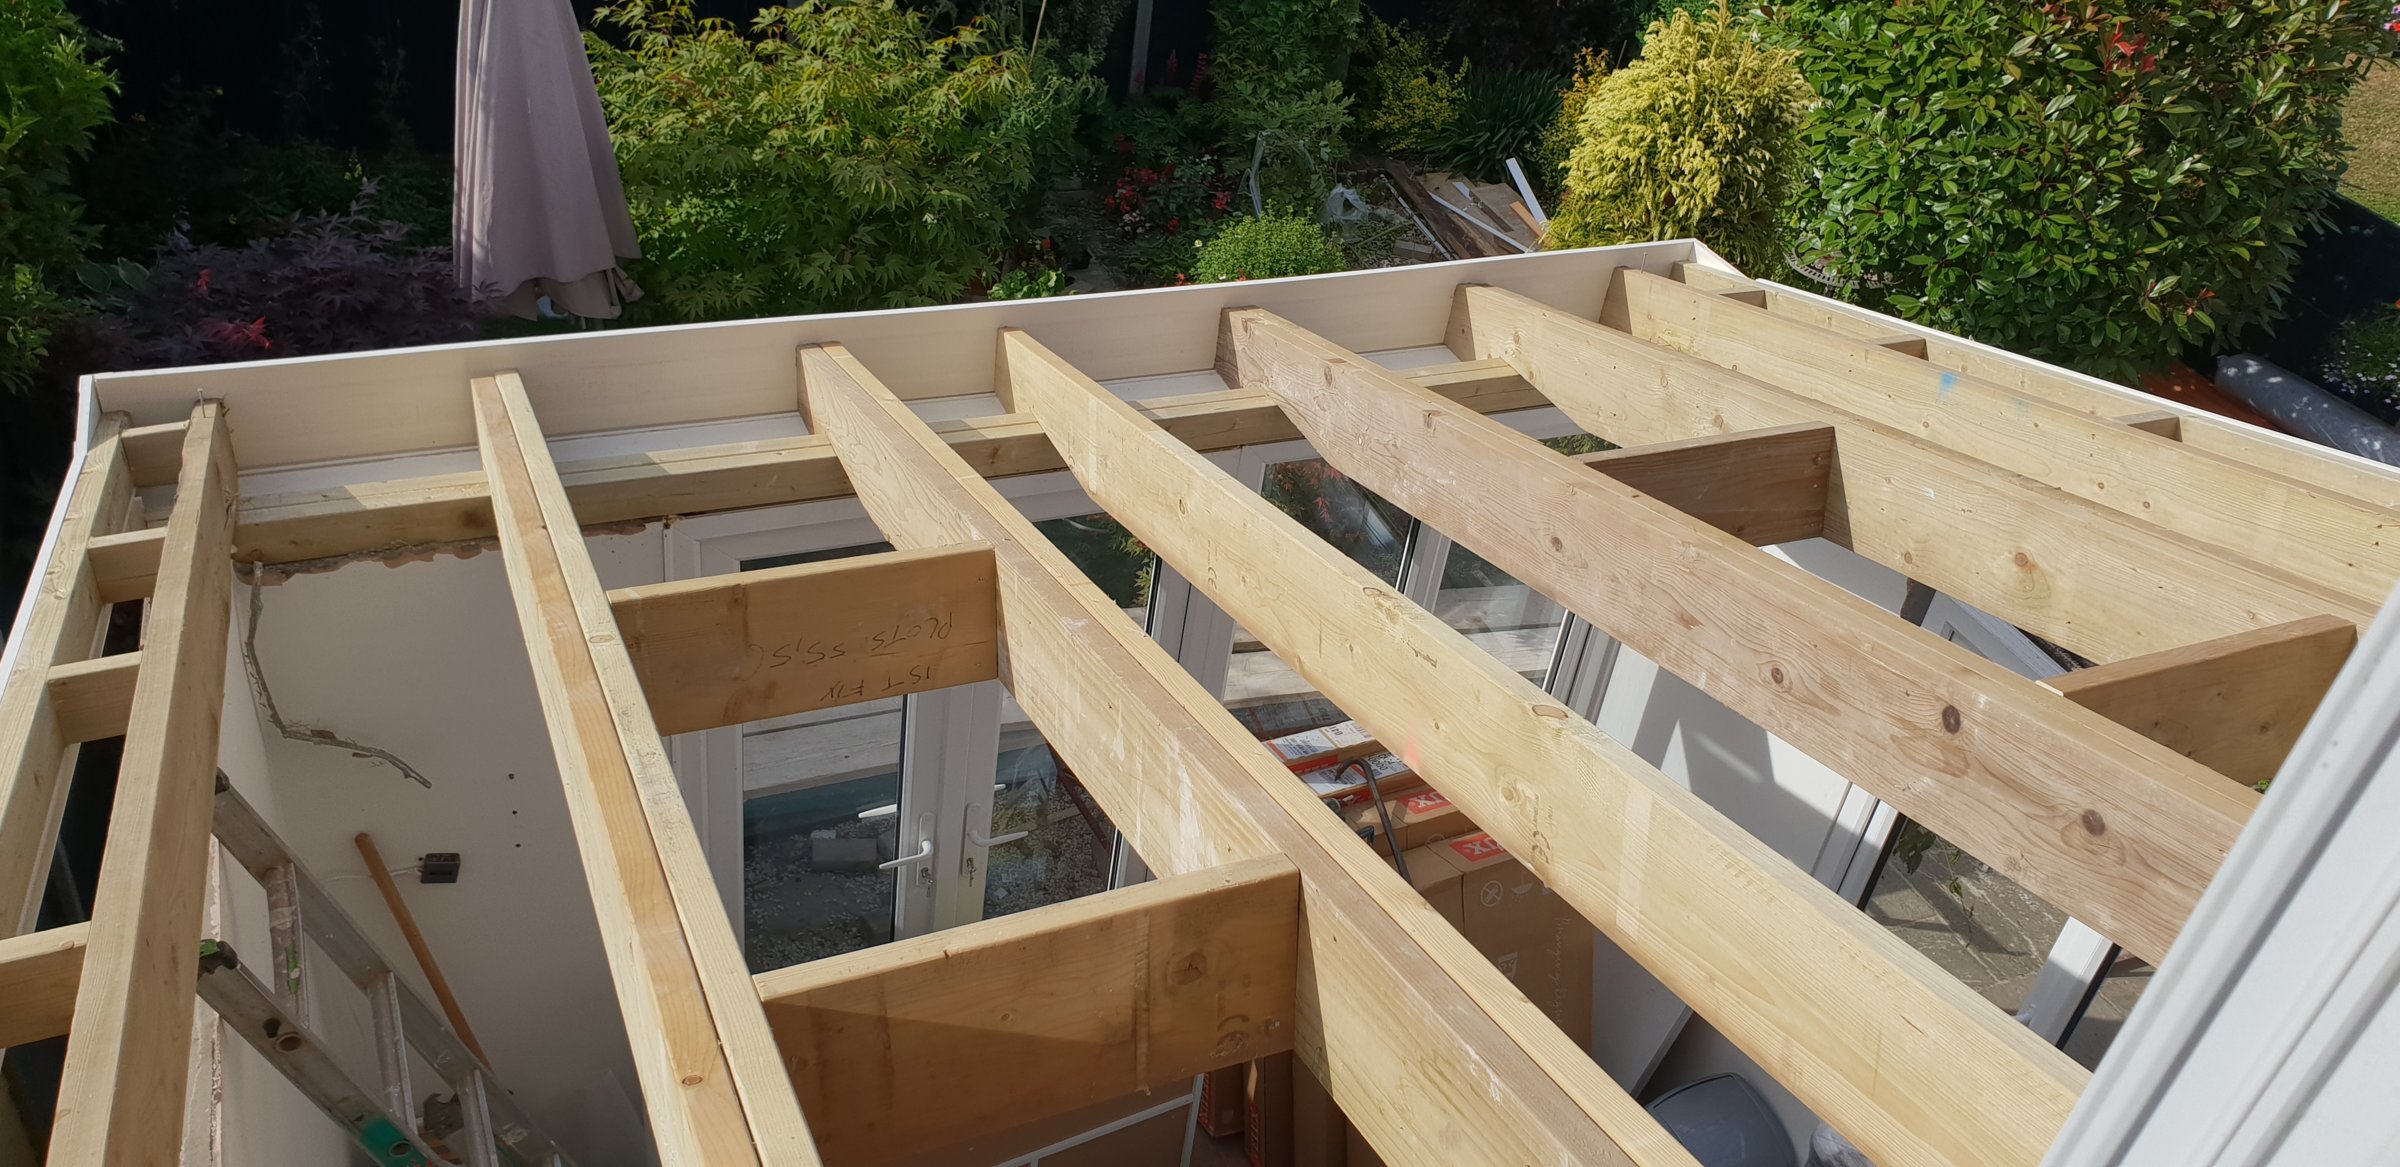
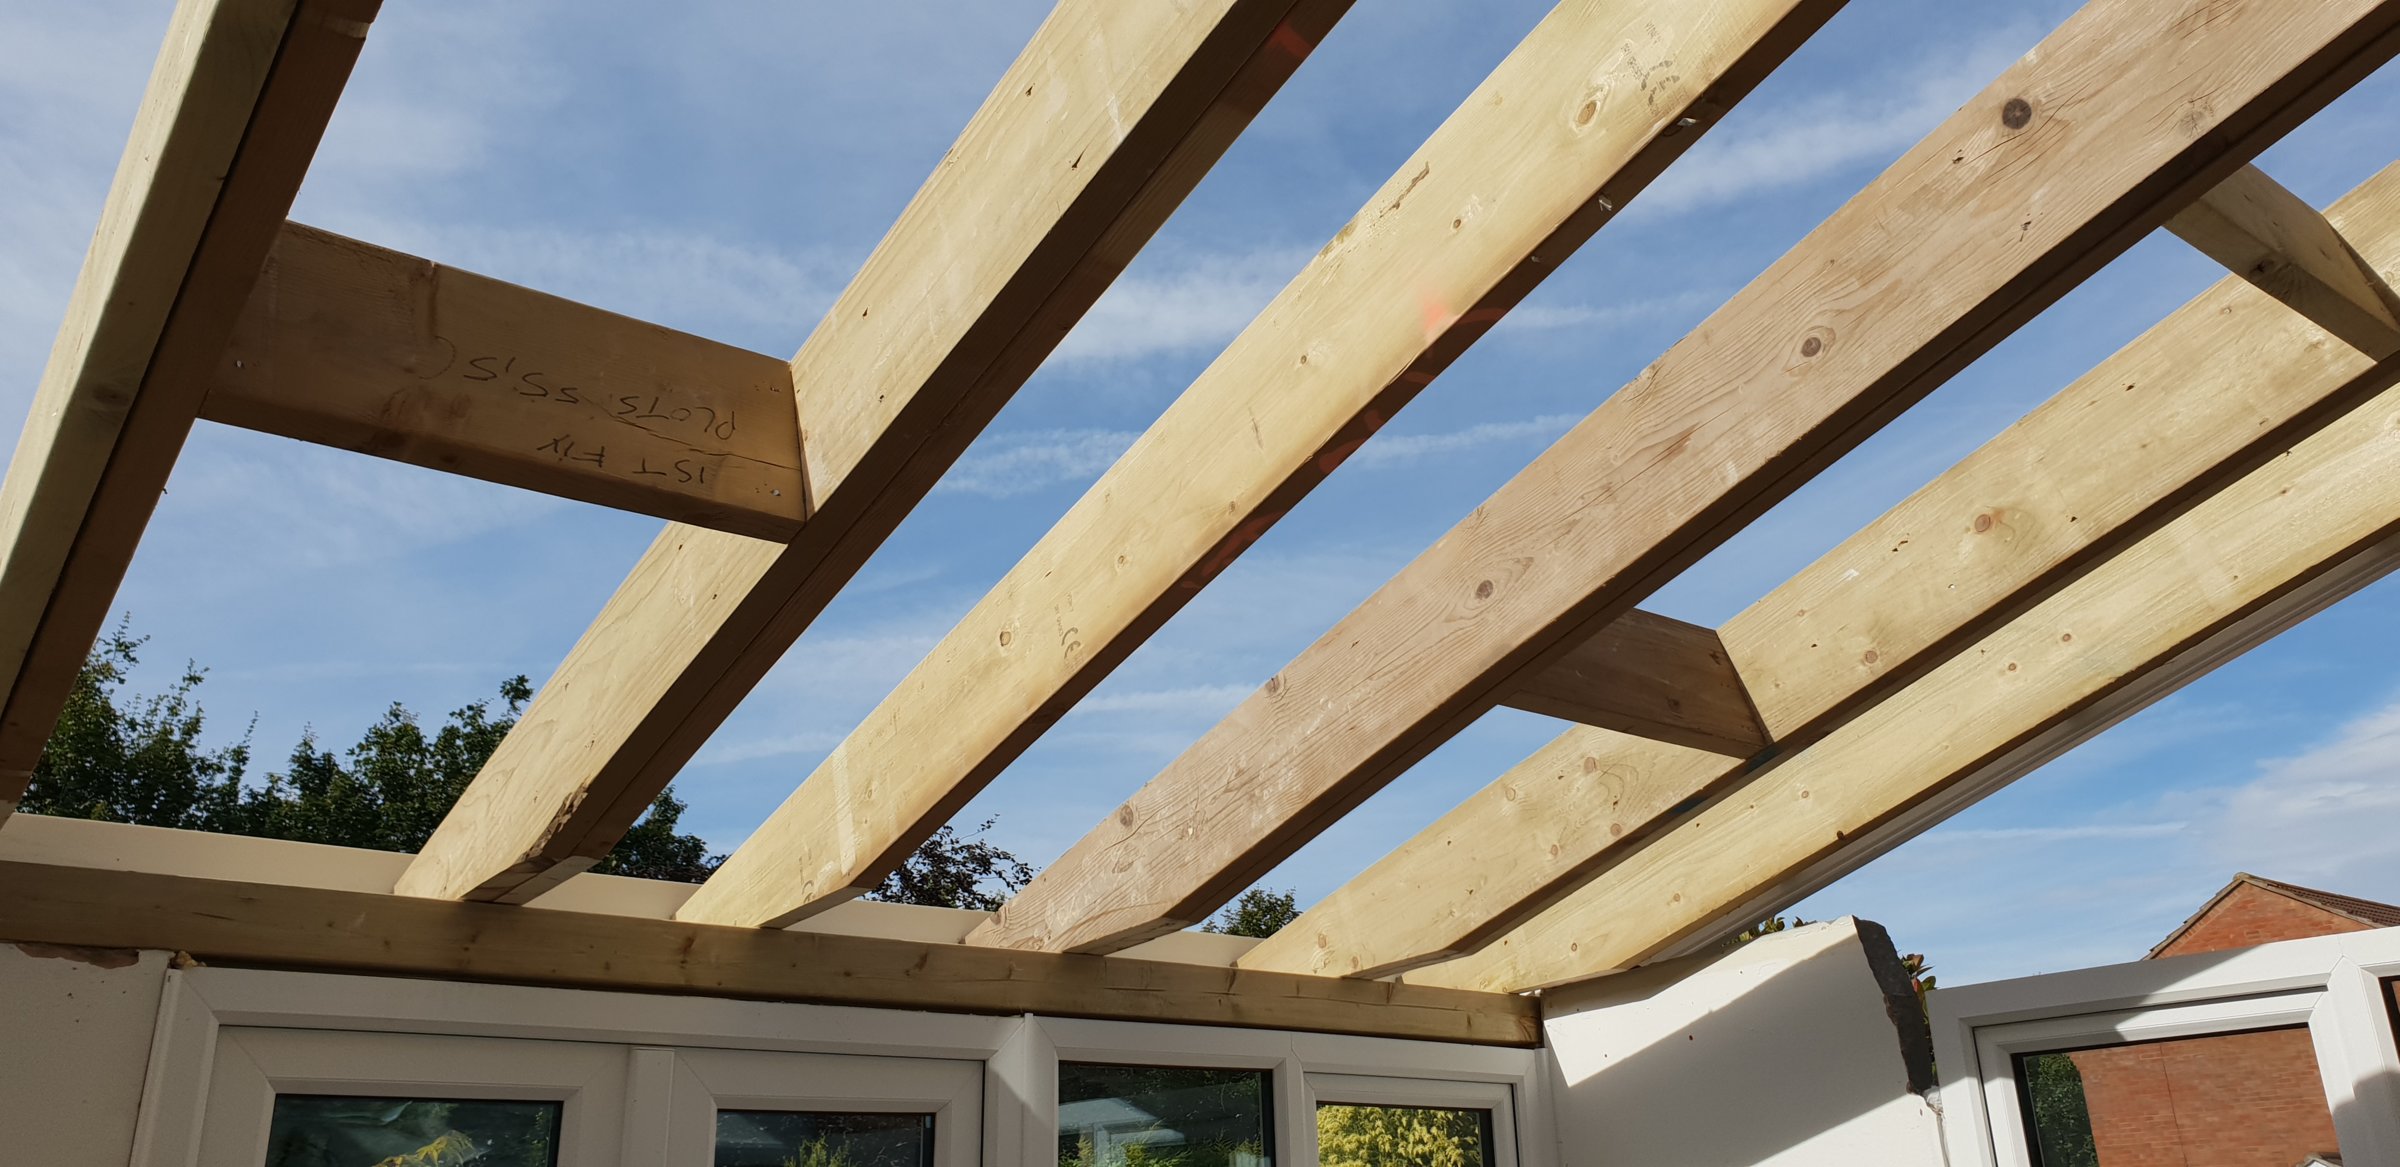
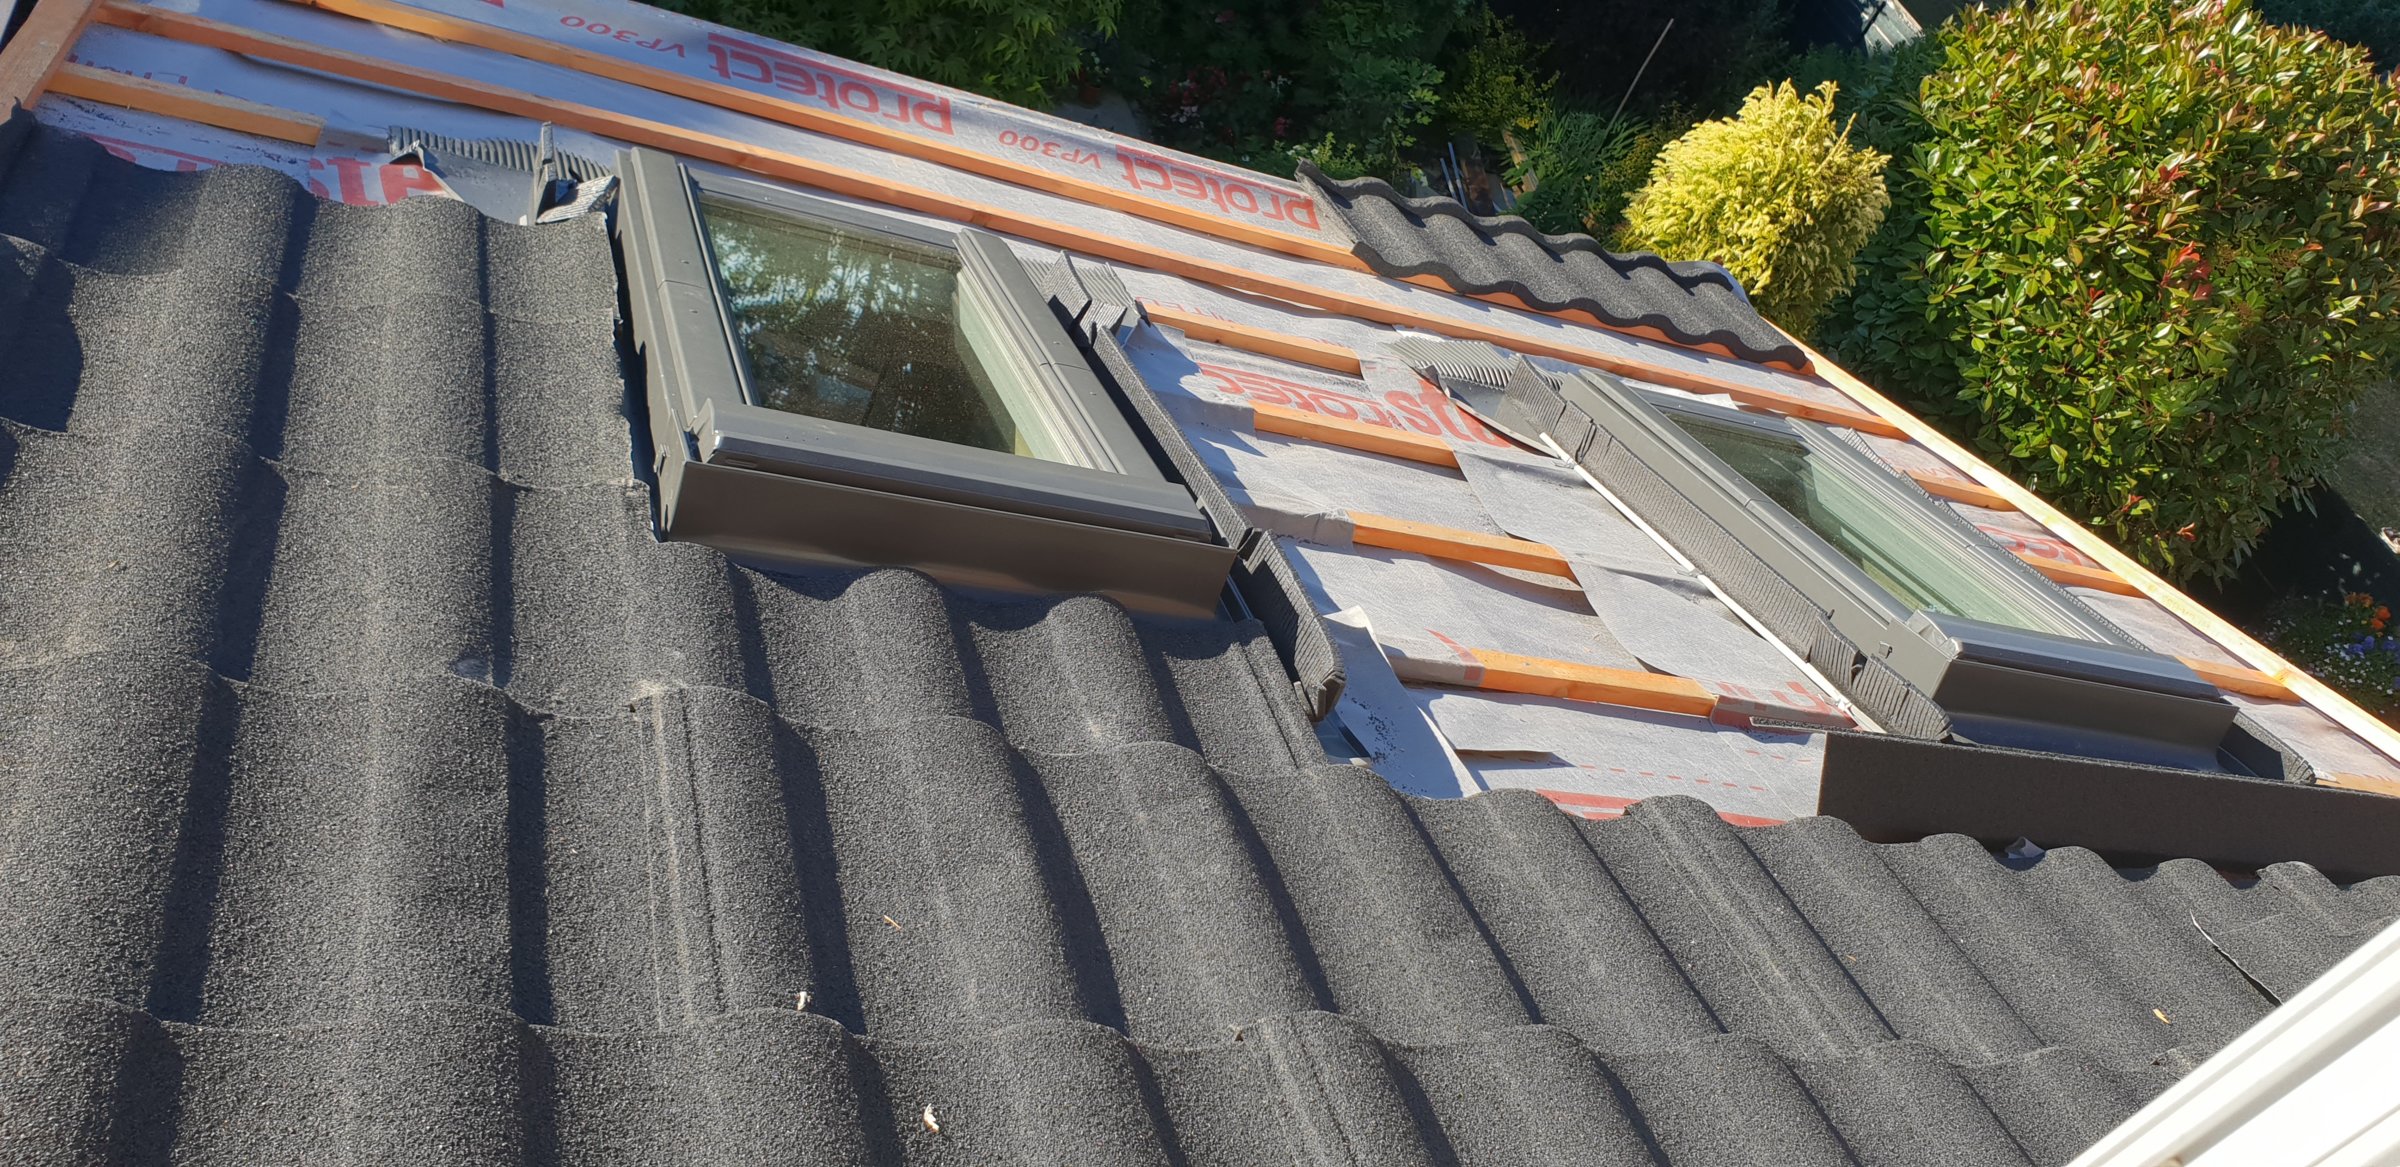
After taking inspiration from @sh4d0w thread https://www.diynot.com/diy/threads/operation-conservatory-modernisation.457524/ I made an application to building control for replacement of the roof to lightweight tiles and two velux windows. The inspector was happy that the existing structure would take the additional weight and specified 6x2 joists with two 4x2 doubled up for lintels. My dad was able to obtain 9x2 at a reduced price off site so they were used to save money. The roof would be insulated with 100mm celotex between the rafters and overboarded with 40mm celotex. The pitch of the roof would be 16 degrees, which is within the specs for the velux and tiles. This would obviously leave a void from where the old roof sat on the walls - this would be filled by a wooden frame, membrane and plyboard, with 100mm insulation between studs.
Additionally I planned to strip the internal render and replace with 25mm celotex and plasterboard.
All work would be done myself with dad helping, except for the roof structure.
Progress
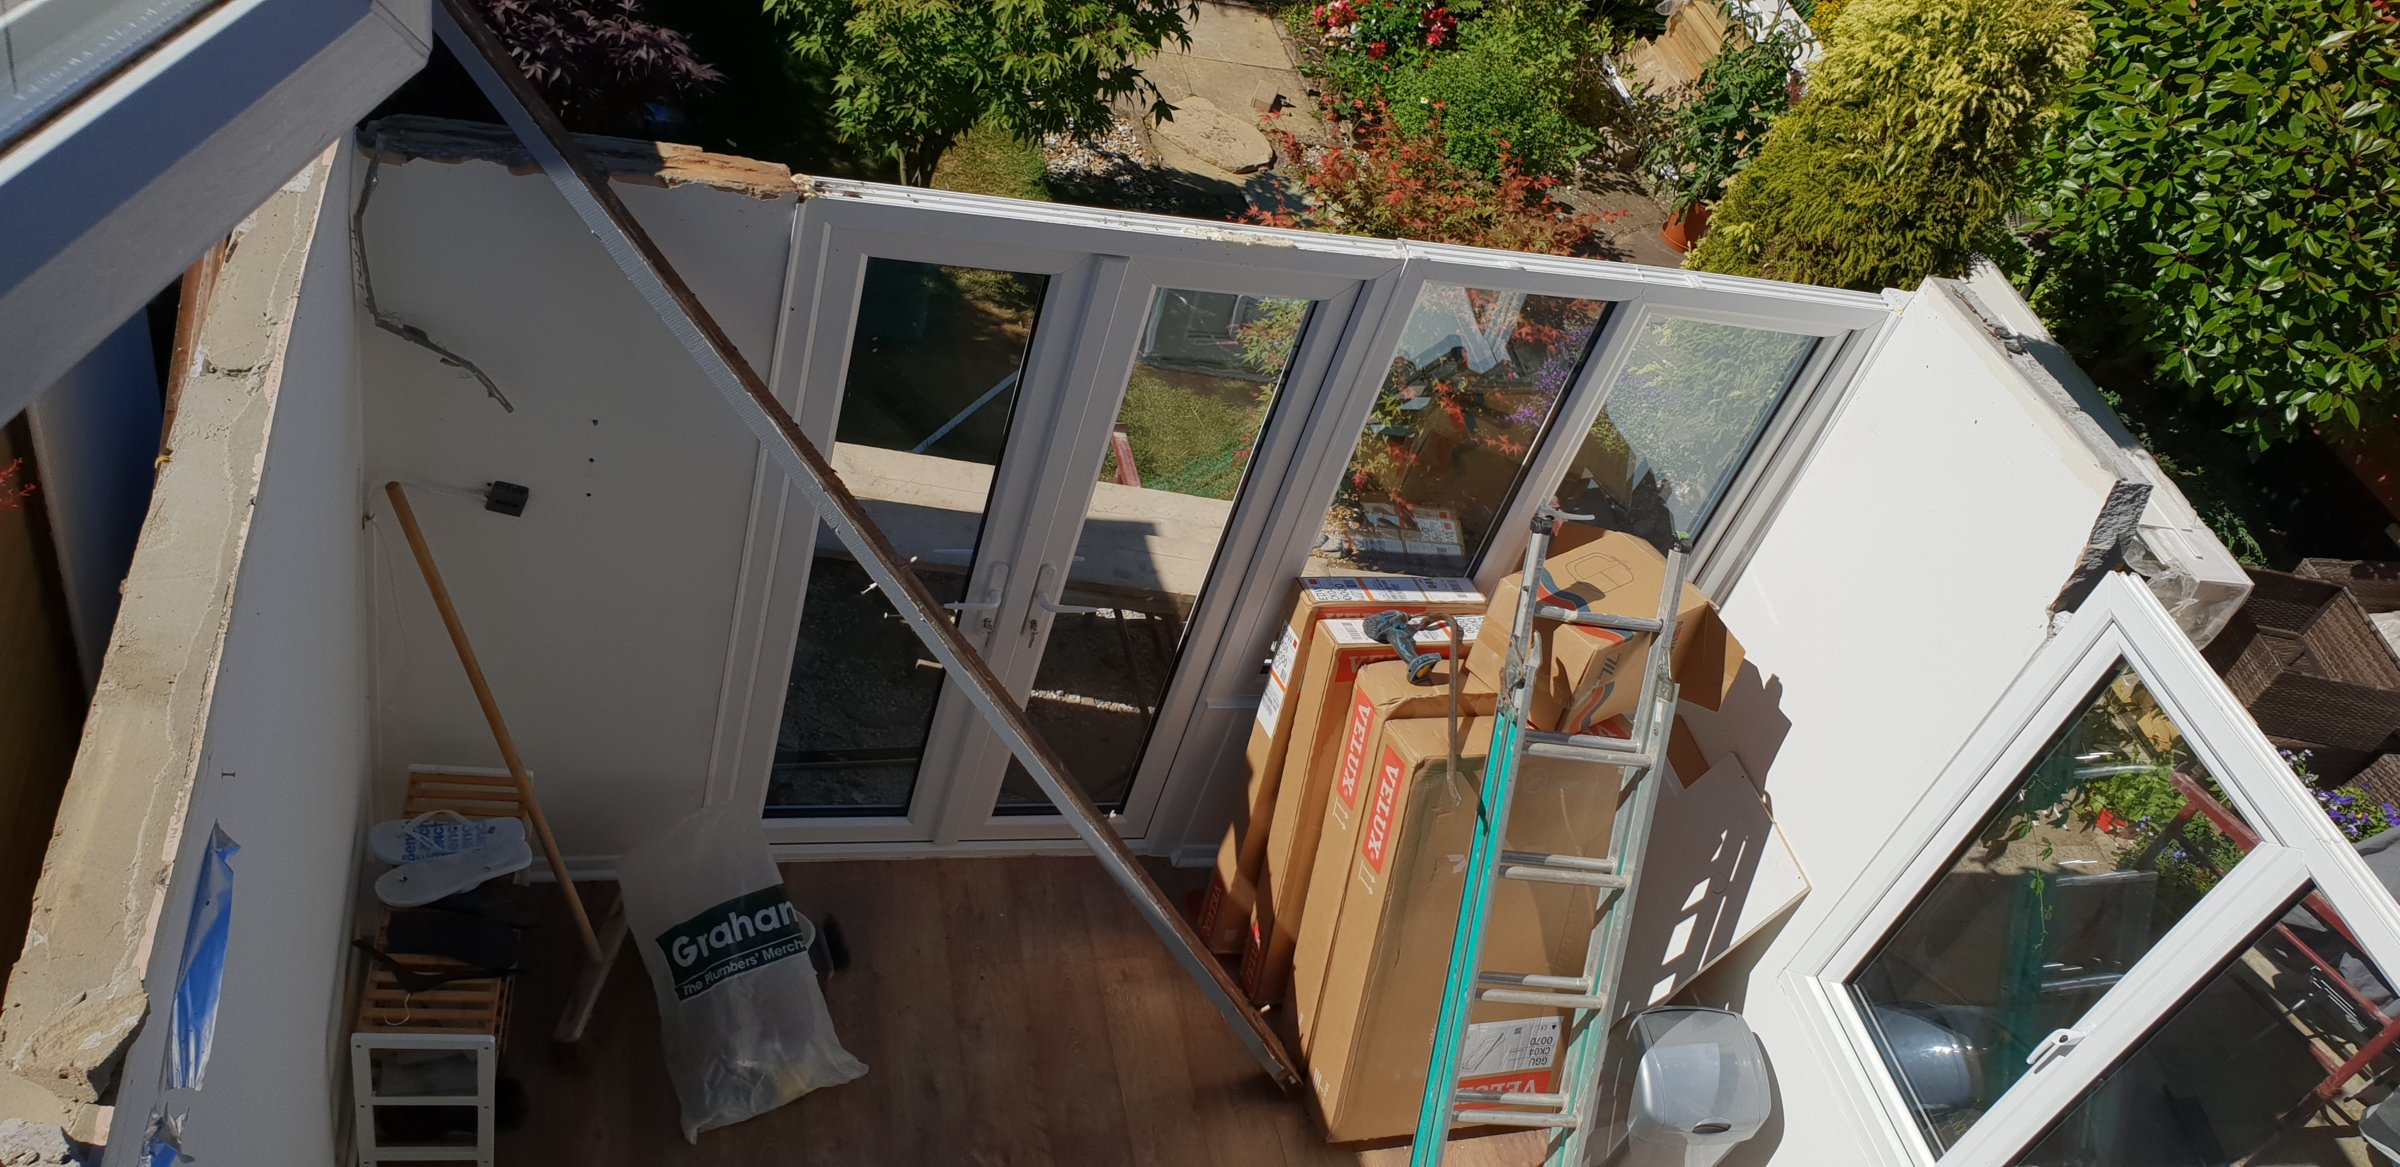
Roof off:
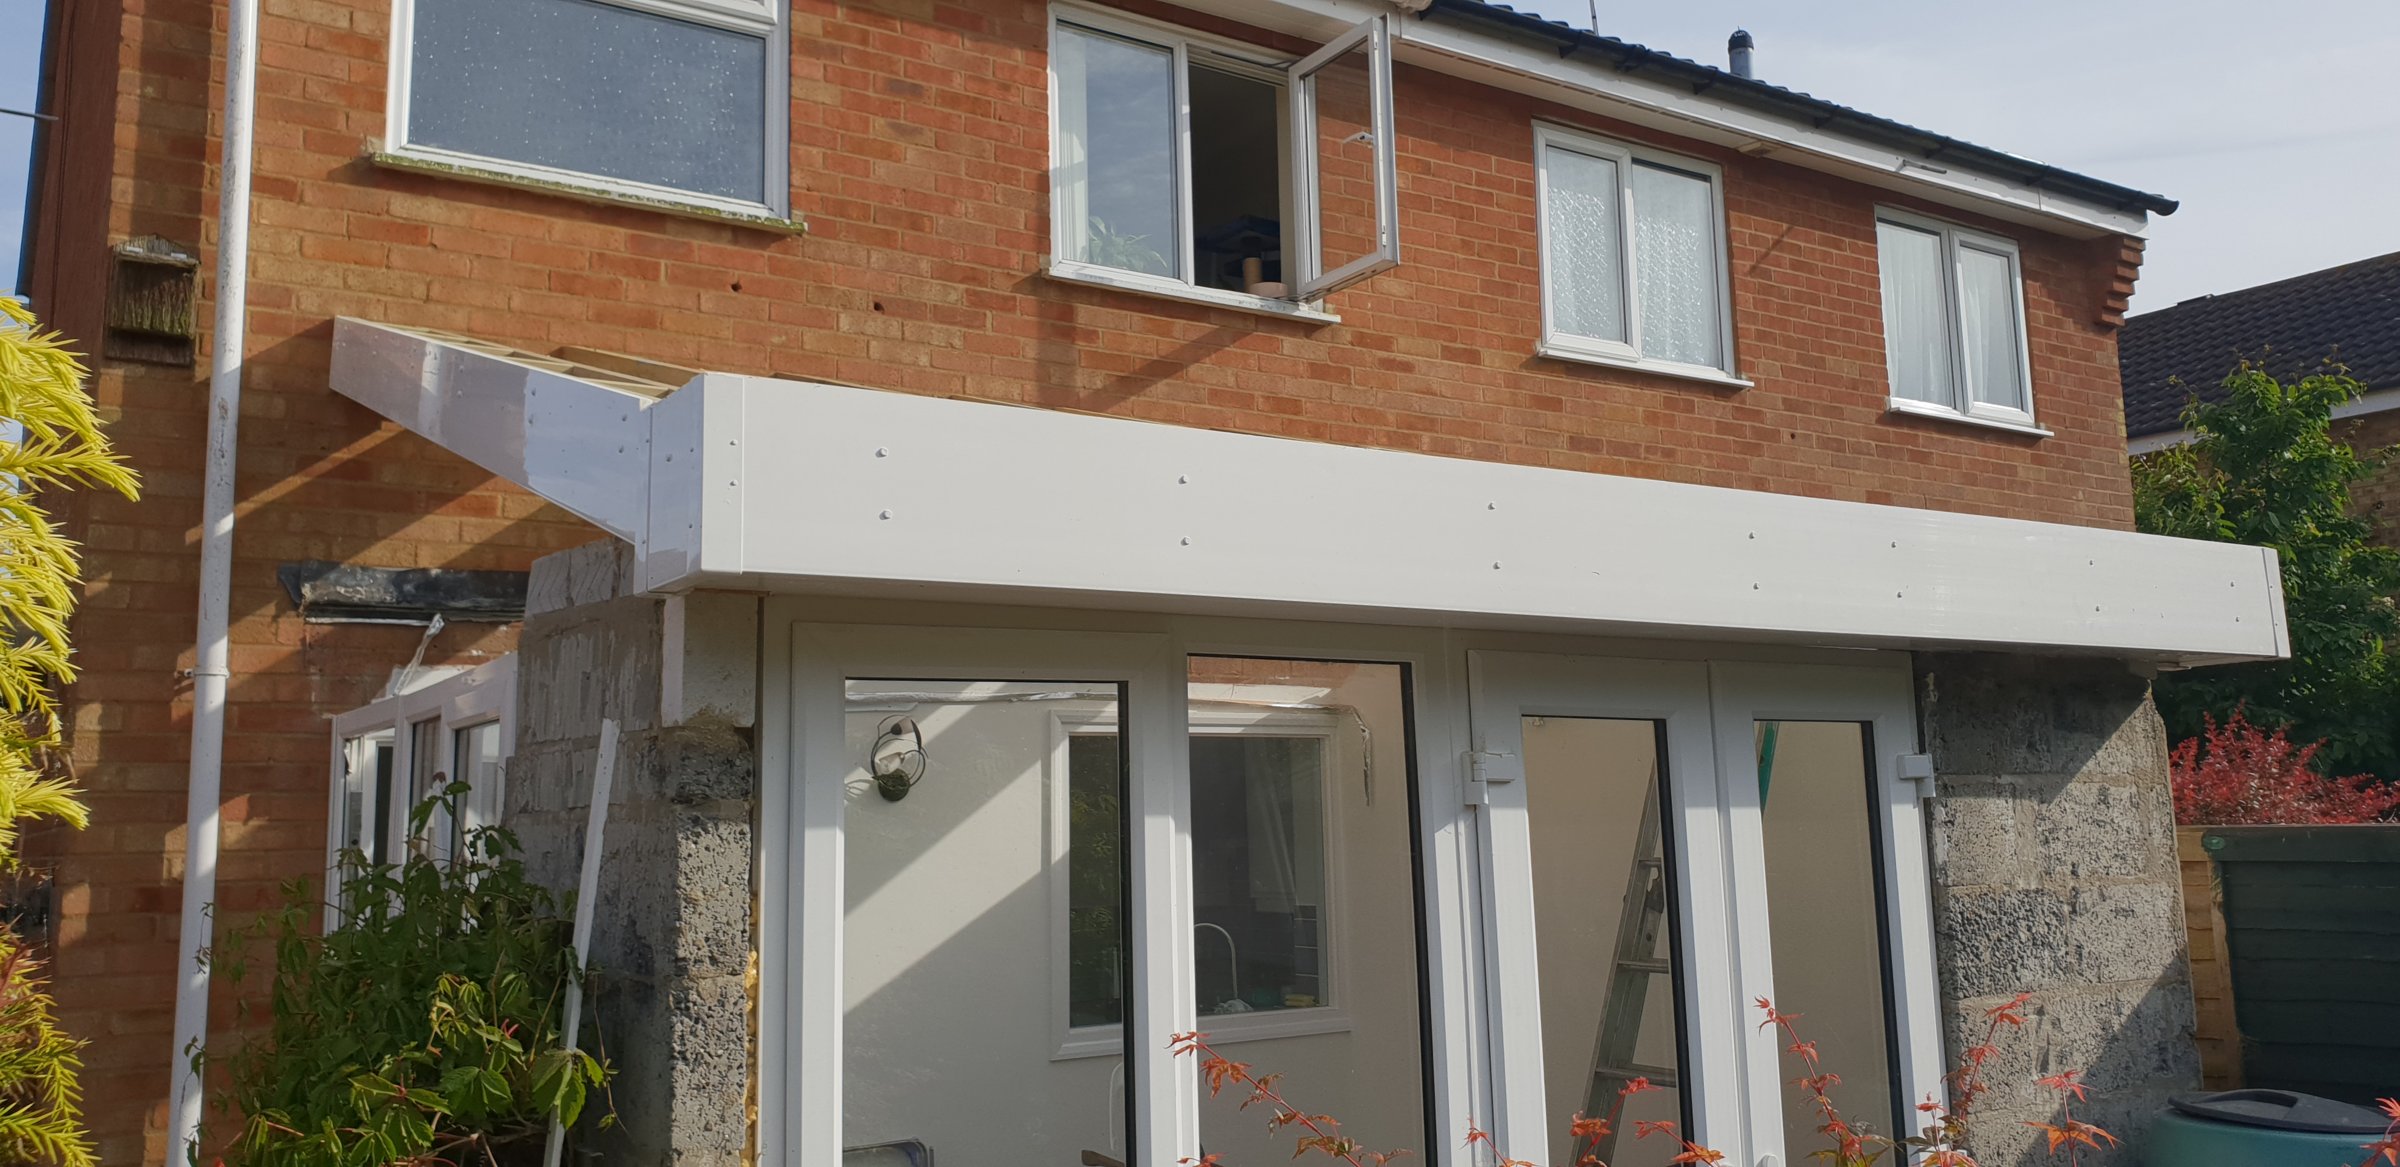
I used a couple of joiners that my dad knows from site working, they constructed the roof and fascias:
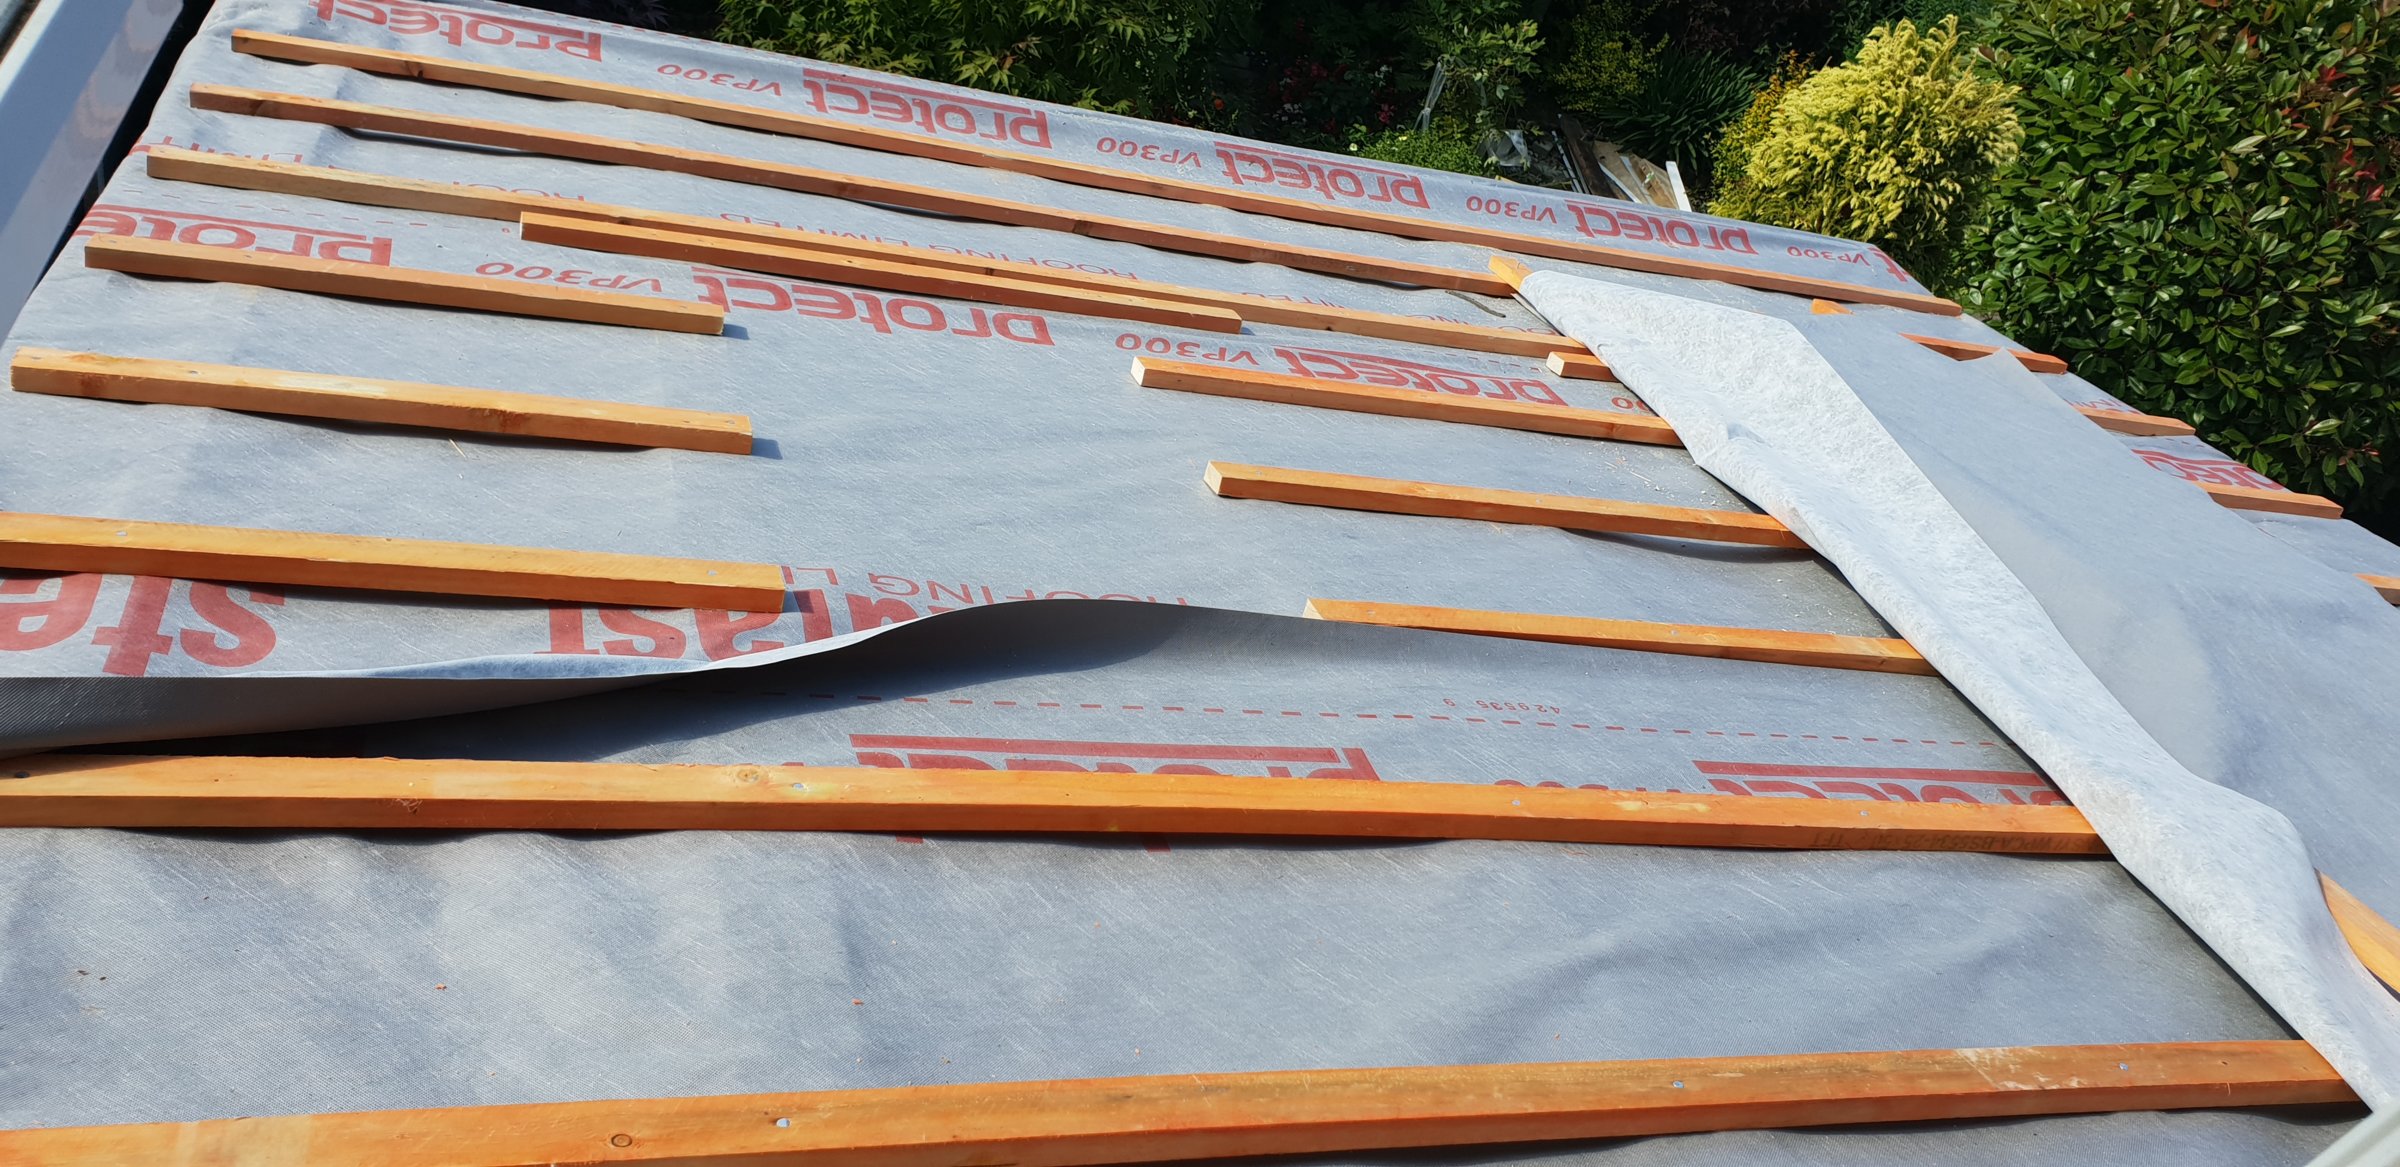
Membrane, velux and tiles on:
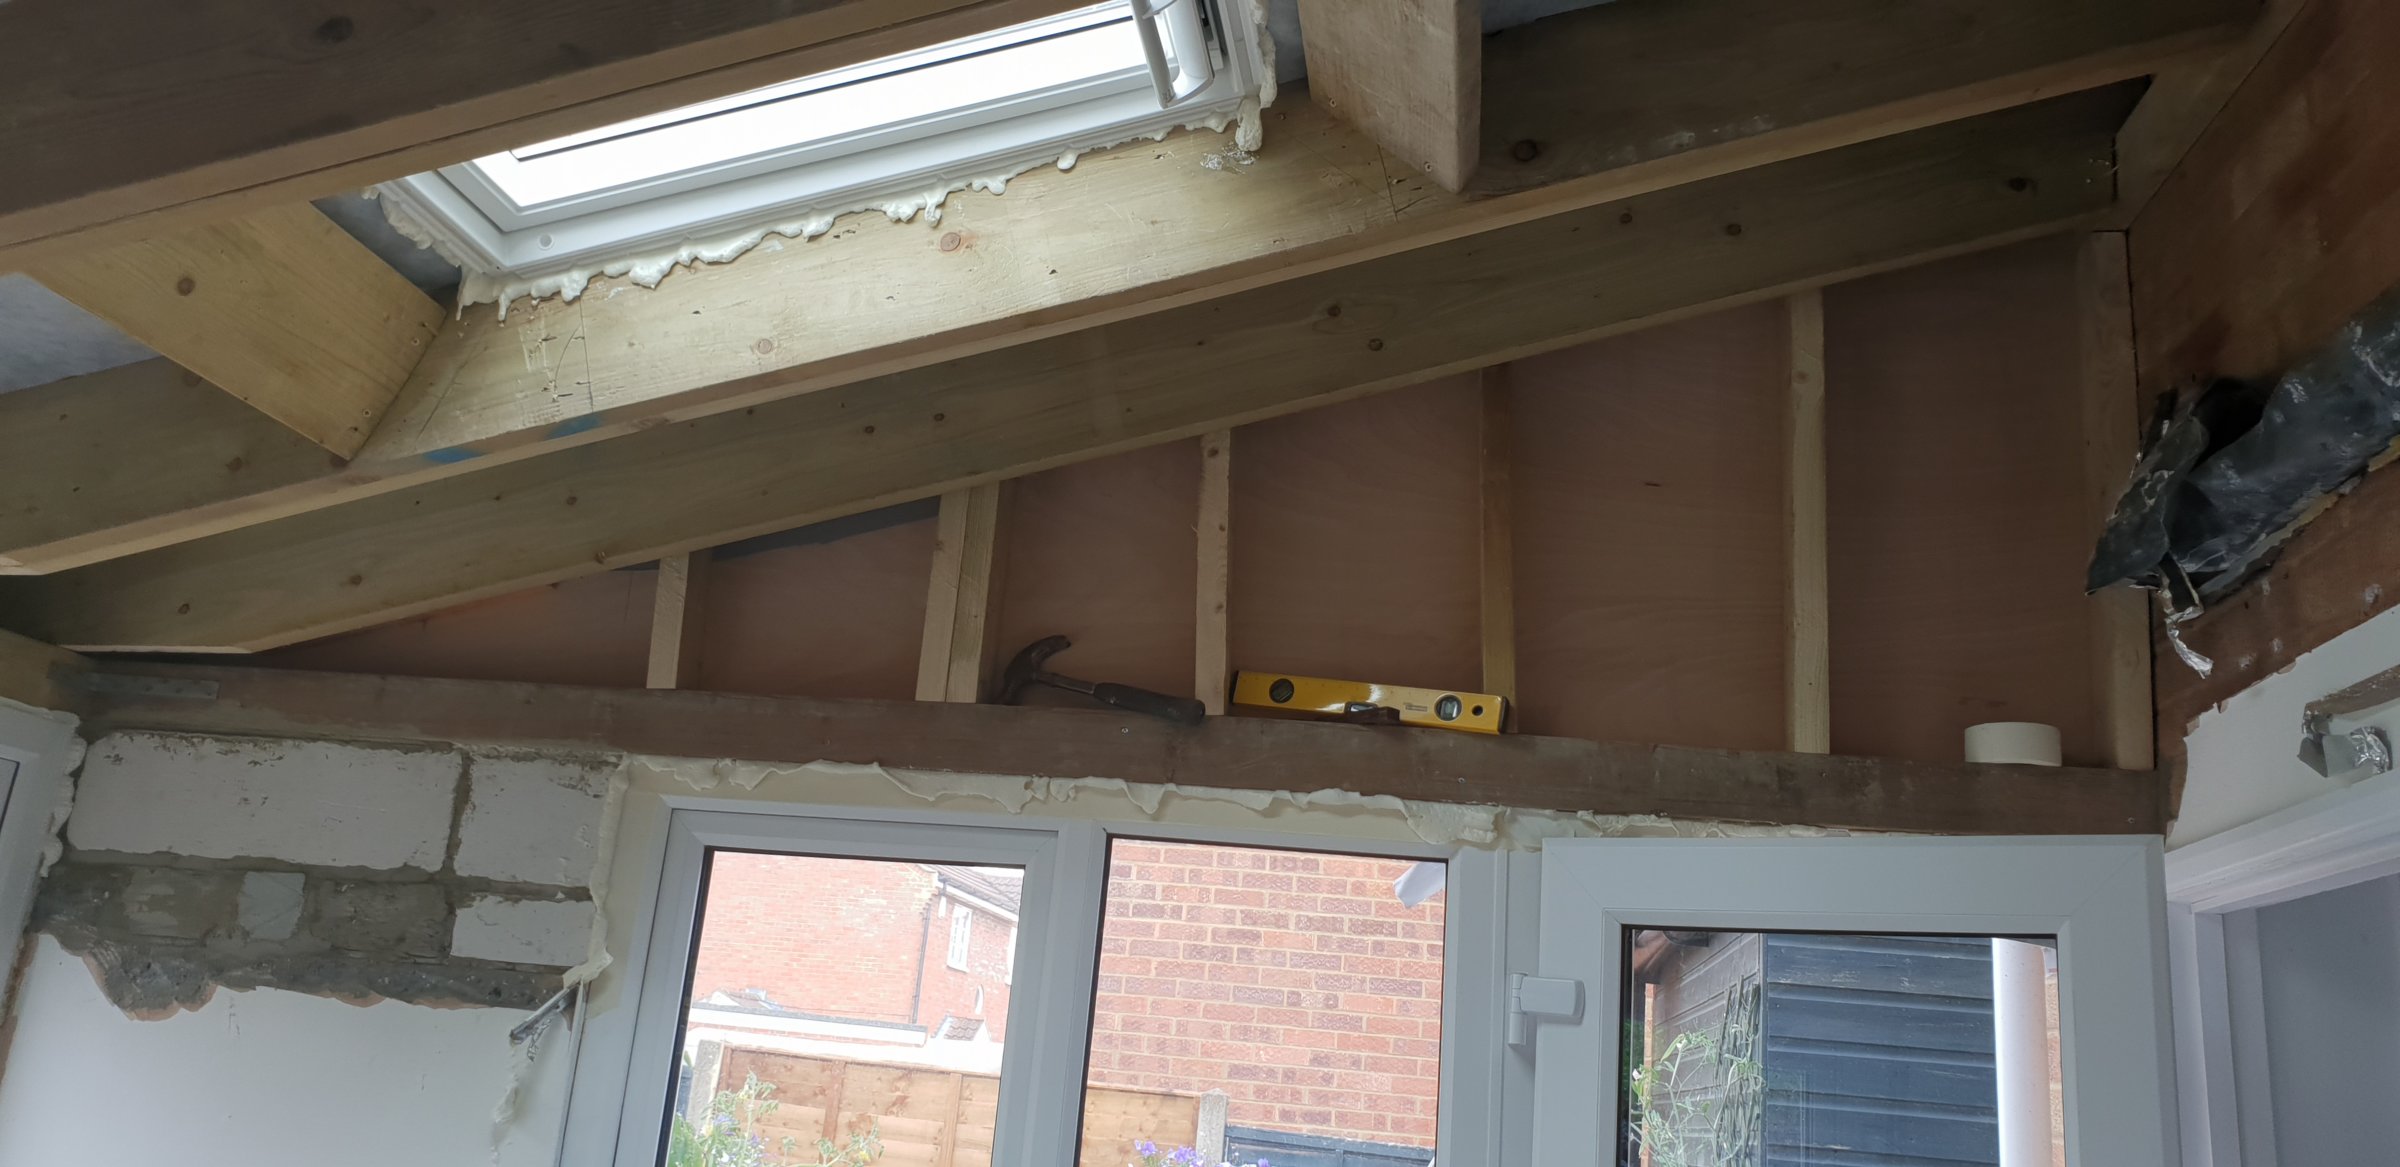
Wooden frame on top of existing wall:
I also fitted a 70x70x8mm steel angle accross the roof supporting wall to stiffen up the 4x2 lintel. This wasn't required as a rectification, however the BC officer suggested it may be beneficial.
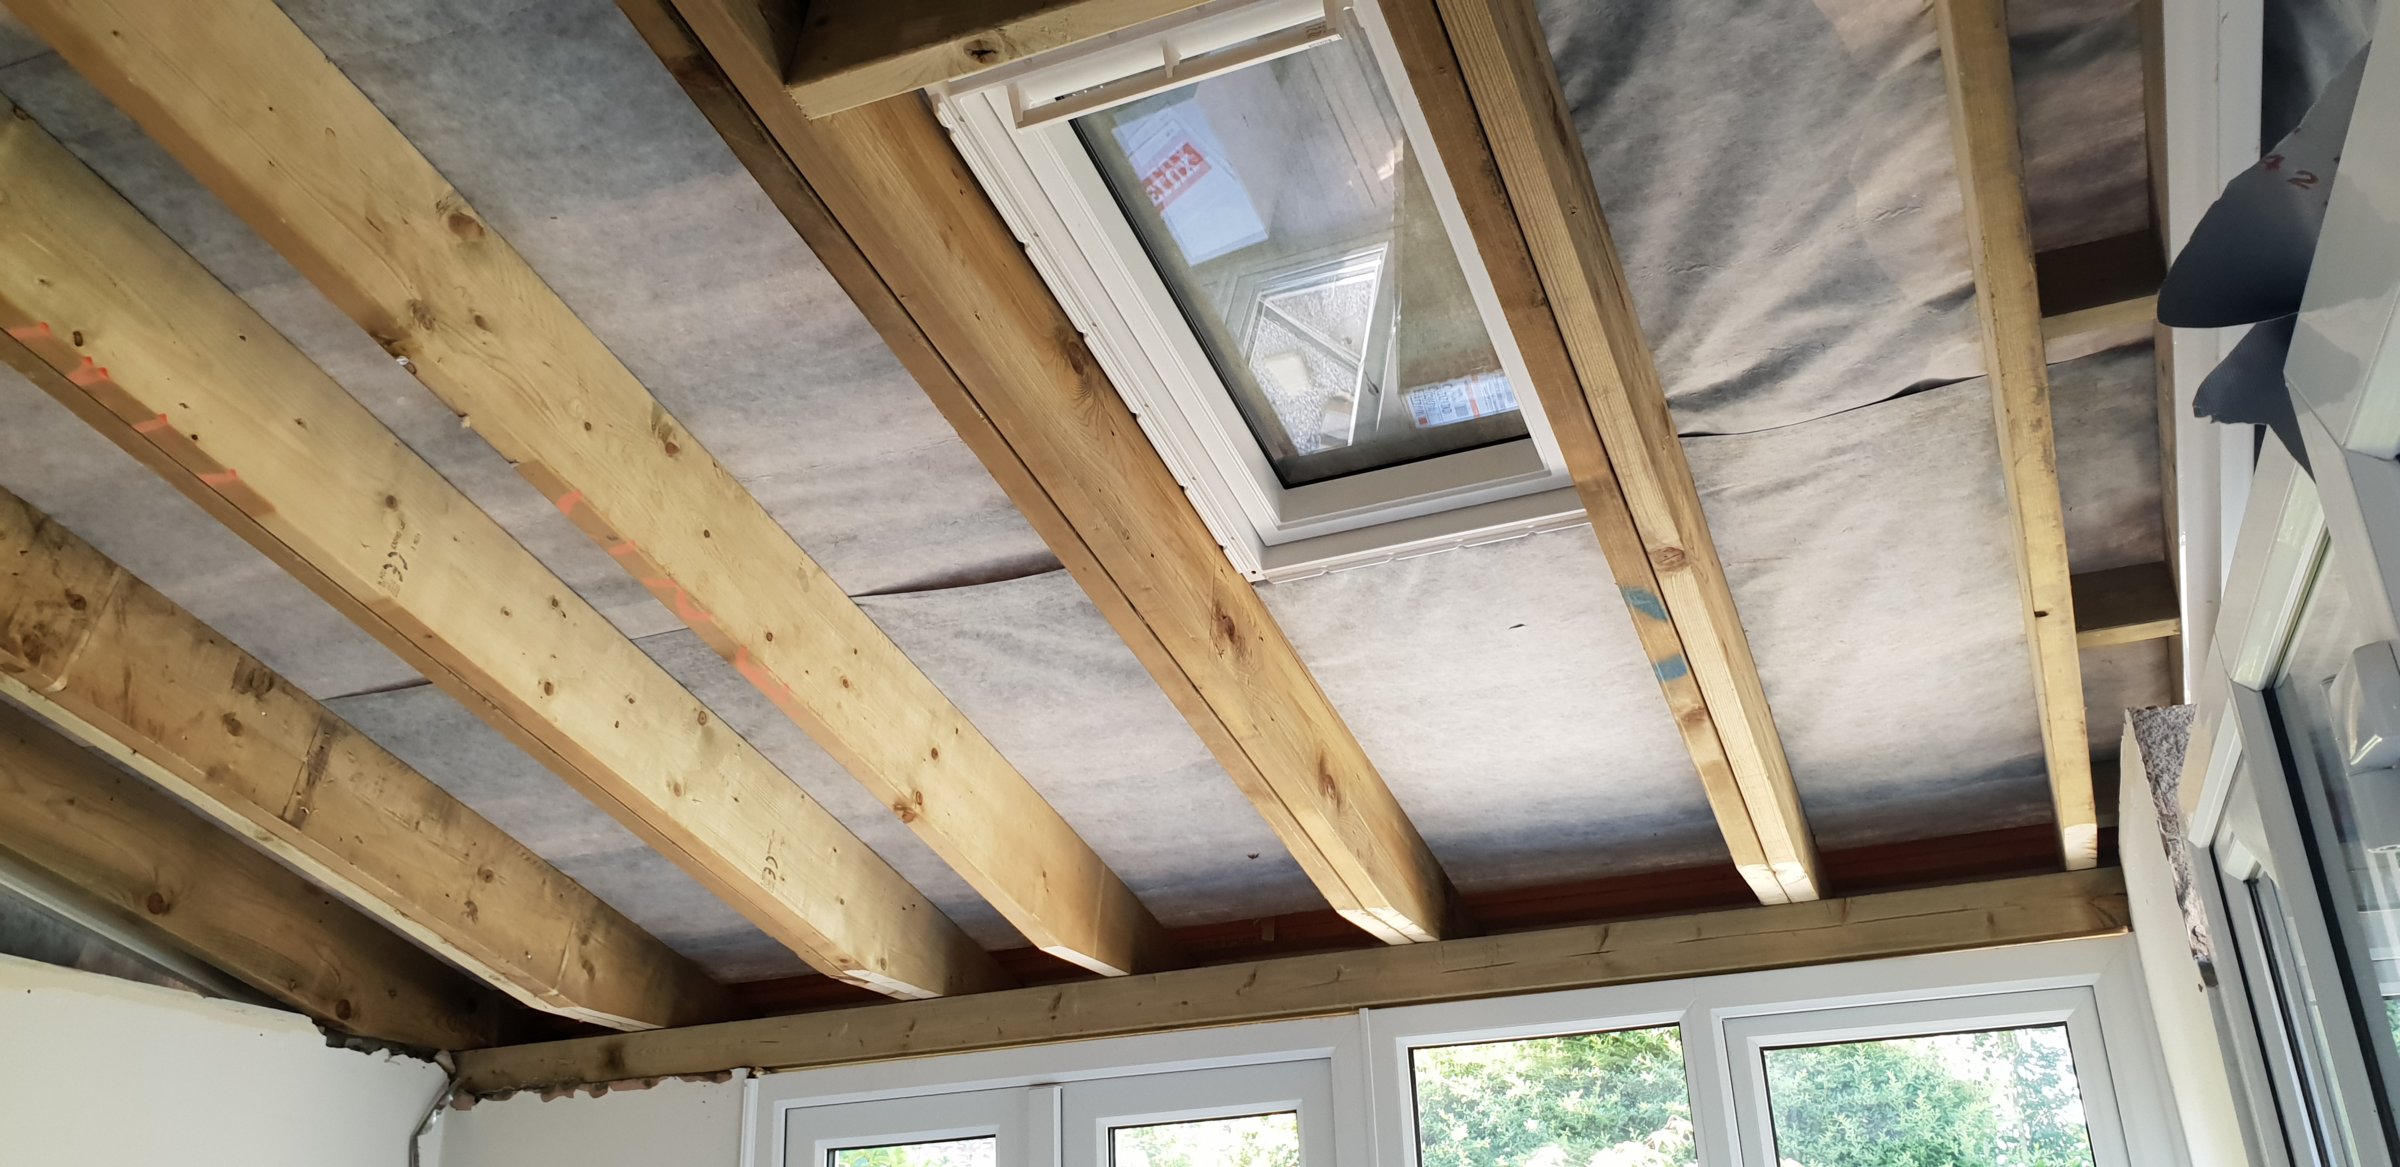
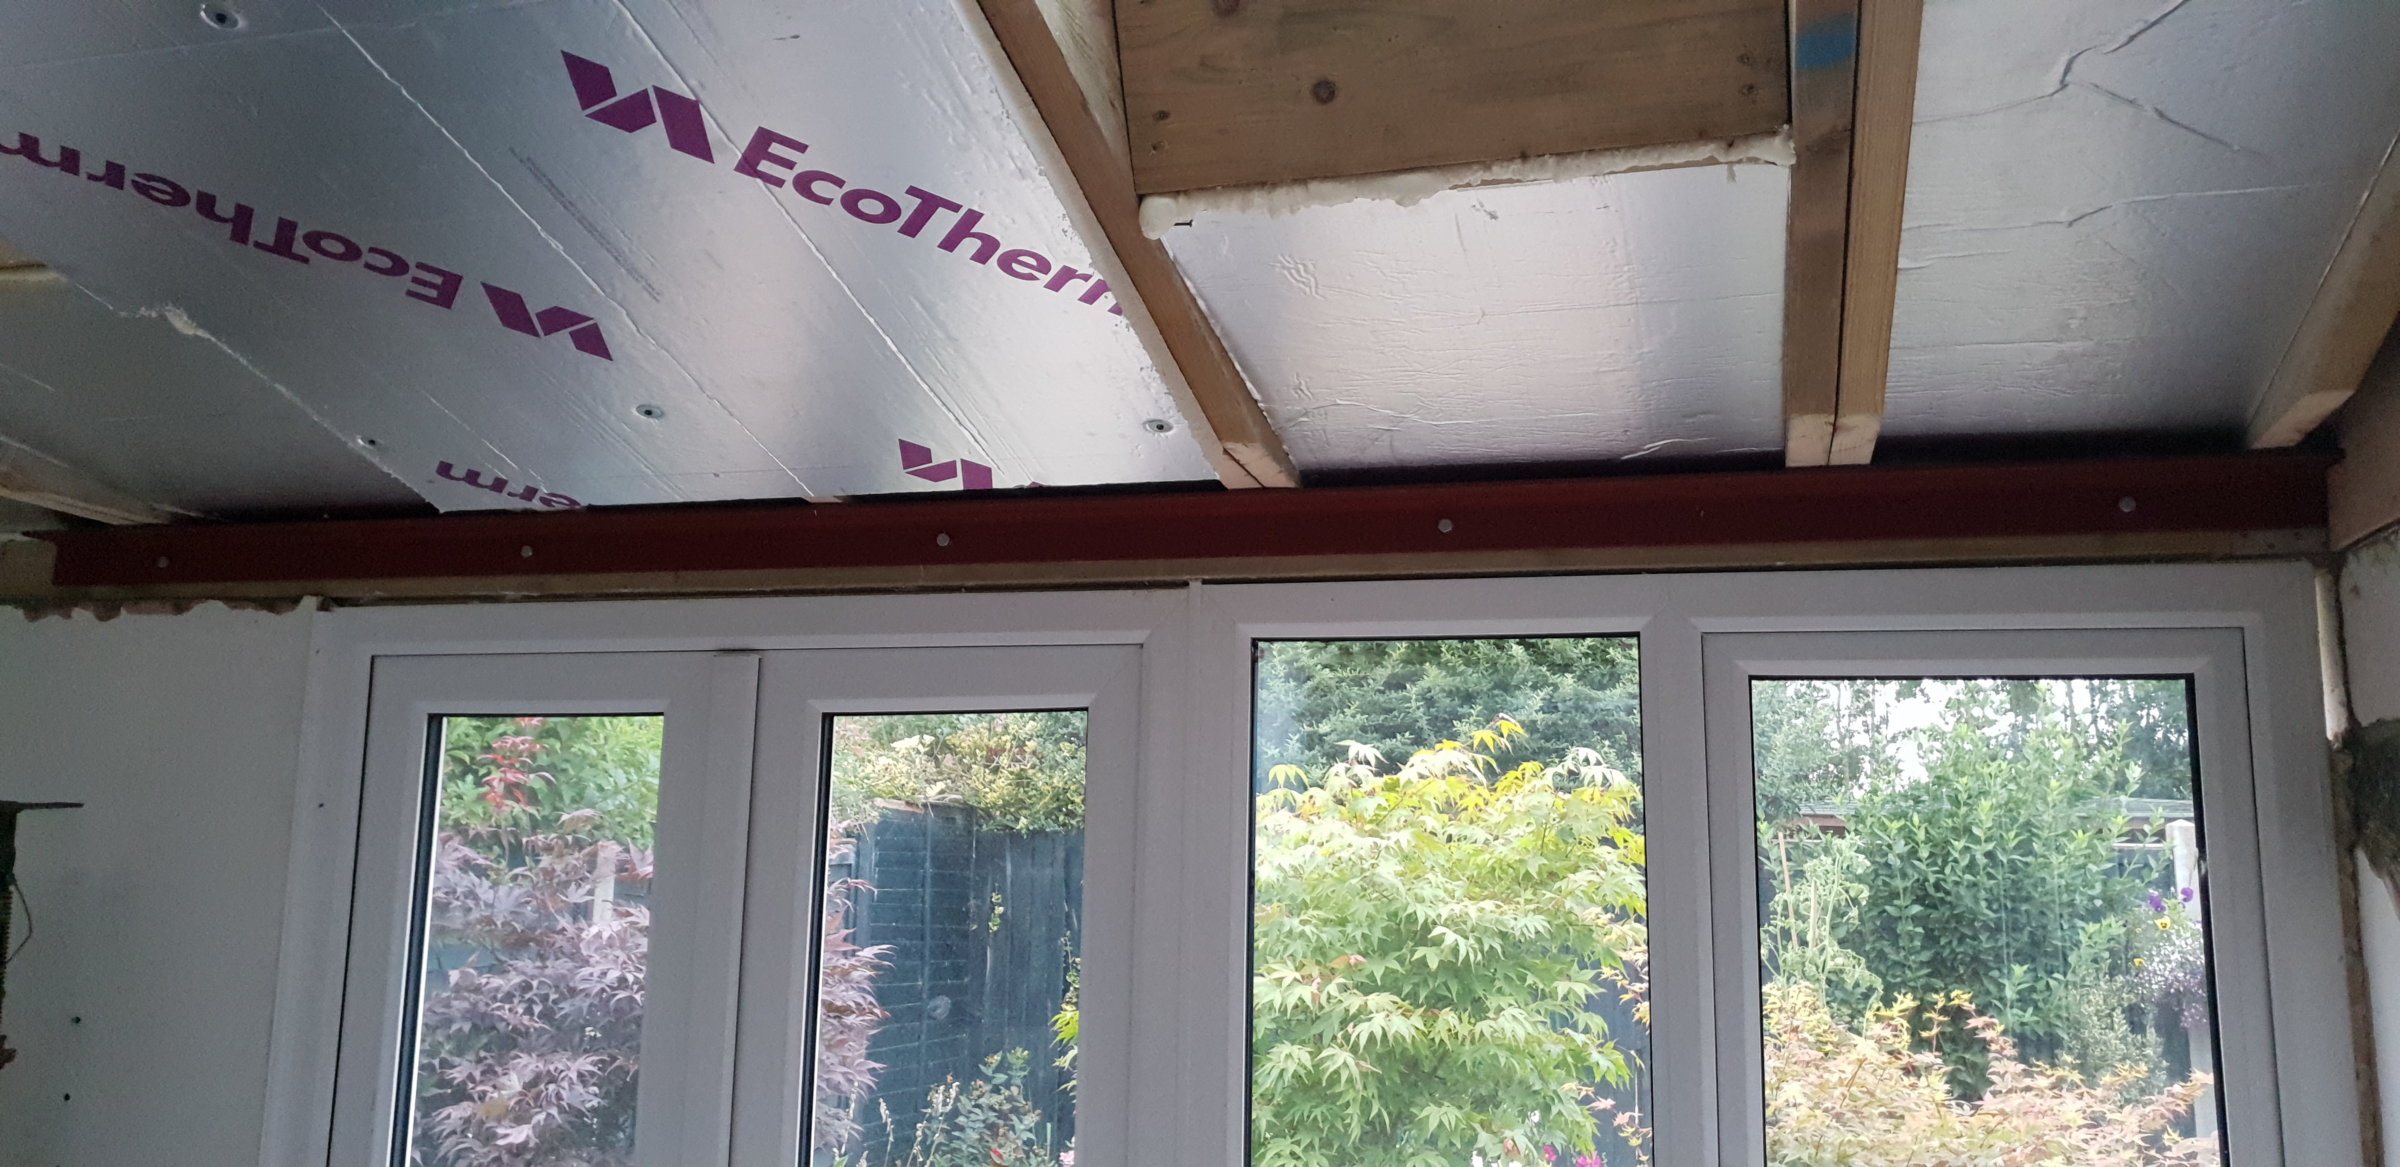
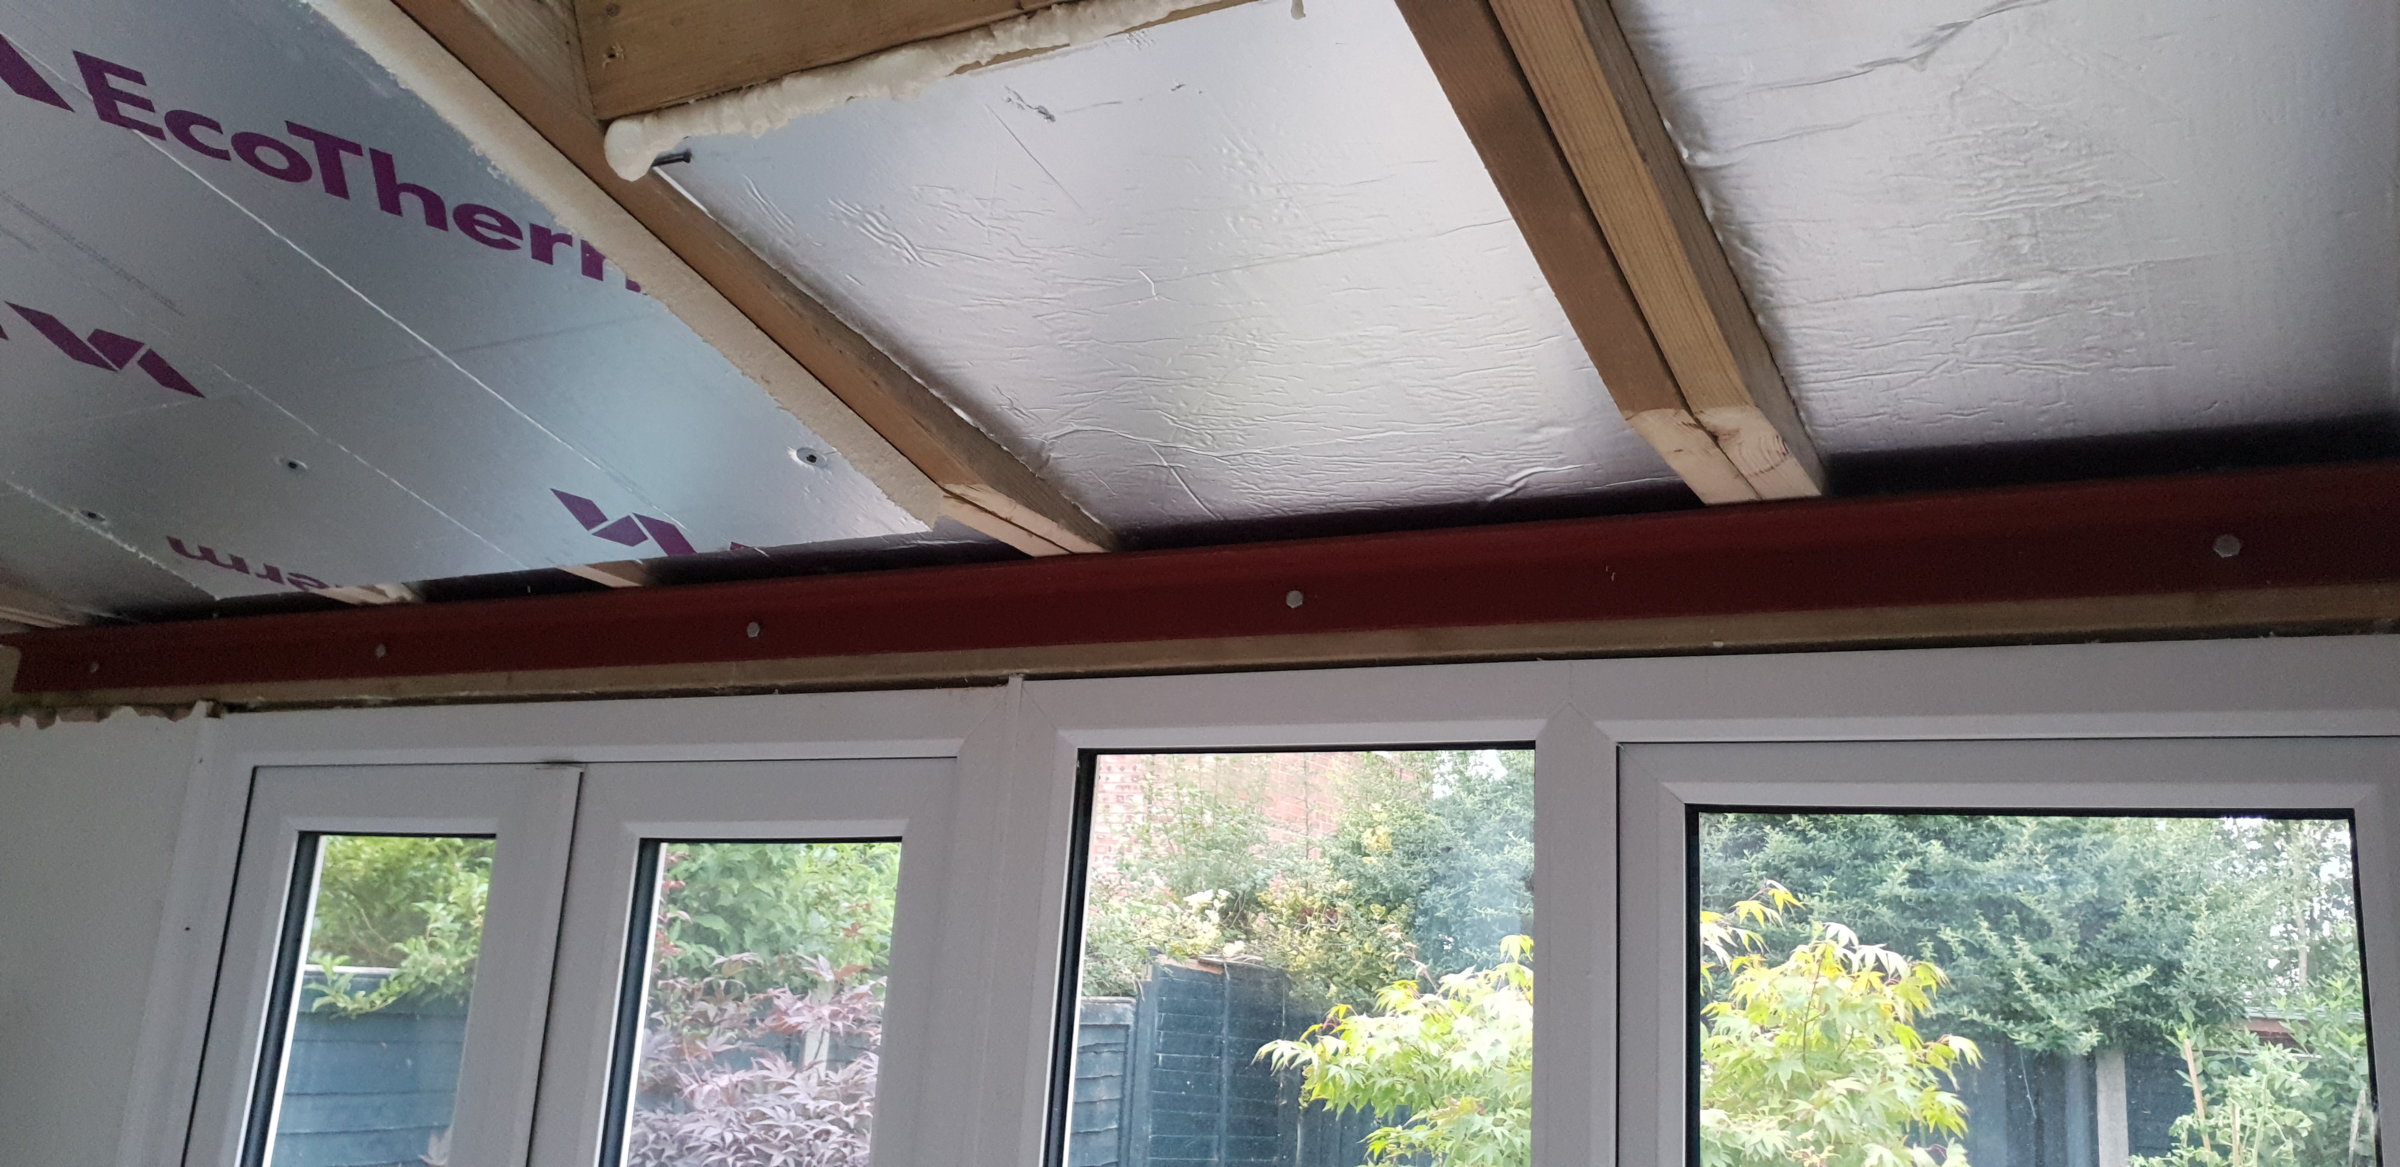
Roof insulation going in:
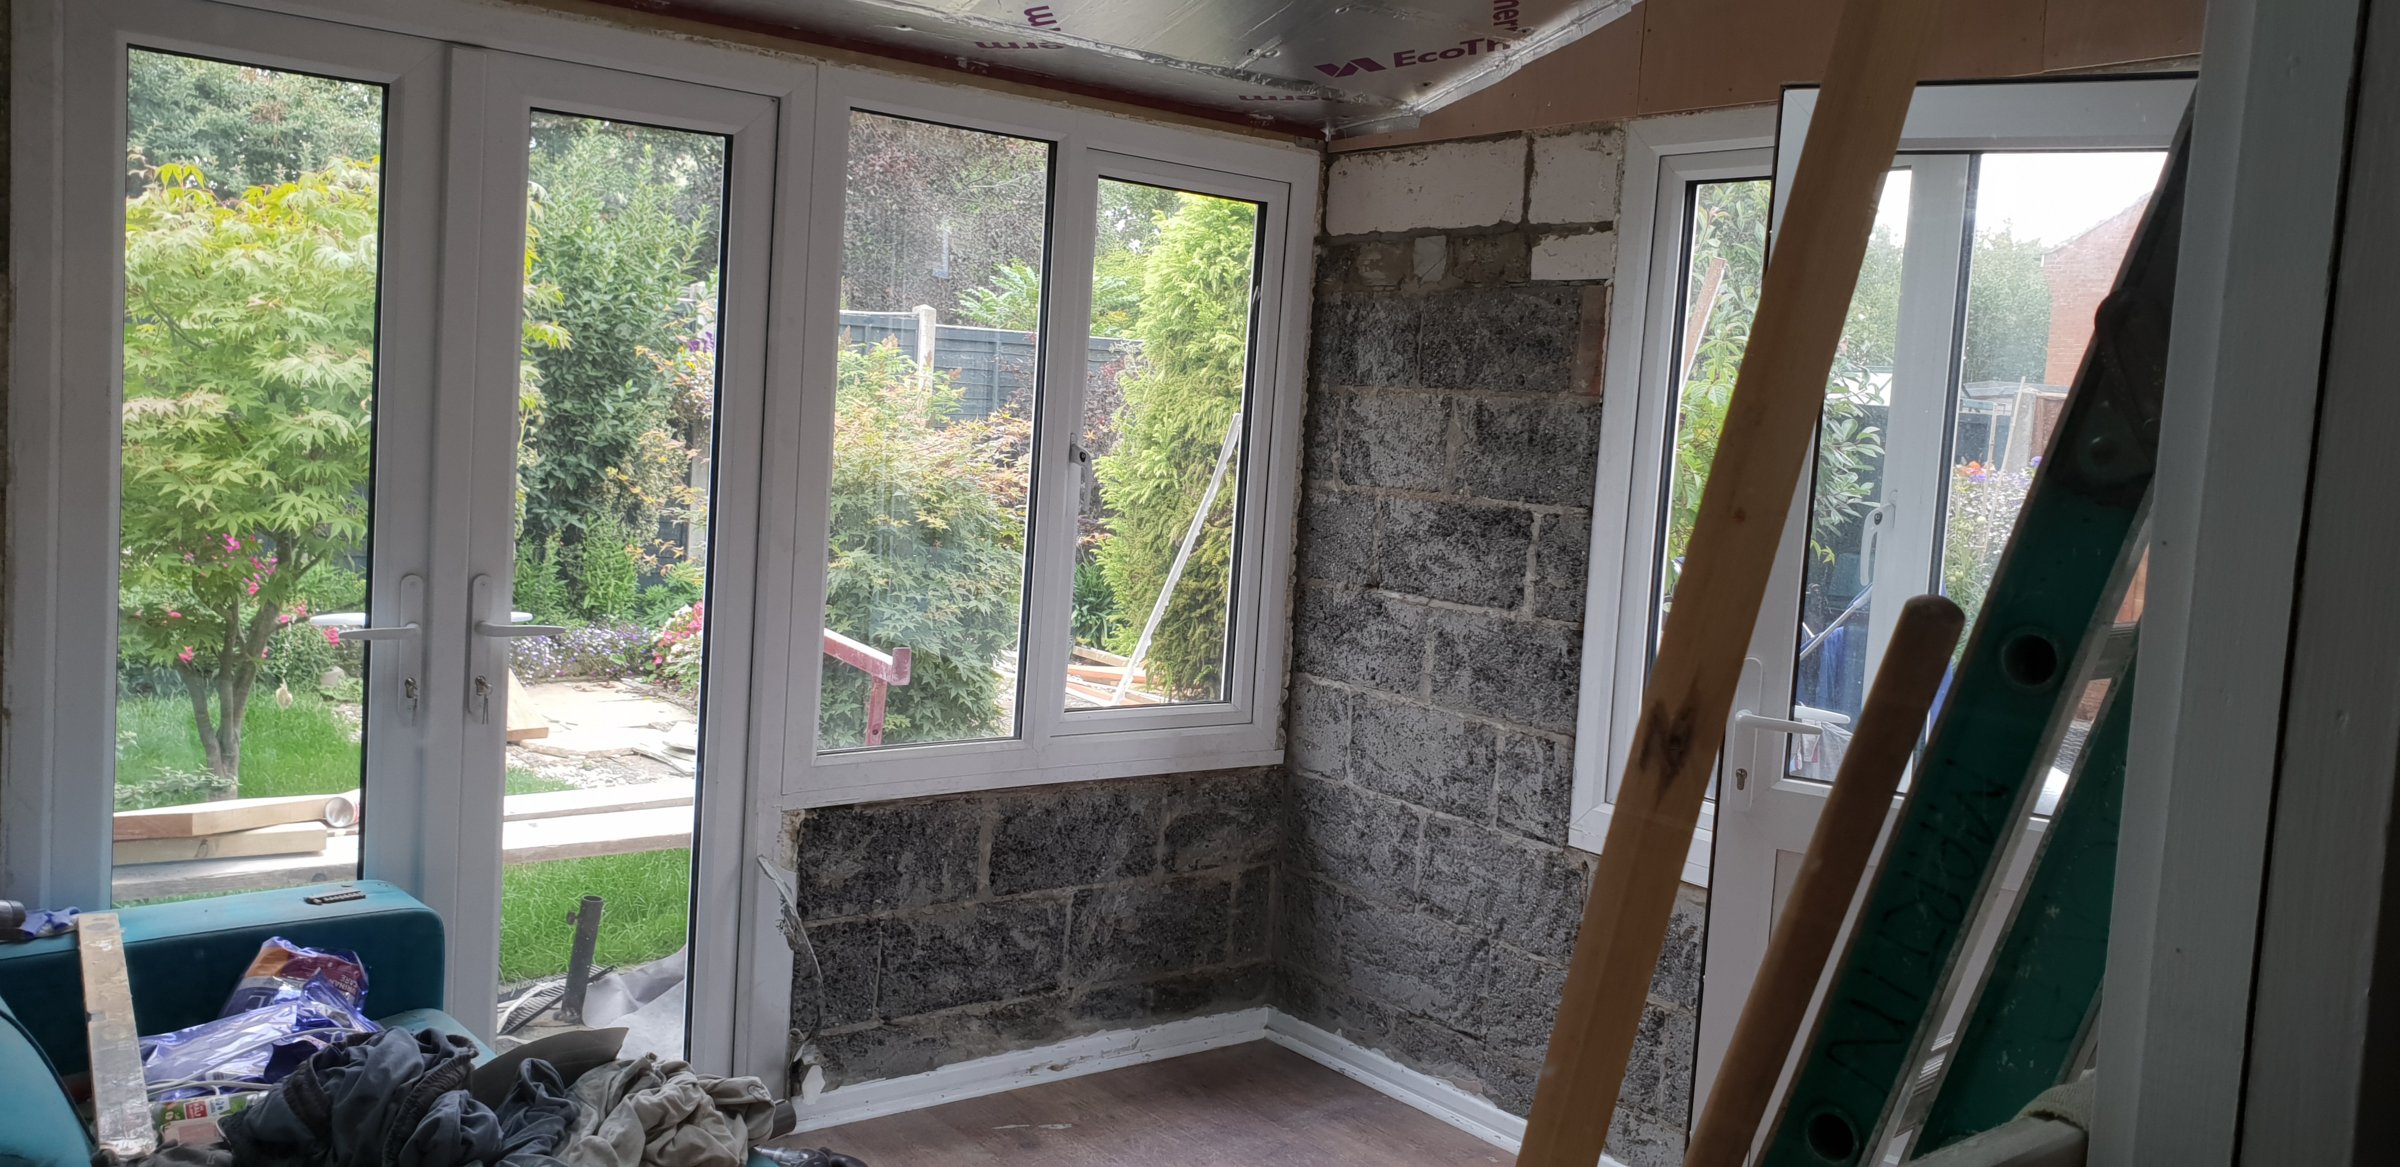
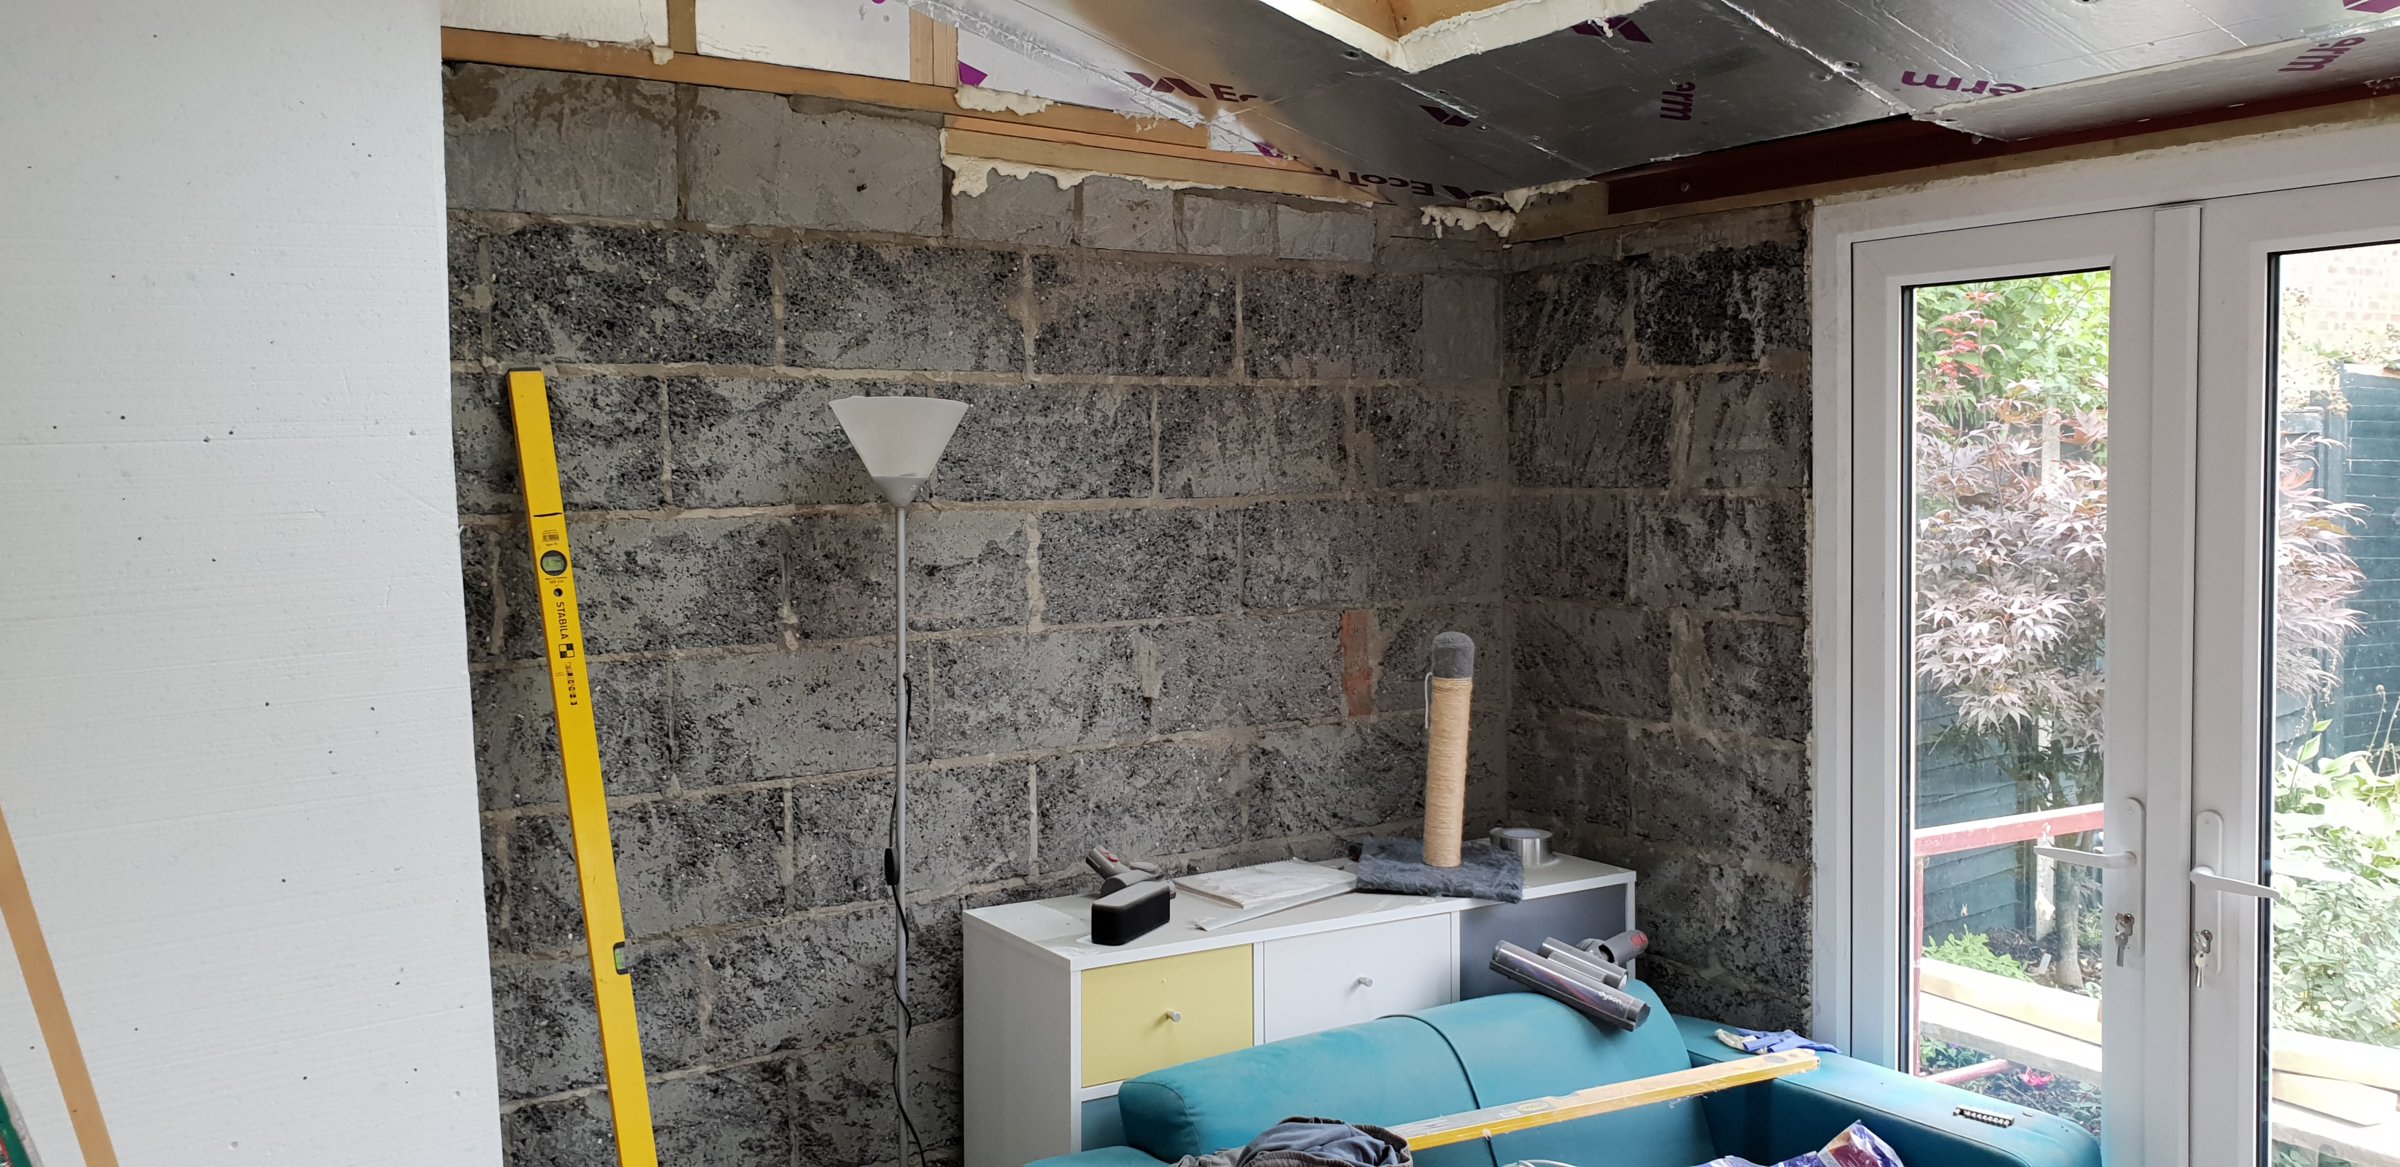
Internal render stripped off blockwork:
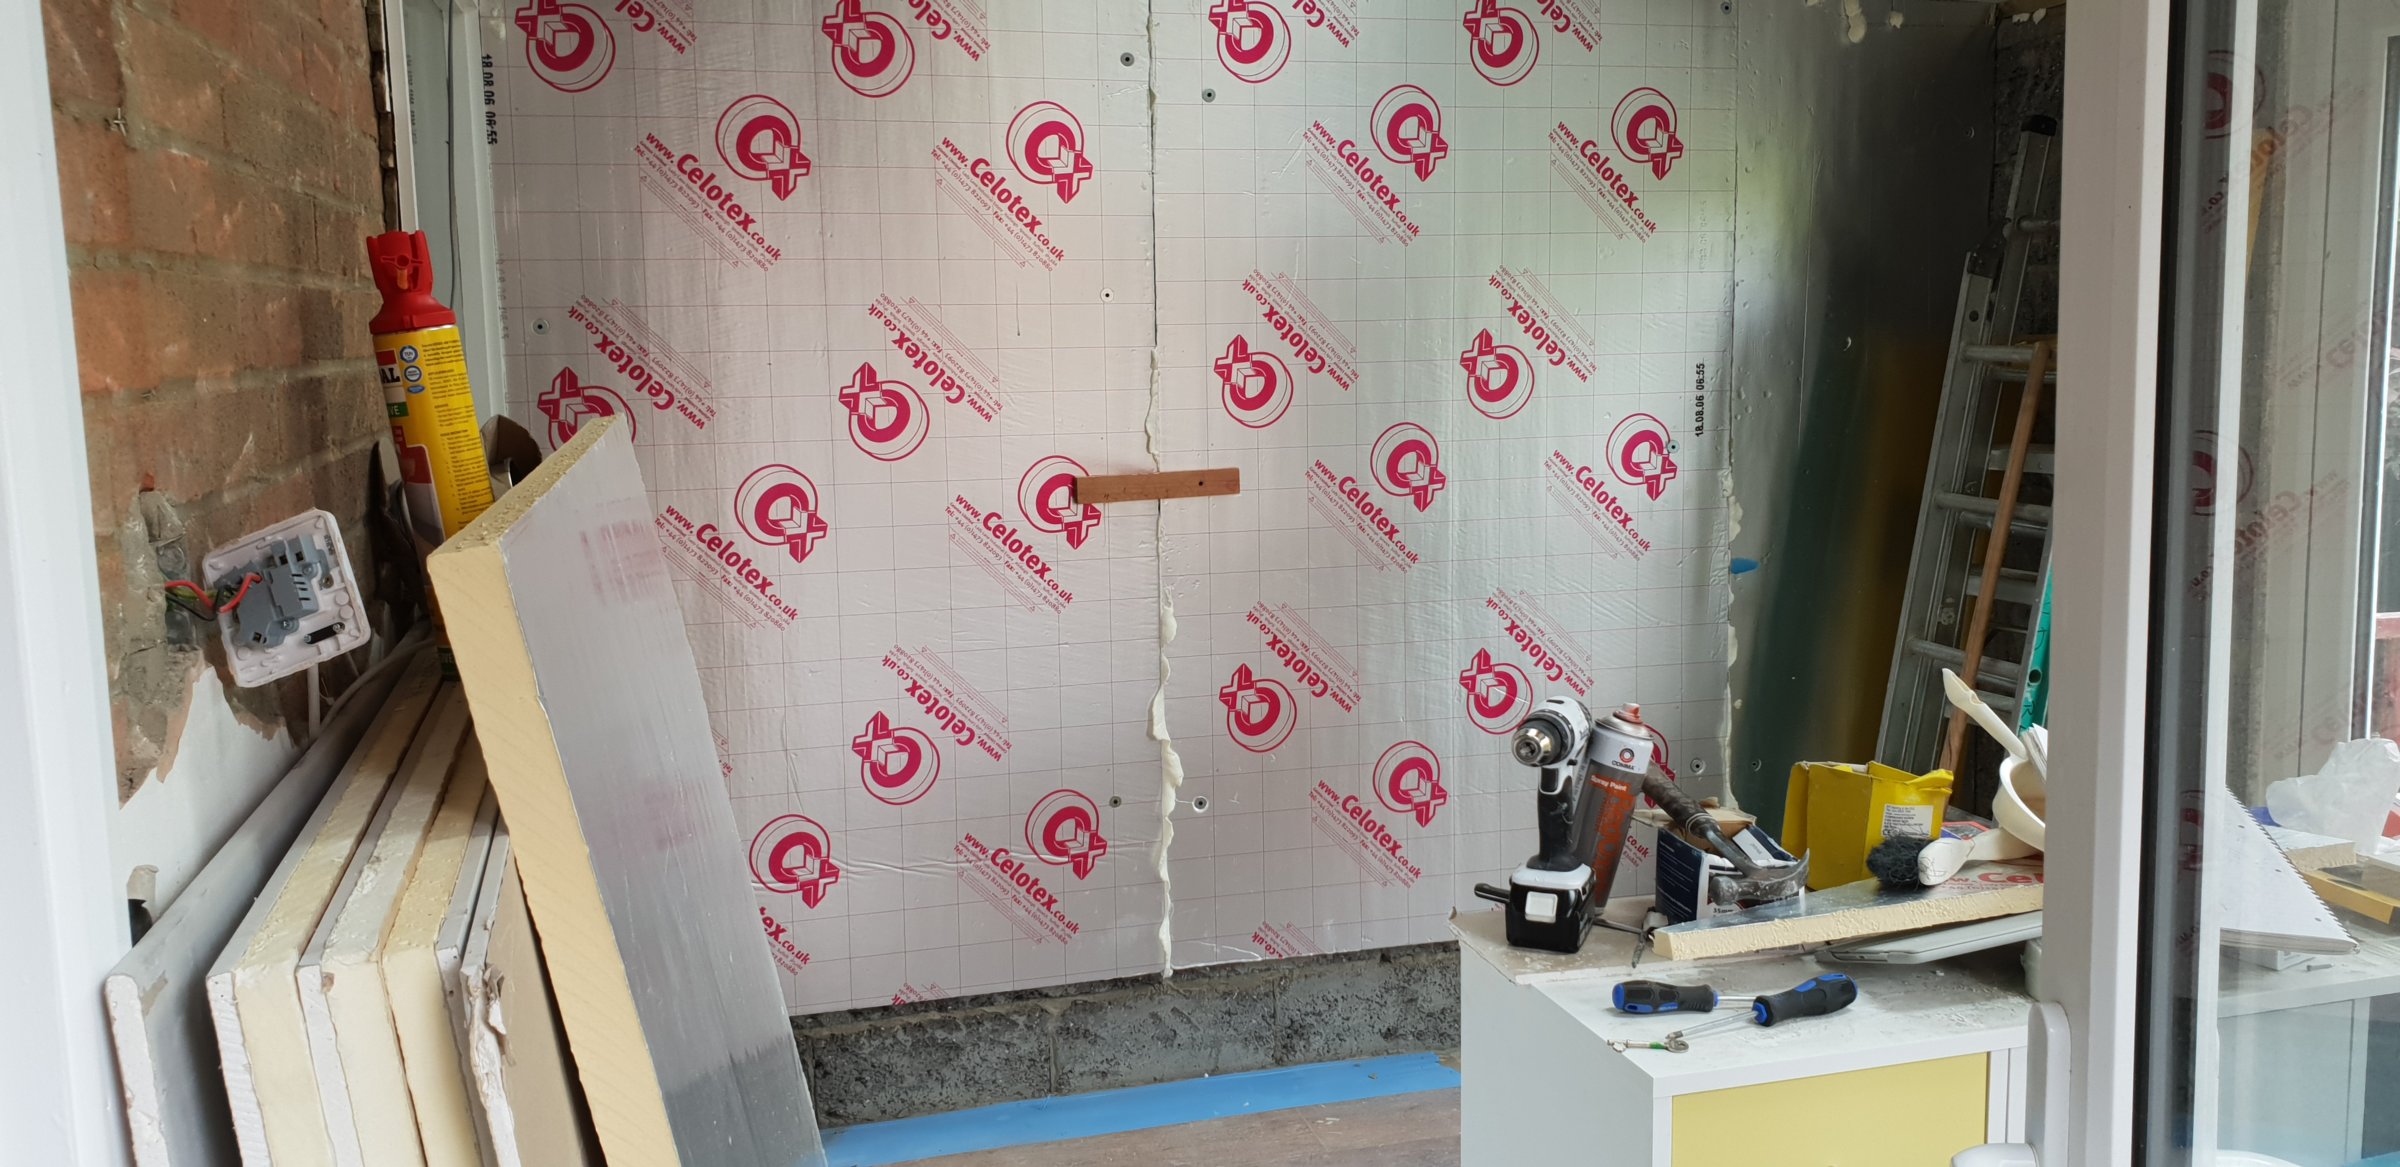
Wall insulation:
Current Position
Ceiling has been boarded and walls insulated, currently plasterboarding the walls.
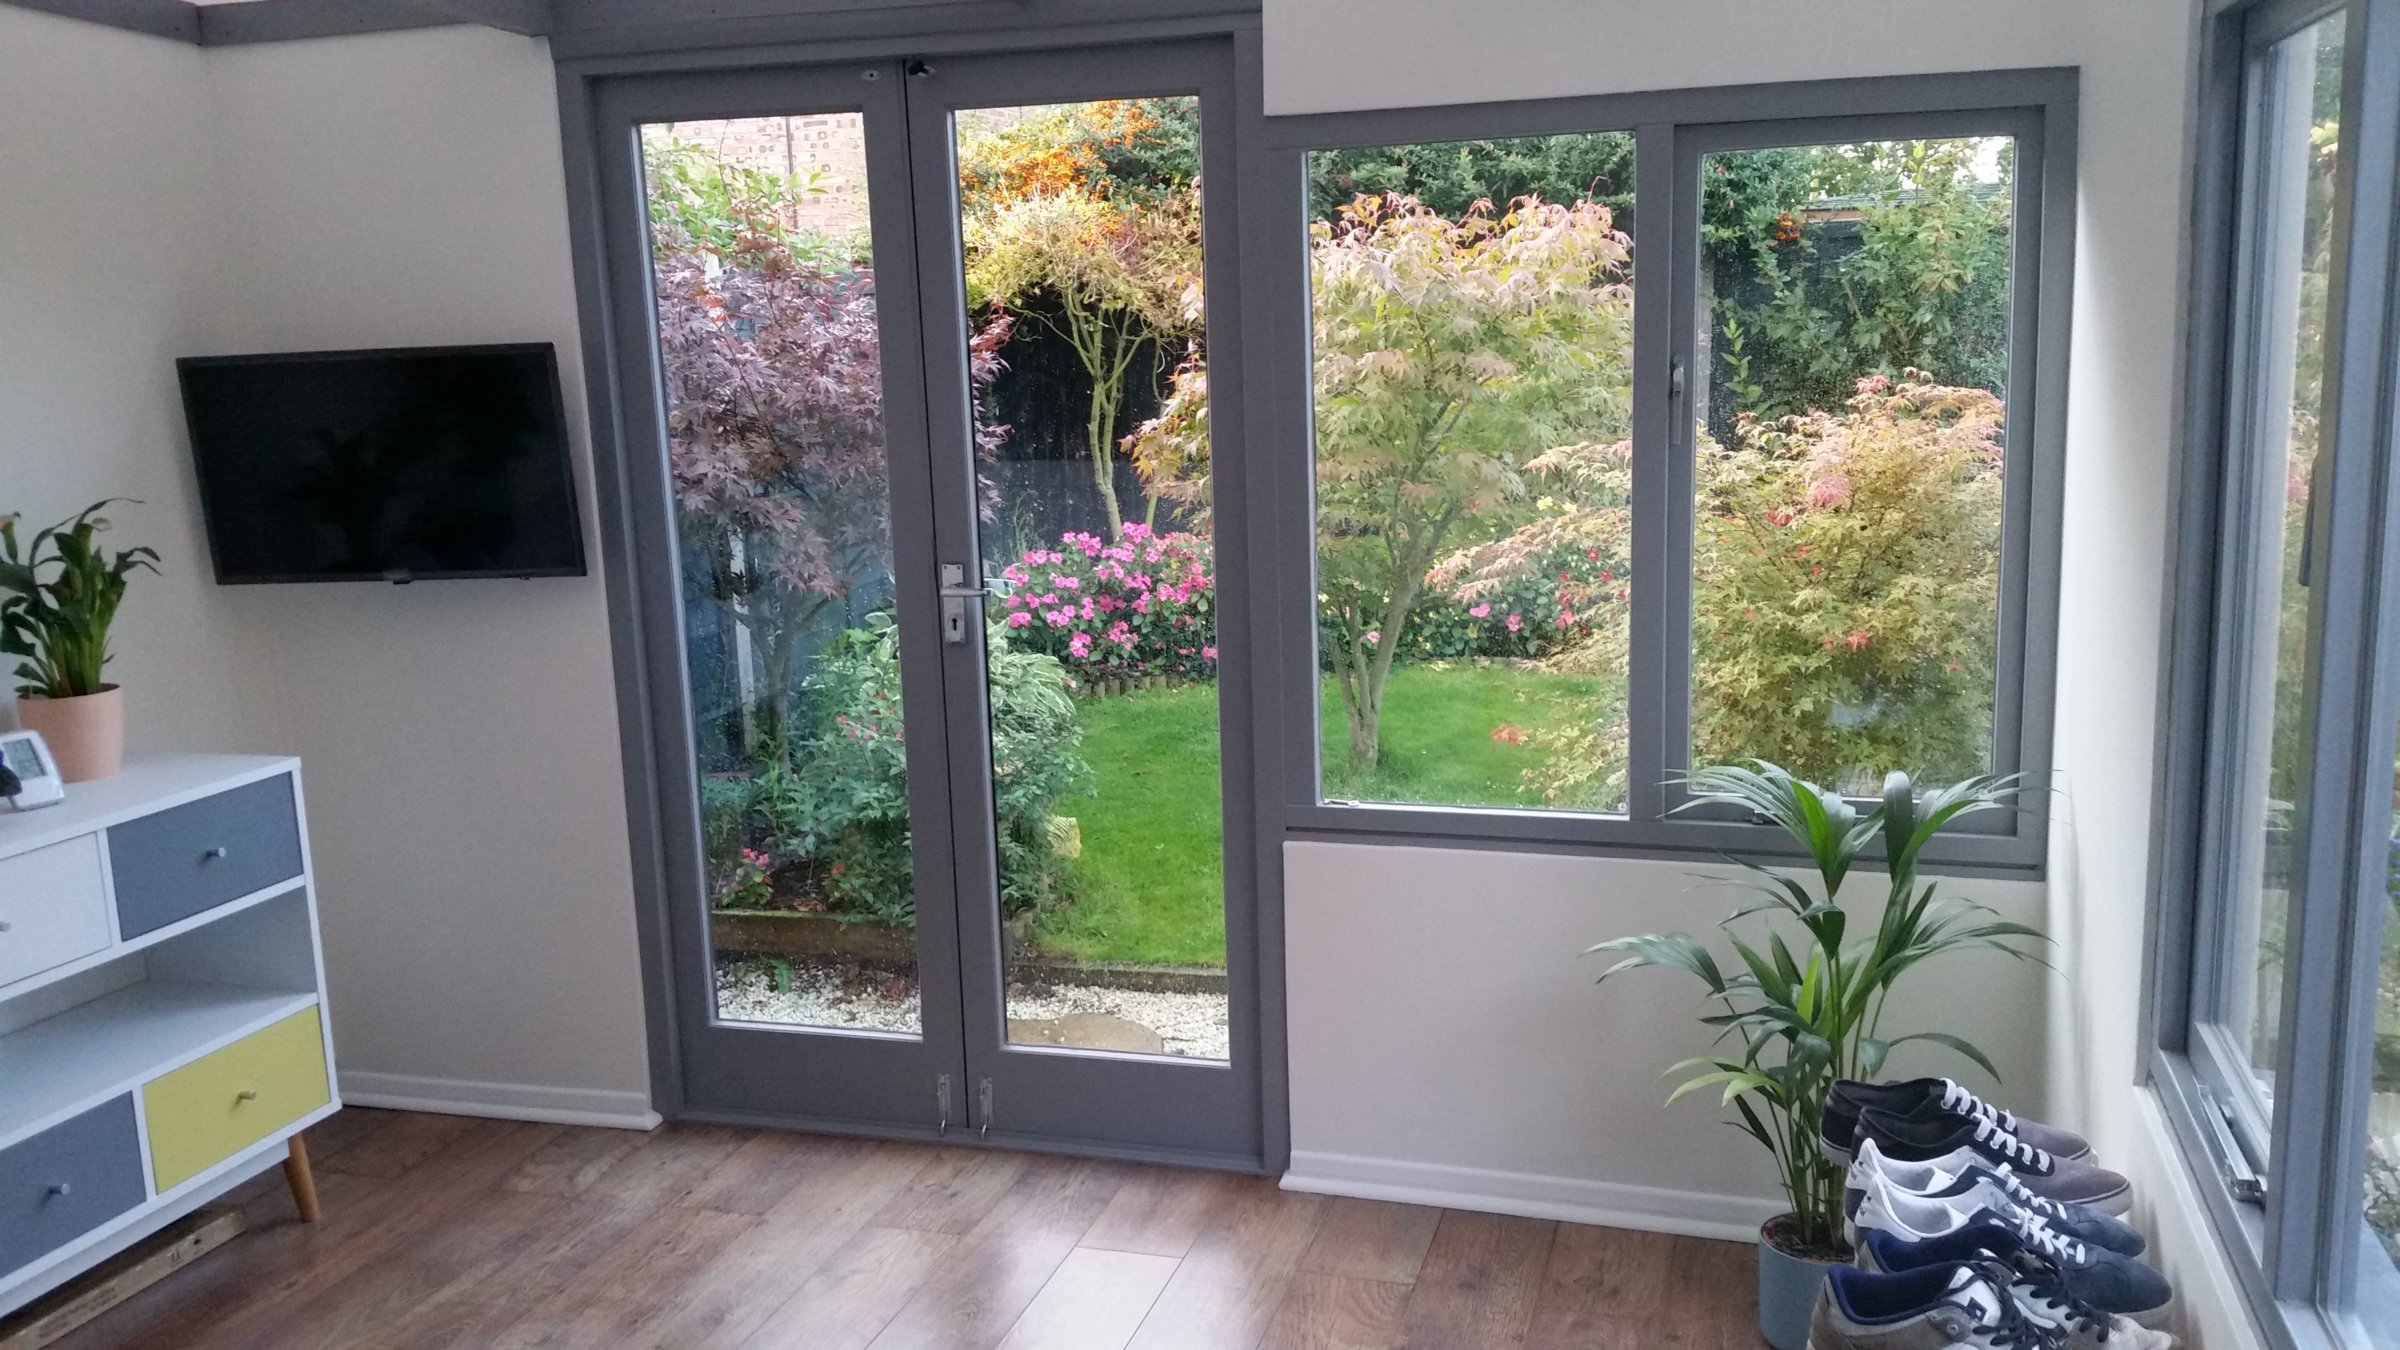
The work so far has made such a difference in both temperature at night and also the sound level from outside.
Slowly getting there, but the brunt of the work has now been done. Current spend is c.£5,000, with the majority of that going on the windows and doors.
If anyone has any questions, give me a shout and I'll try and help.
I bought my 2 bed house in December 2016 and have completely modernised the whole house - new carpets, radiators, kitchen floor, worktops.
Then it came to the conservatory which I had painted - the room basically went down to outside temperature in the winter. It had a poly carb roof and part blockwork, part glazed.
This is how it stood:
The Plan
After taking inspiration from @sh4d0w thread https://www.diynot.com/diy/threads/operation-conservatory-modernisation.457524/ I made an application to building control for replacement of the roof to lightweight tiles and two velux windows. The inspector was happy that the existing structure would take the additional weight and specified 6x2 joists with two 4x2 doubled up for lintels. My dad was able to obtain 9x2 at a reduced price off site so they were used to save money. The roof would be insulated with 100mm celotex between the rafters and overboarded with 40mm celotex. The pitch of the roof would be 16 degrees, which is within the specs for the velux and tiles. This would obviously leave a void from where the old roof sat on the walls - this would be filled by a wooden frame, membrane and plyboard, with 100mm insulation between studs.
Additionally I planned to strip the internal render and replace with 25mm celotex and plasterboard.
All work would be done myself with dad helping, except for the roof structure.
Progress
Roof off:
I used a couple of joiners that my dad knows from site working, they constructed the roof and fascias:
Membrane, velux and tiles on:
Wooden frame on top of existing wall:

I also fitted a 70x70x8mm steel angle accross the roof supporting wall to stiffen up the 4x2 lintel. This wasn't required as a rectification, however the BC officer suggested it may be beneficial.
Roof insulation going in:

Internal render stripped off blockwork:
Wall insulation:
Current Position
Ceiling has been boarded and walls insulated, currently plasterboarding the walls.
The work so far has made such a difference in both temperature at night and also the sound level from outside.
Slowly getting there, but the brunt of the work has now been done. Current spend is c.£5,000, with the majority of that going on the windows and doors.
If anyone has any questions, give me a shout and I'll try and help.
Last edited: