

Following inspection, I only found one bad spot on the tyre bead seat. This was about 1/4 wheel away from the marked leak location.
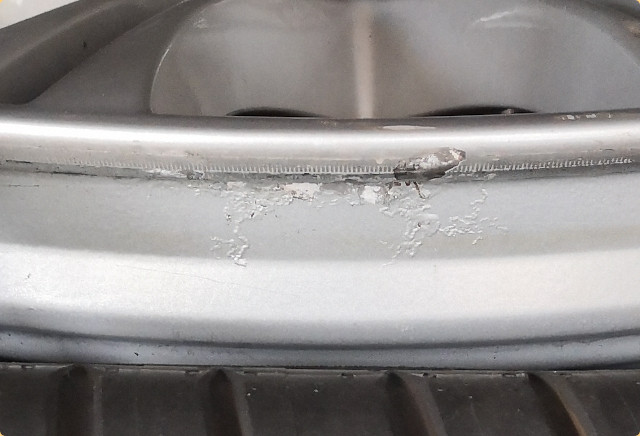
The loose paint and aluminium corrosion powder were scraped away using a wood chisel. The debris was prevented from going into the wheel or onto the bead, and vacuumed away.
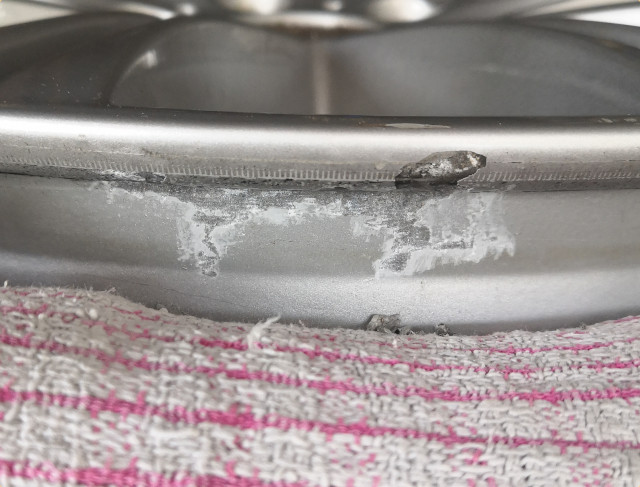
The area was washed and then patched up using bead sealant. The rough finish will be flattened by the tyre.
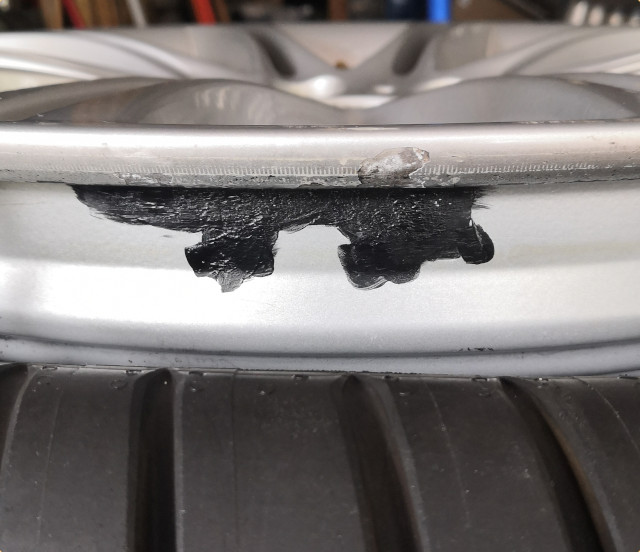
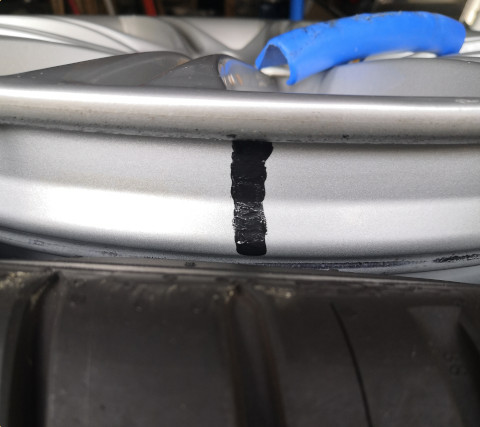
Since there was no issue near the marked leak spot, sideways progression of a leak elsewhere was suspected. Sealant bands like this were put at regular intervals on the bead seat to block sideways leaking. Another possibility for the leak was debris introduced by the shop during tyre mounting.
The loose paint and aluminium corrosion powder were scraped away using a wood chisel. The debris was prevented from going into the wheel or onto the bead, and vacuumed away.
The area was washed and then patched up using bead sealant. The rough finish will be flattened by the tyre.
Since there was no issue near the marked leak spot, sideways progression of a leak elsewhere was suspected. Sealant bands like this were put at regular intervals on the bead seat to block sideways leaking. Another possibility for the leak was debris introduced by the shop during tyre mounting.
Last edited:


