

One are of this project I did consider doing myself but only due to time I decided against it was the house frontage, namely the driveway. I knew what I wanted and after several quotes I decided to go with a local firm as the price quoted was not the cheapest but not the dearest either but seemed like a genuine bunch.
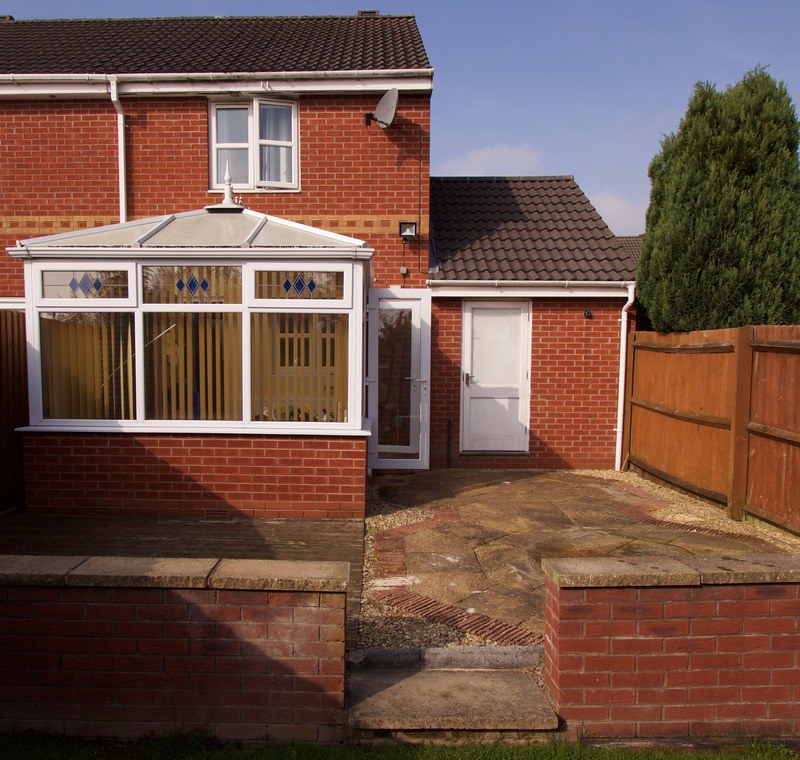
So this is house it looked originally...
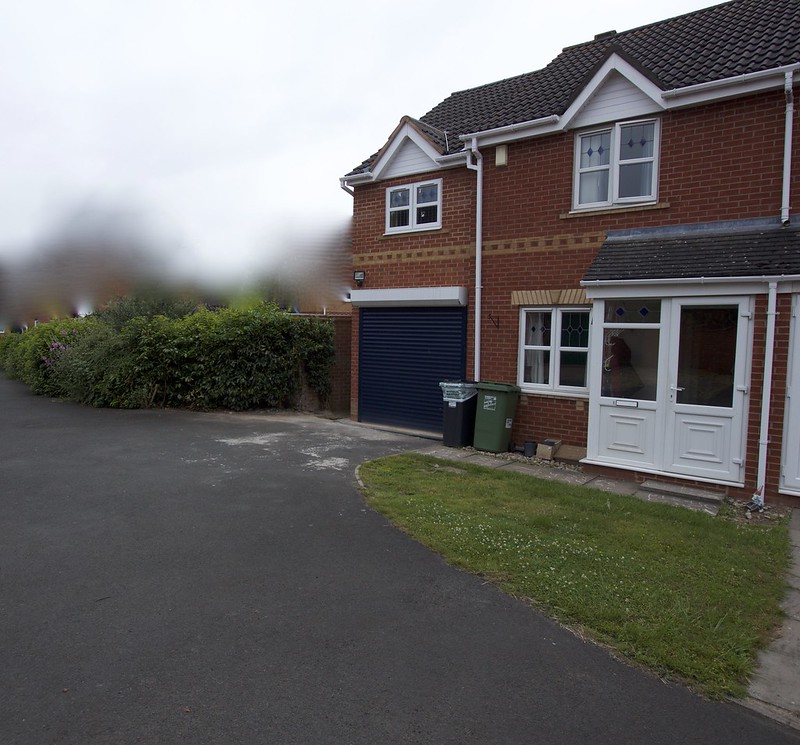 1 Original Frontage by Gary O'Rourke, on Flickr
The excavating started off on the first Monday of July 2017 in the afternoon
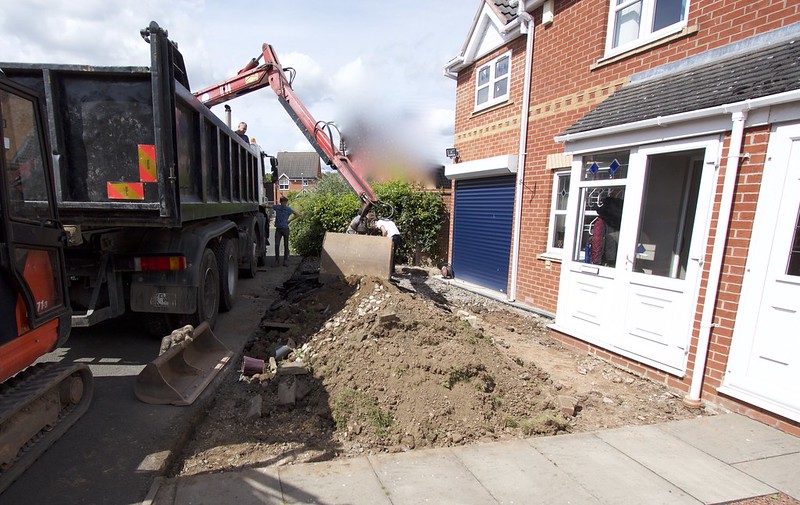 2 Excavating by Gary O'Rourke, on Flickr
So this is house it looked originally...
1 Original Frontage by Gary O'Rourke, on FlickrThe excavating started off on the first Monday of July 2017 in the afternoon
2 Excavating by Gary O'Rourke, on Flickr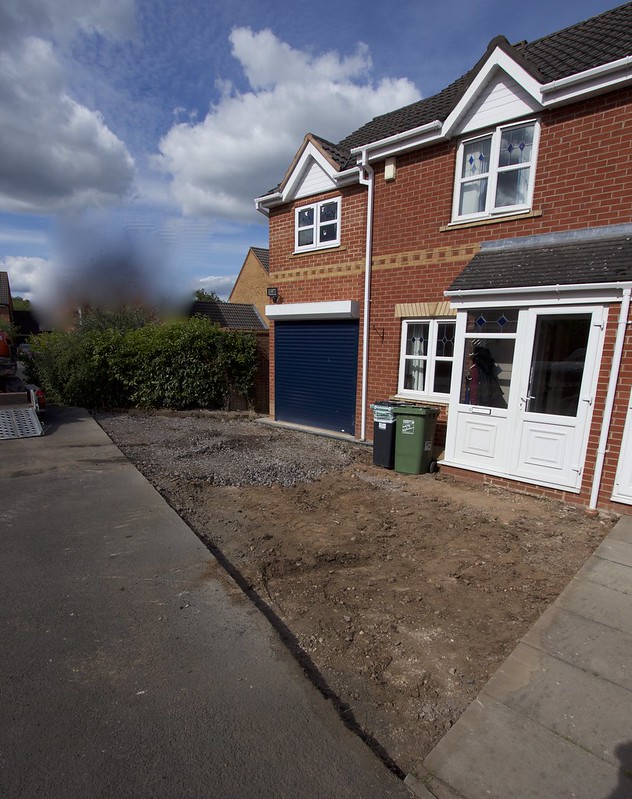 3 Excavated
 IMG_9900
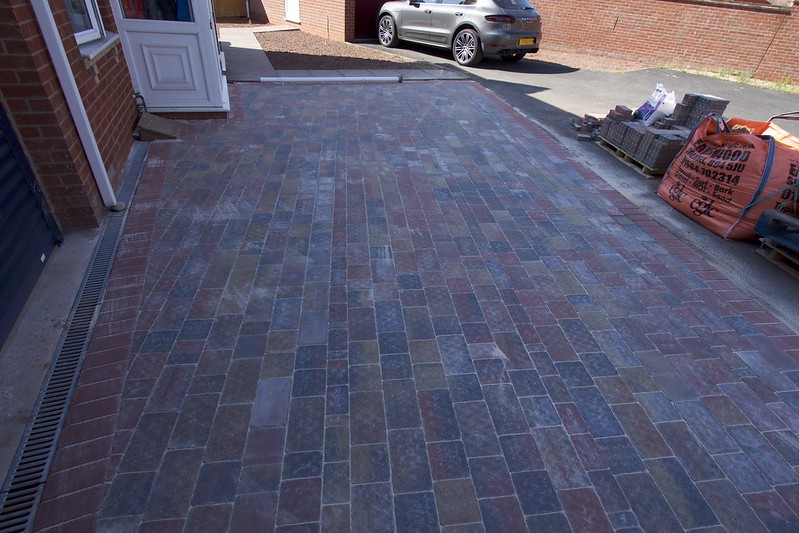 5 Different angle
 IMG_9917
 IMG_9919
 IMG_9926
 IMG_9936
 IMG_9950
 IMG_9933
 IMG_0036
 IMG_0055
 IMG_0059
 IMG_0062
 IMG_0074
 IMG_0079
 IMG_0090
 IMG_0096
 IMG_0100
 IMG_0101
 IMG_0110
 IMG_0111
 1_zpsmiaewhey
 IMG_8566_zps5v9hhjhs
 IMG_9549_zps8qmuwmoc
 IMG_9570_zps0bdvo5v0
 4A303D7C-EE28-408B-BE9F-84F0CBAEC29B_zpsedkdbxdx
 1E5242BE-C5FB-49D7-A503-766E3F4FC072_zps27w0adur
 3F09B366-2CCF-4865-AE61-032C94C79E86_zps1j9bezv5
 C8CB9CB3-AE01-4293-B2C9-E70843525986_zpscmsh8voj
 79_zpscfym6zh5
 91AE89F3-A911-40BB-BB58-8DA178771E8C_zps8nob8rzo
 IMG_9680_zpsp7pafvbo
 Untitled
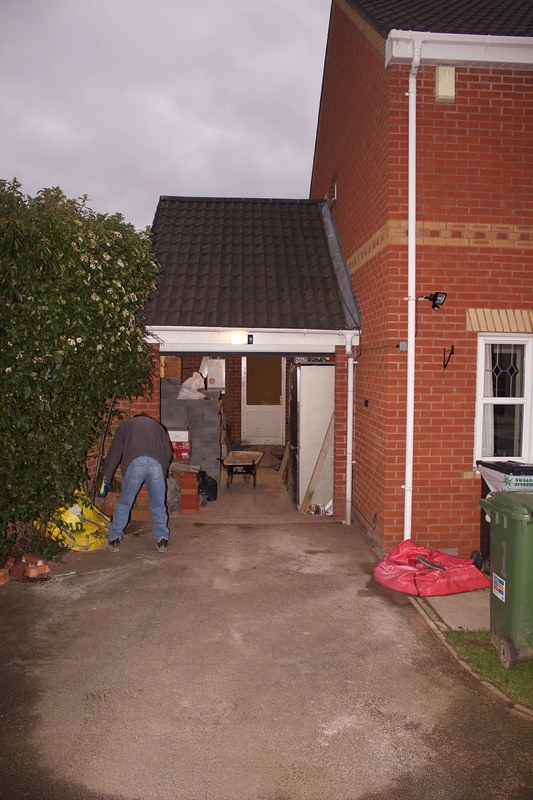 37_zpsph4fnpvq
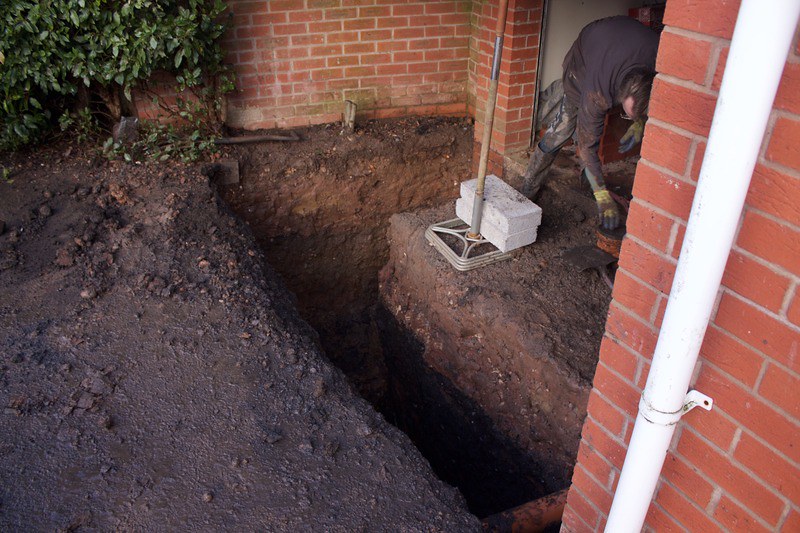 40_zps9jpwcvl0
 58_zpsiptmmpz8
 65_zpsupassk2a
 74_zpsukpzsifw
 BDE0844F-45ED-4BBF-AF30-4CB42D71026D_zpshk8ns4dy
 F53653AA-6FD7-47A2-836B-BF1337AA161C_zpslqyp70oi
 IMG_8064_zpsgbzo4qn1
 IMG_8066_zpsrguoyfix