It's very easy to nit-pick someone else's work from photos, and how it should be done, or how we might have done it, but that is a tidy job by someone who seemed to know what he was doing.
Never the less it is still leaking, but even the best tradespersons can make a mistake, or some specific circumstances can catch anyone out
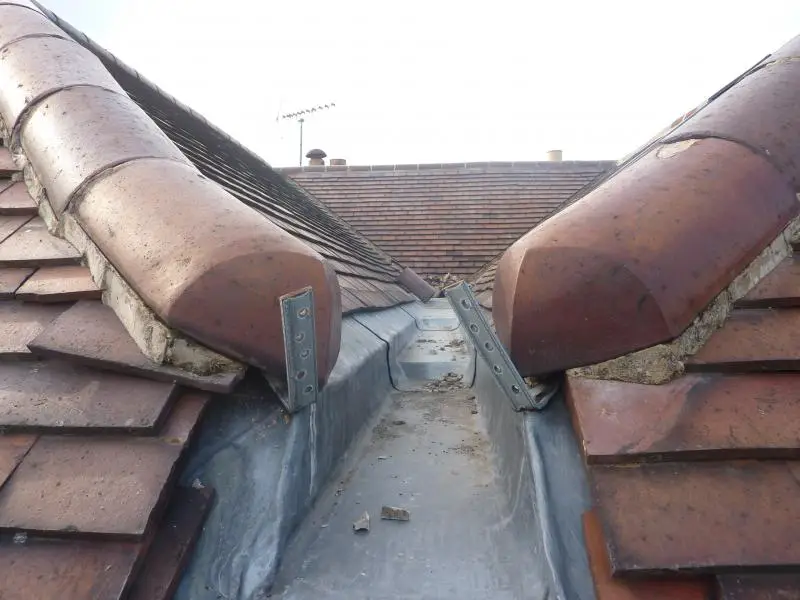
These gutters are not resistant to standing water or melting snow, and capillary action is a likely cause at that joint.
A bead or two of quality mastic sealant within that lap should be a good enough, very long lasting repair. Otherwise, it's a case of re- making the joint with some 'anti-capillary' measures
I have to remind myself that I actually watched the guy at work, and fed him cups of tea. He was about 65 years old, and been a plumber all his life. He fetched out the perished lead that was installed in 1933. It came out in just two huge pieces, there was only one step, and the lead was nailed all the way along. Even this managed to last 60 years before it failed on the previous house owners.
I remember him telling me how he was putting in an extra step, making them deeper, overlapping over them, using three sheets of lead, using a neoprene expansion joint, and using fewer nails, with only the top sheet nailed at the valley end. He might not have been up to the standards of some people, but from my casual observation I thought he did a sound job, particularly compared to most roofers in the Yellow Pages.
Anyway, after staring at this for the last hour in the dark with a torch, I think I've actually sussed it.
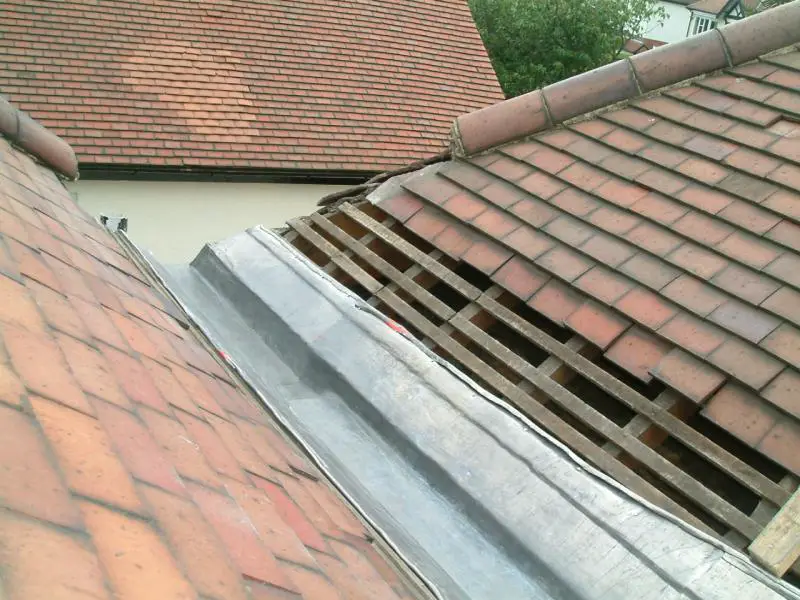
Looking at the 1st photo again, and from what I've just observed from watching the thawing snow, I think it's the arrangement of tiles that the problem. It's not the plumber's fault, but the cowboy builders who put the tiles back after the plumber had left. Although I couldn't see it directly, I can sense that the snow sat on the tiles is melting through the gaps between the tiles and landing straight on the top of the lead where the red mark is. I don't think capillary action is even required, the water is just slipping through the two layers of lead from the top.
This should be a easy fix, but open to suggestions.