- Joined
- 5 Oct 2020
- Messages
- 144
- Reaction score
- 3
- Country

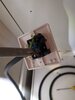
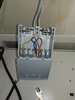
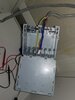
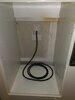
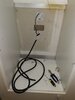
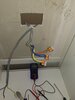
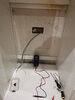
Hi mate what I don't need to replace the 40amp MCB on the 6mm oven circuit with a 32amp MCB?No, that advice is rubbish.
He said the regs changed about 8 years ago because there was oven circuits catching fire with the 40amp MCBS installed and therefore they reduce the MCBS to 32amp...?
Shall I leave the MCB as 40amp?

") .
.