Hi there,
I'll start with an apology - I'm sorry - you must be sick of this sort of question but I promise I have tried to find the answer online for hours!
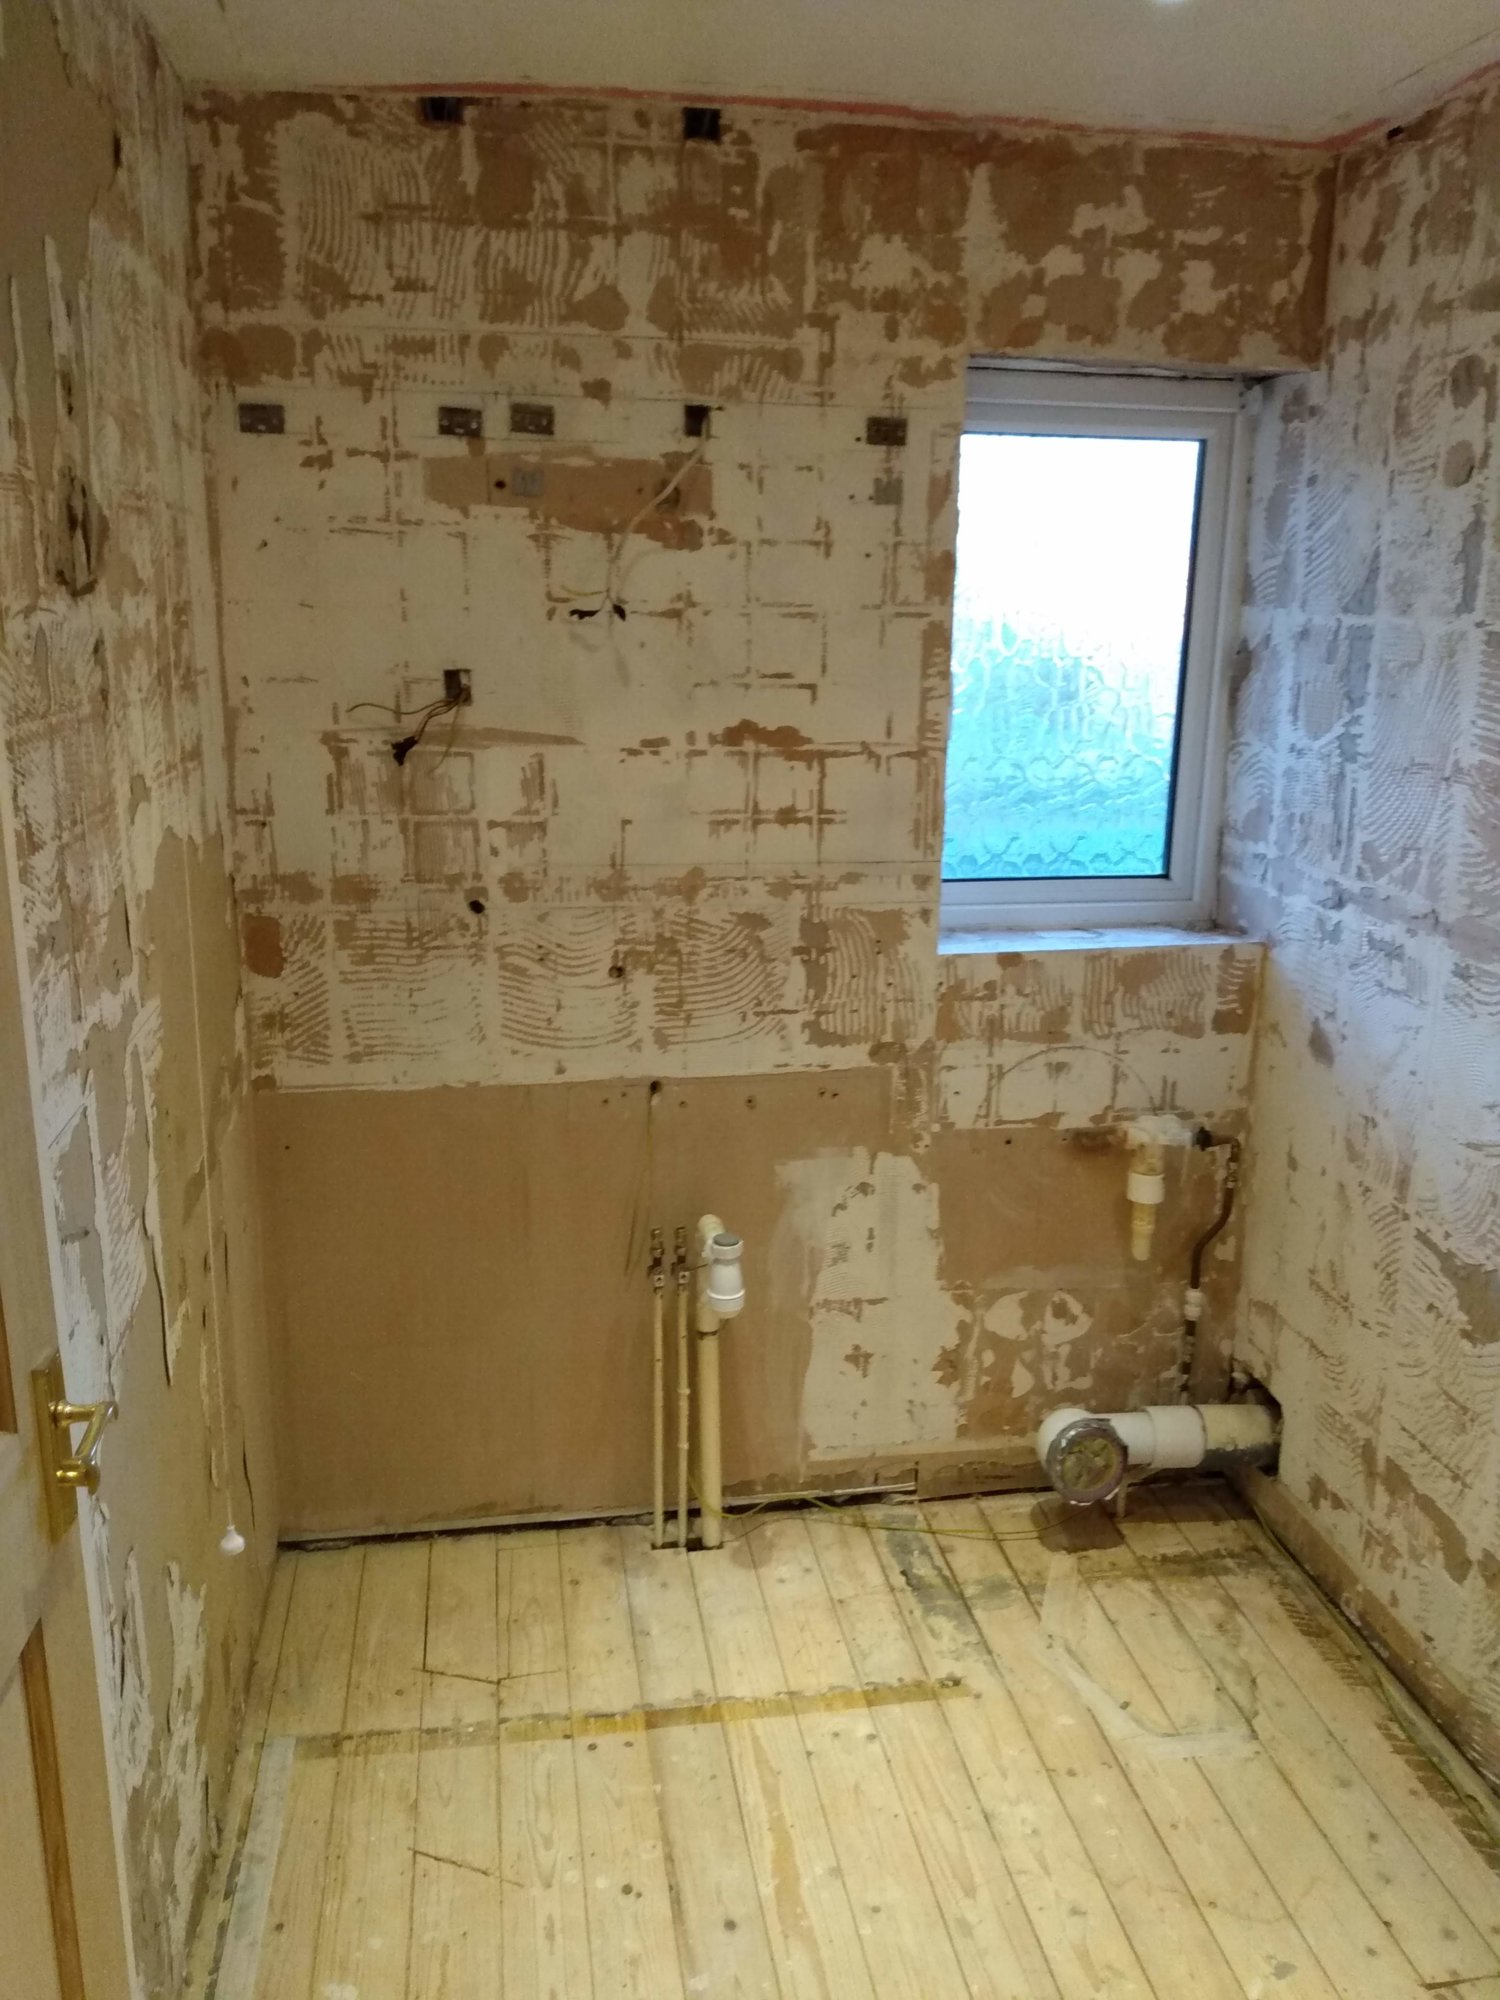
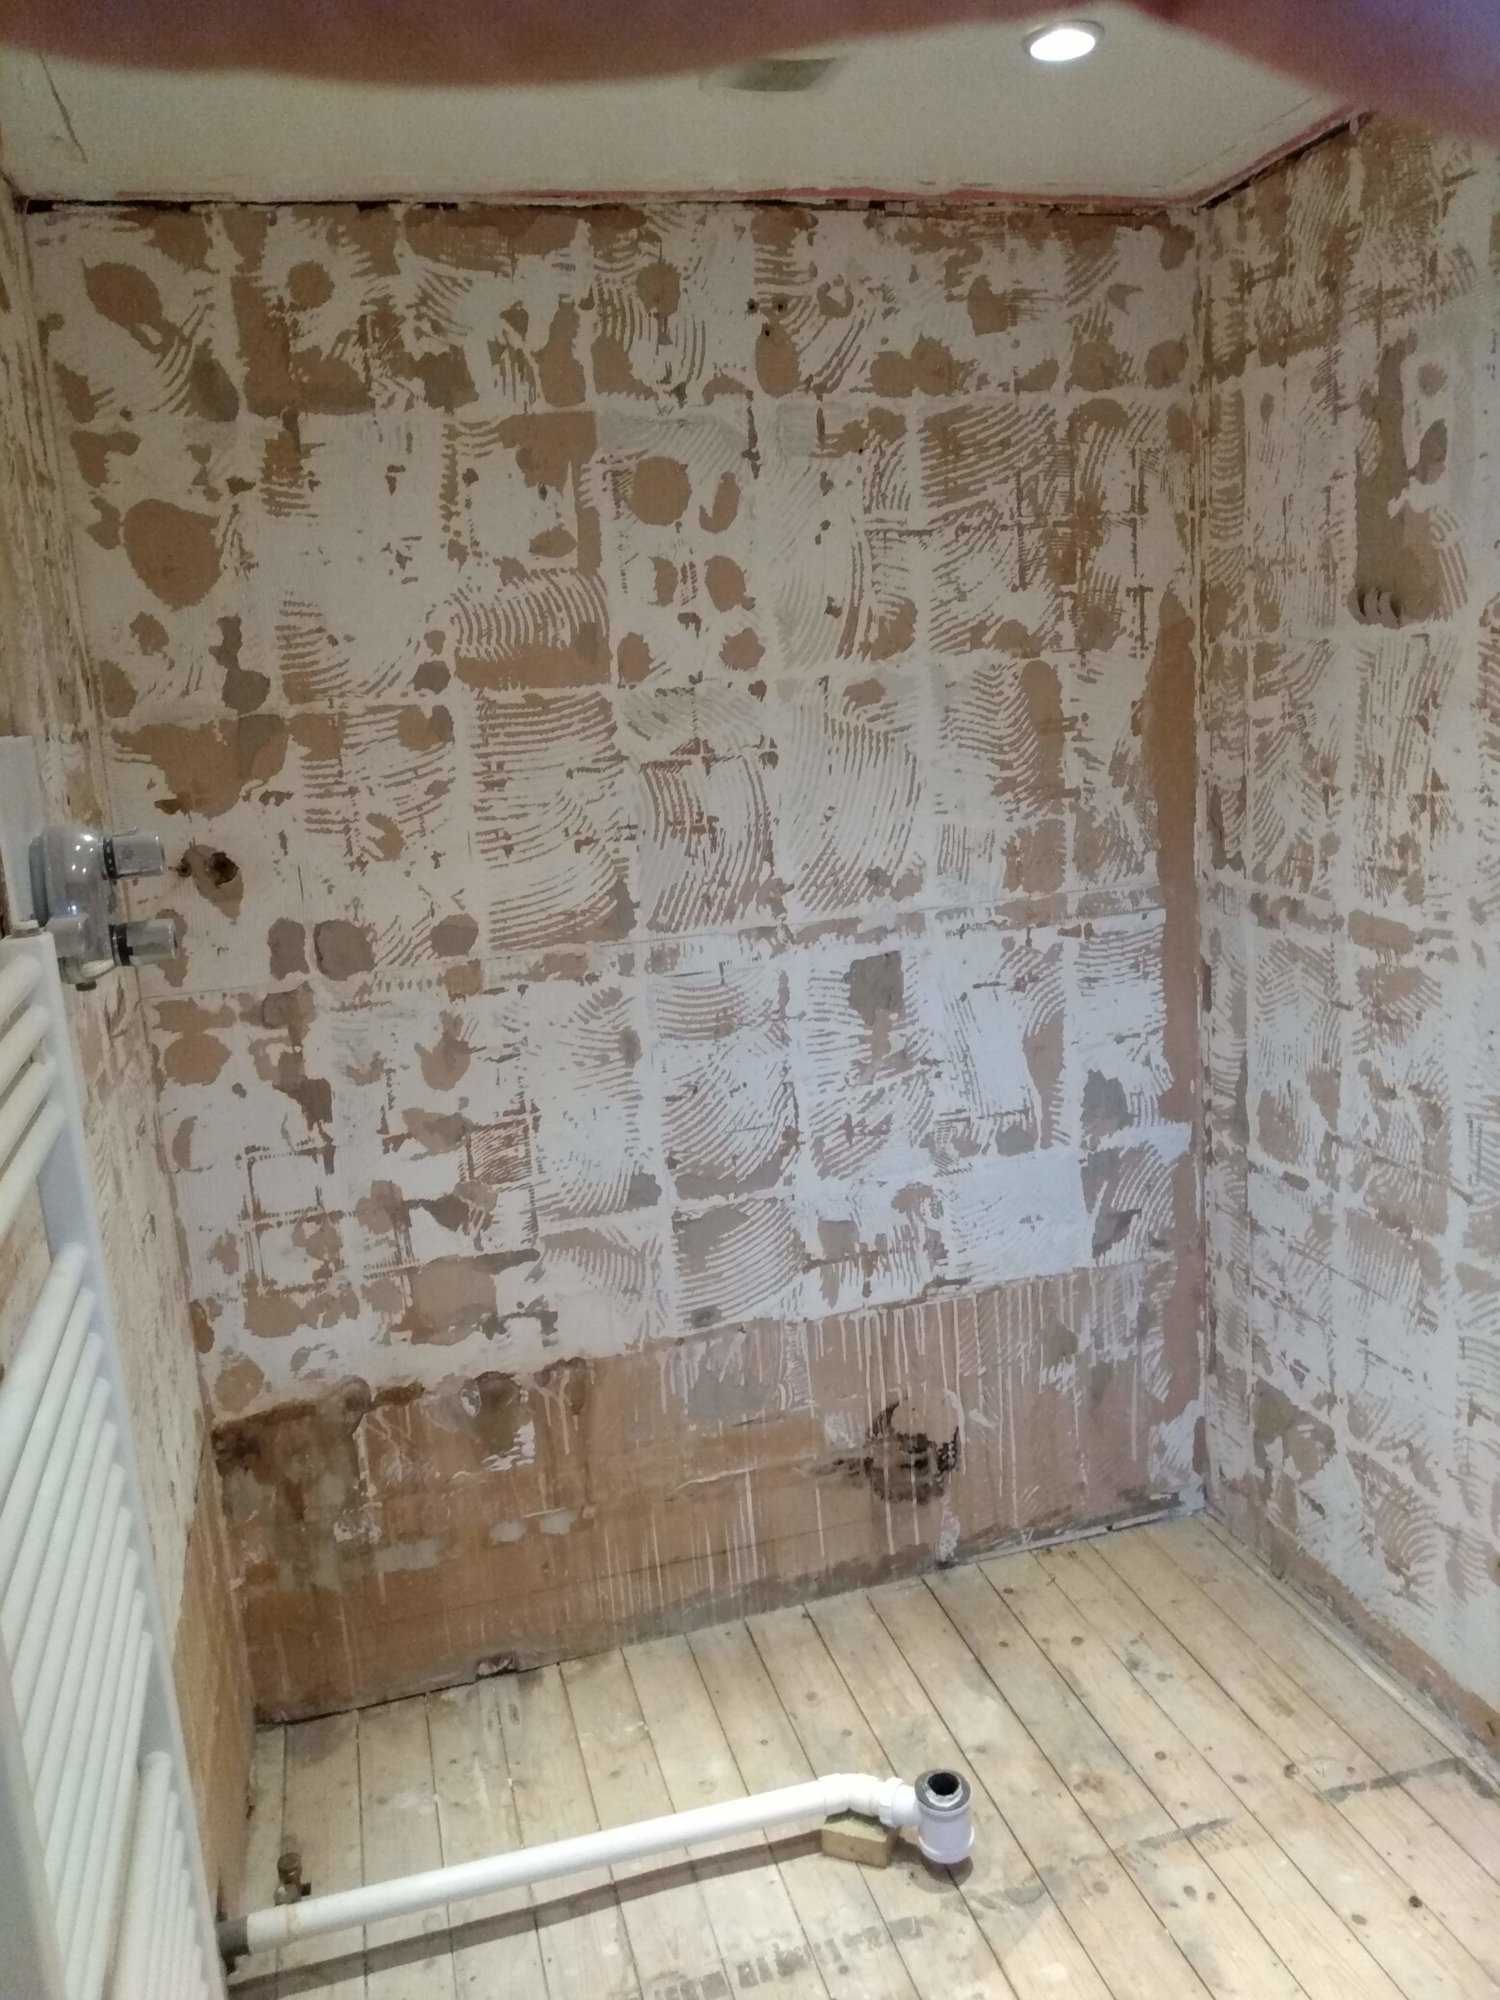
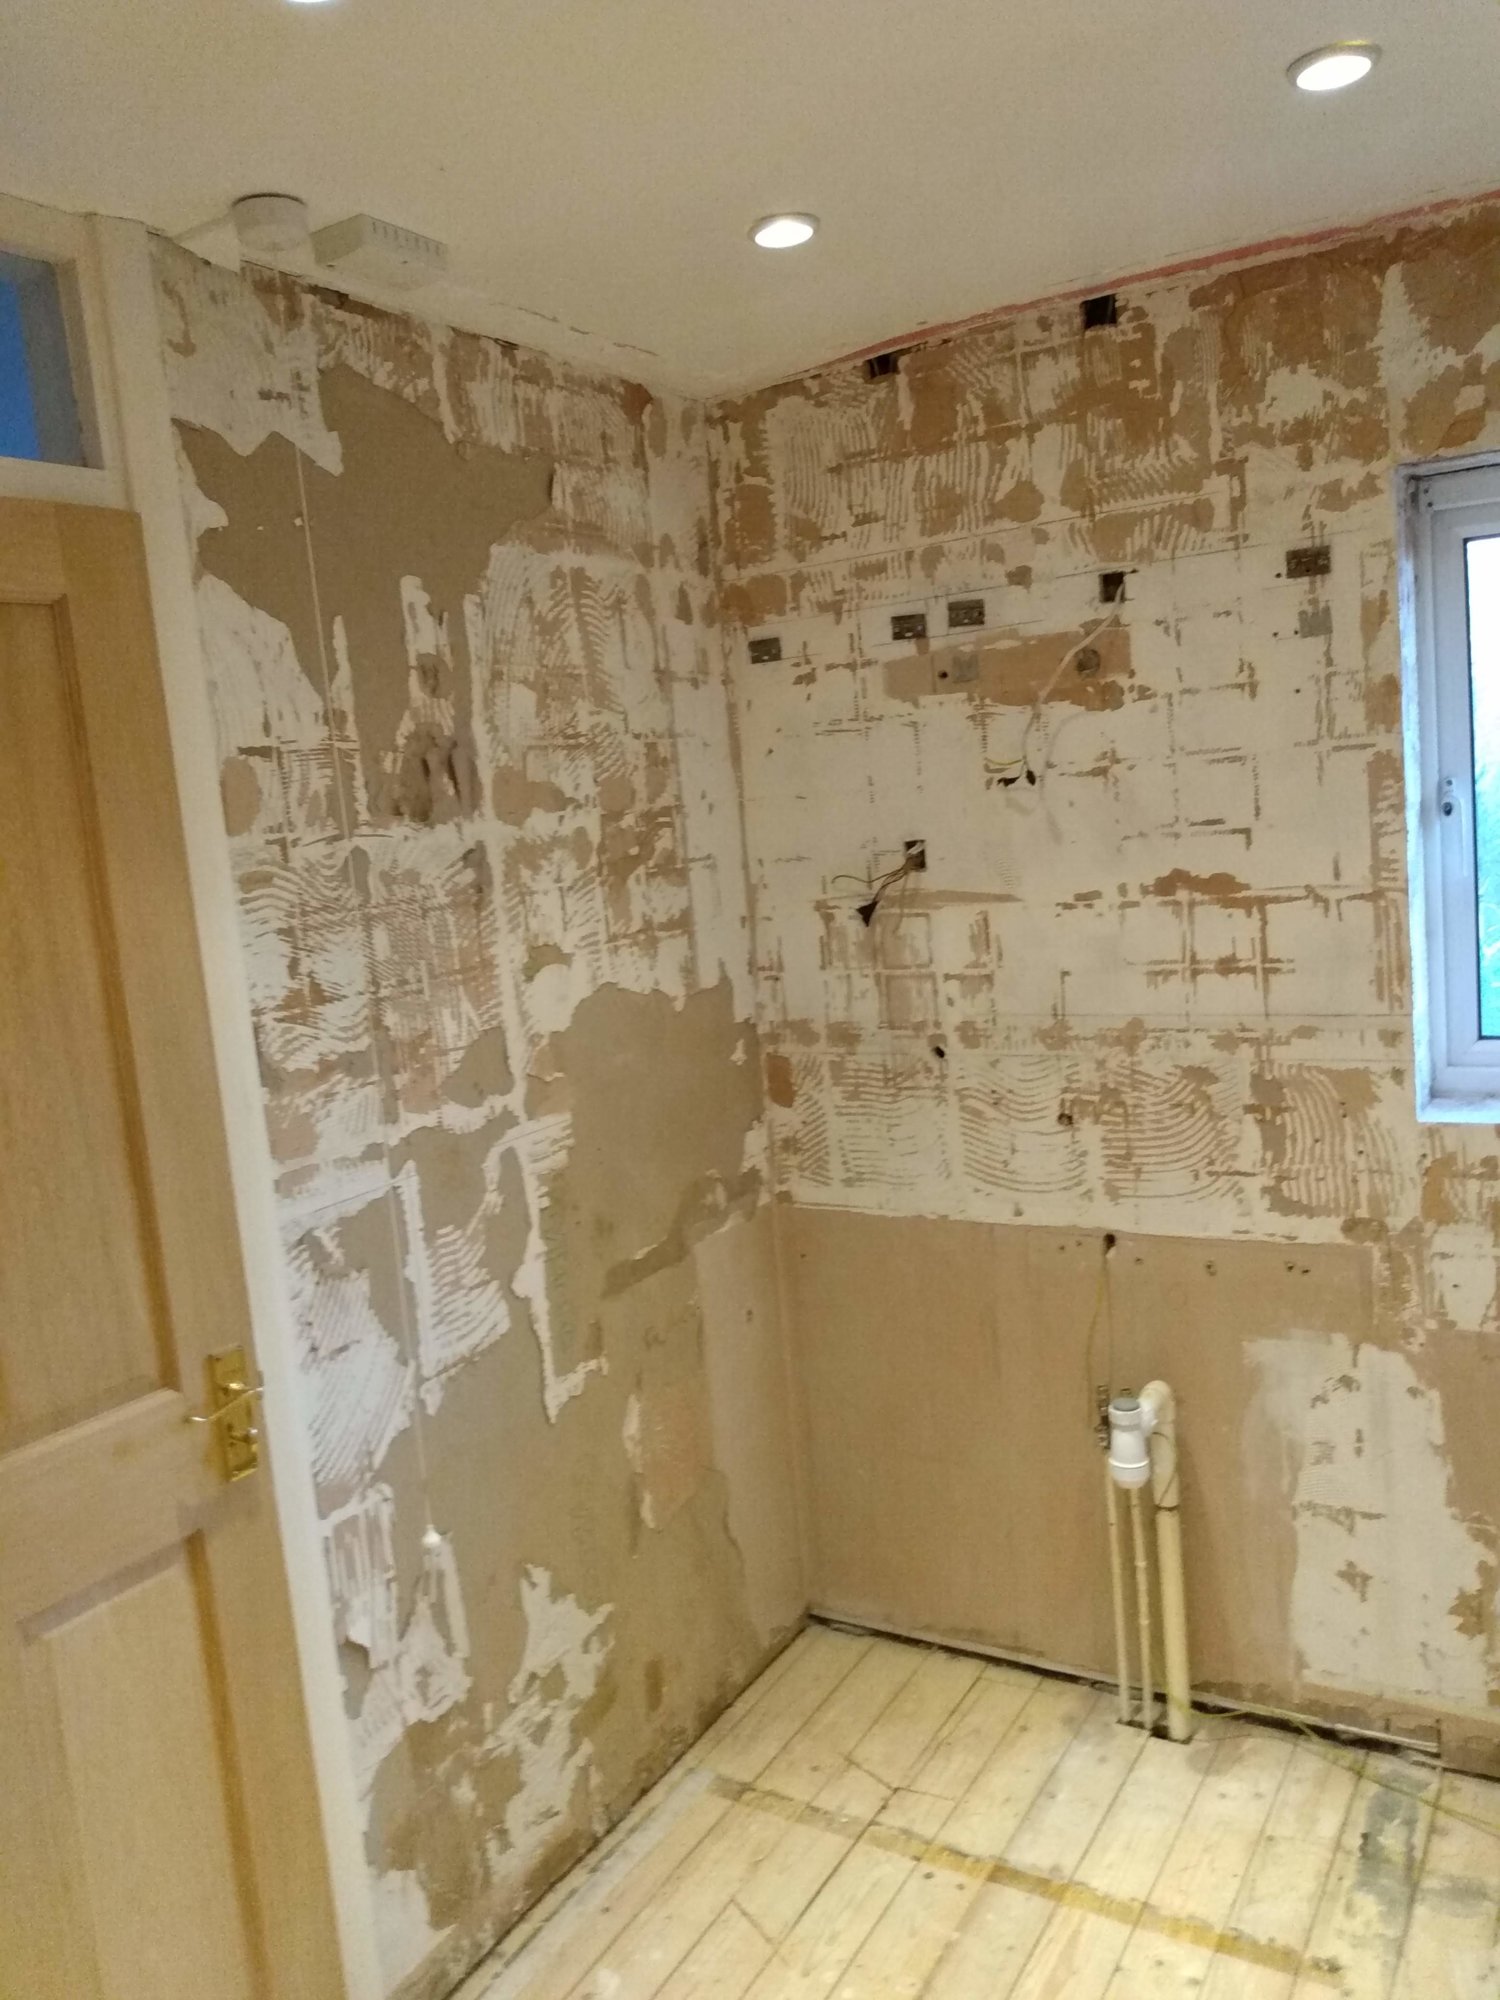
I've just removed the tiles from my bathroom and it's made a right mess of the plasterboard (down to the paper etc). For most of it, we don't want to replace the tiles, but to paint. The shower and sink area I'll tile or use the wall board things. For the area to be painted, please should I:
1) Replace the plasterboard
2) Try and plaster it
3) Something else
As you've already guessed I'm an amateur but have done some semi-passable plastering and feel capable of replacing plasterboard (once I've watched many videos and taken far too long over it).
Any advice appreciated. Many thanks.
Gordon
I'll start with an apology - I'm sorry - you must be sick of this sort of question but I promise I have tried to find the answer online for hours!
I've just removed the tiles from my bathroom and it's made a right mess of the plasterboard (down to the paper etc). For most of it, we don't want to replace the tiles, but to paint. The shower and sink area I'll tile or use the wall board things. For the area to be painted, please should I:
1) Replace the plasterboard
2) Try and plaster it
3) Something else
As you've already guessed I'm an amateur but have done some semi-passable plastering and feel capable of replacing plasterboard (once I've watched many videos and taken far too long over it).
Any advice appreciated. Many thanks.
Gordon