

Hi all,
Sorry if this is the wrong section, it looked most relevant though.
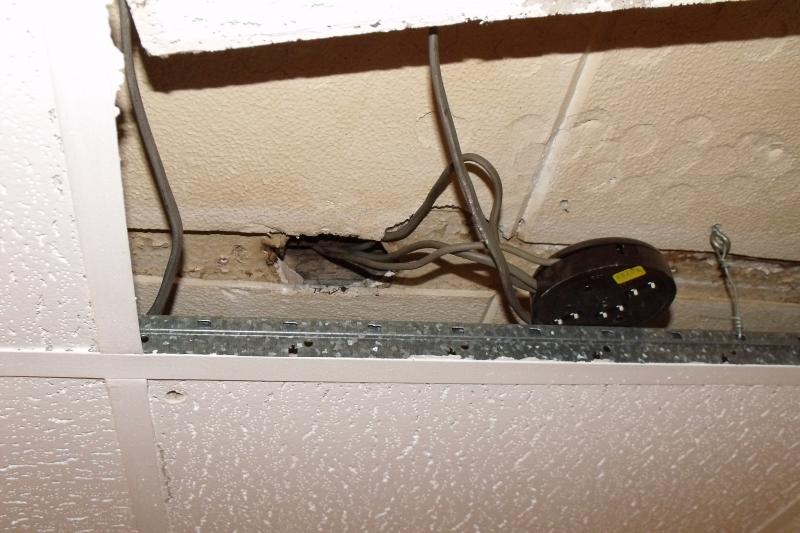
Probably a bit of a daft/simple question but I've decided to take the plunge and rip out my old, horrible kitchen. First think I'm going to see to is disposing of the foul suspended ceiling, but above that are polystyrene (looking) tiles. I've planned to rip it all off back to the wooden batons and then affix plasterboard and get a plasterer in to give it a final skim.
Any how, here's my question (although any pointers/observations on what I've mentioned up to now would be appreciated) I plan to replace the shabby suspended ceiling mounted spot lights with the nice ceiling embedded spotlights you see these days (what do you call them??), if I want to lay the cabling for an electrician do I lay the conduit tacked to the wooden batons then lay the plasterboard round them get the plasterer in to skim and let the electrician install the lights using the cable I've lay to where I want the lights and get him to hook the cables up to the wall switch or do I do it in another order?
Hope that makes sense.
Sorry if this is the wrong section, it looked most relevant though.
Probably a bit of a daft/simple question but I've decided to take the plunge and rip out my old, horrible kitchen. First think I'm going to see to is disposing of the foul suspended ceiling, but above that are polystyrene (looking) tiles. I've planned to rip it all off back to the wooden batons and then affix plasterboard and get a plasterer in to give it a final skim.
Any how, here's my question (although any pointers/observations on what I've mentioned up to now would be appreciated) I plan to replace the shabby suspended ceiling mounted spot lights with the nice ceiling embedded spotlights you see these days (what do you call them??), if I want to lay the cabling for an electrician do I lay the conduit tacked to the wooden batons then lay the plasterboard round them get the plasterer in to skim and let the electrician install the lights using the cable I've lay to where I want the lights and get him to hook the cables up to the wall switch or do I do it in another order?
Hope that makes sense.

 .
. ....:
....:
