Are you using the right tools for your scribe?
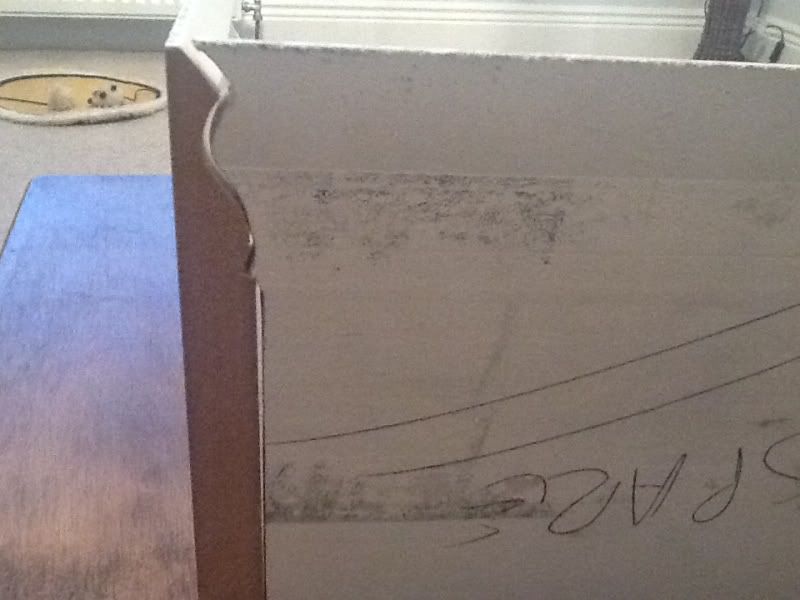
I find the best method is to cut a 45 deg mitre on the end you will be scribing. Then, with a fine tooth hand saw, cut off the flat part of the board up to the point where the moulding starts. This leaves you with the just the moulded part of the board to scribe. Using a coping saw, start at the top of the skirting and, leaning back all the time, cope around the inside of the ogee profile keeping the saw moving at all times. I also have a couple of round surform hand files that I use the smooth out any rough edges.
I have little (none) carpentry skills and I manage to get pretty good scribes with a bit of practice. It's definitely worth scribing internals as they look so much better than internal mitre cuts....


")