Hi all,
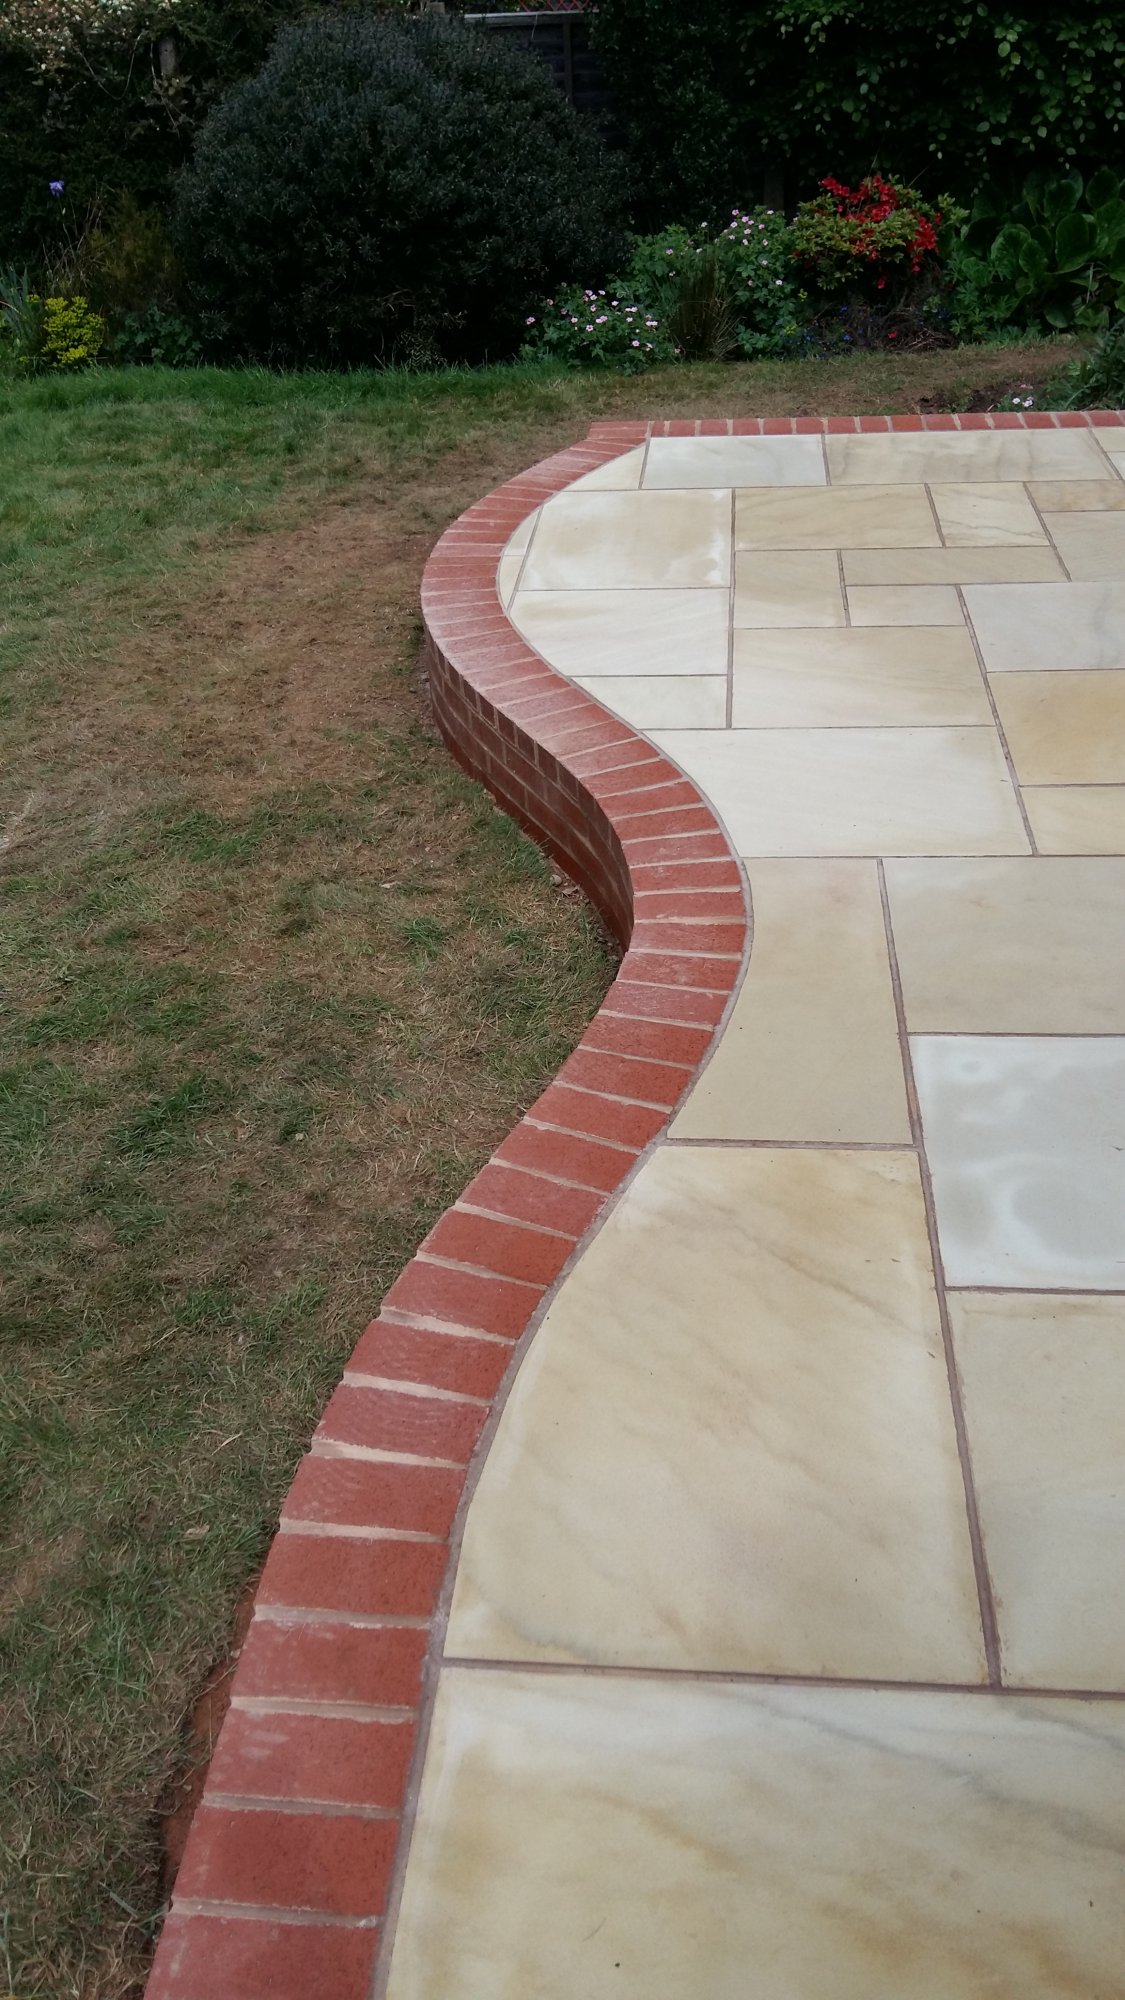
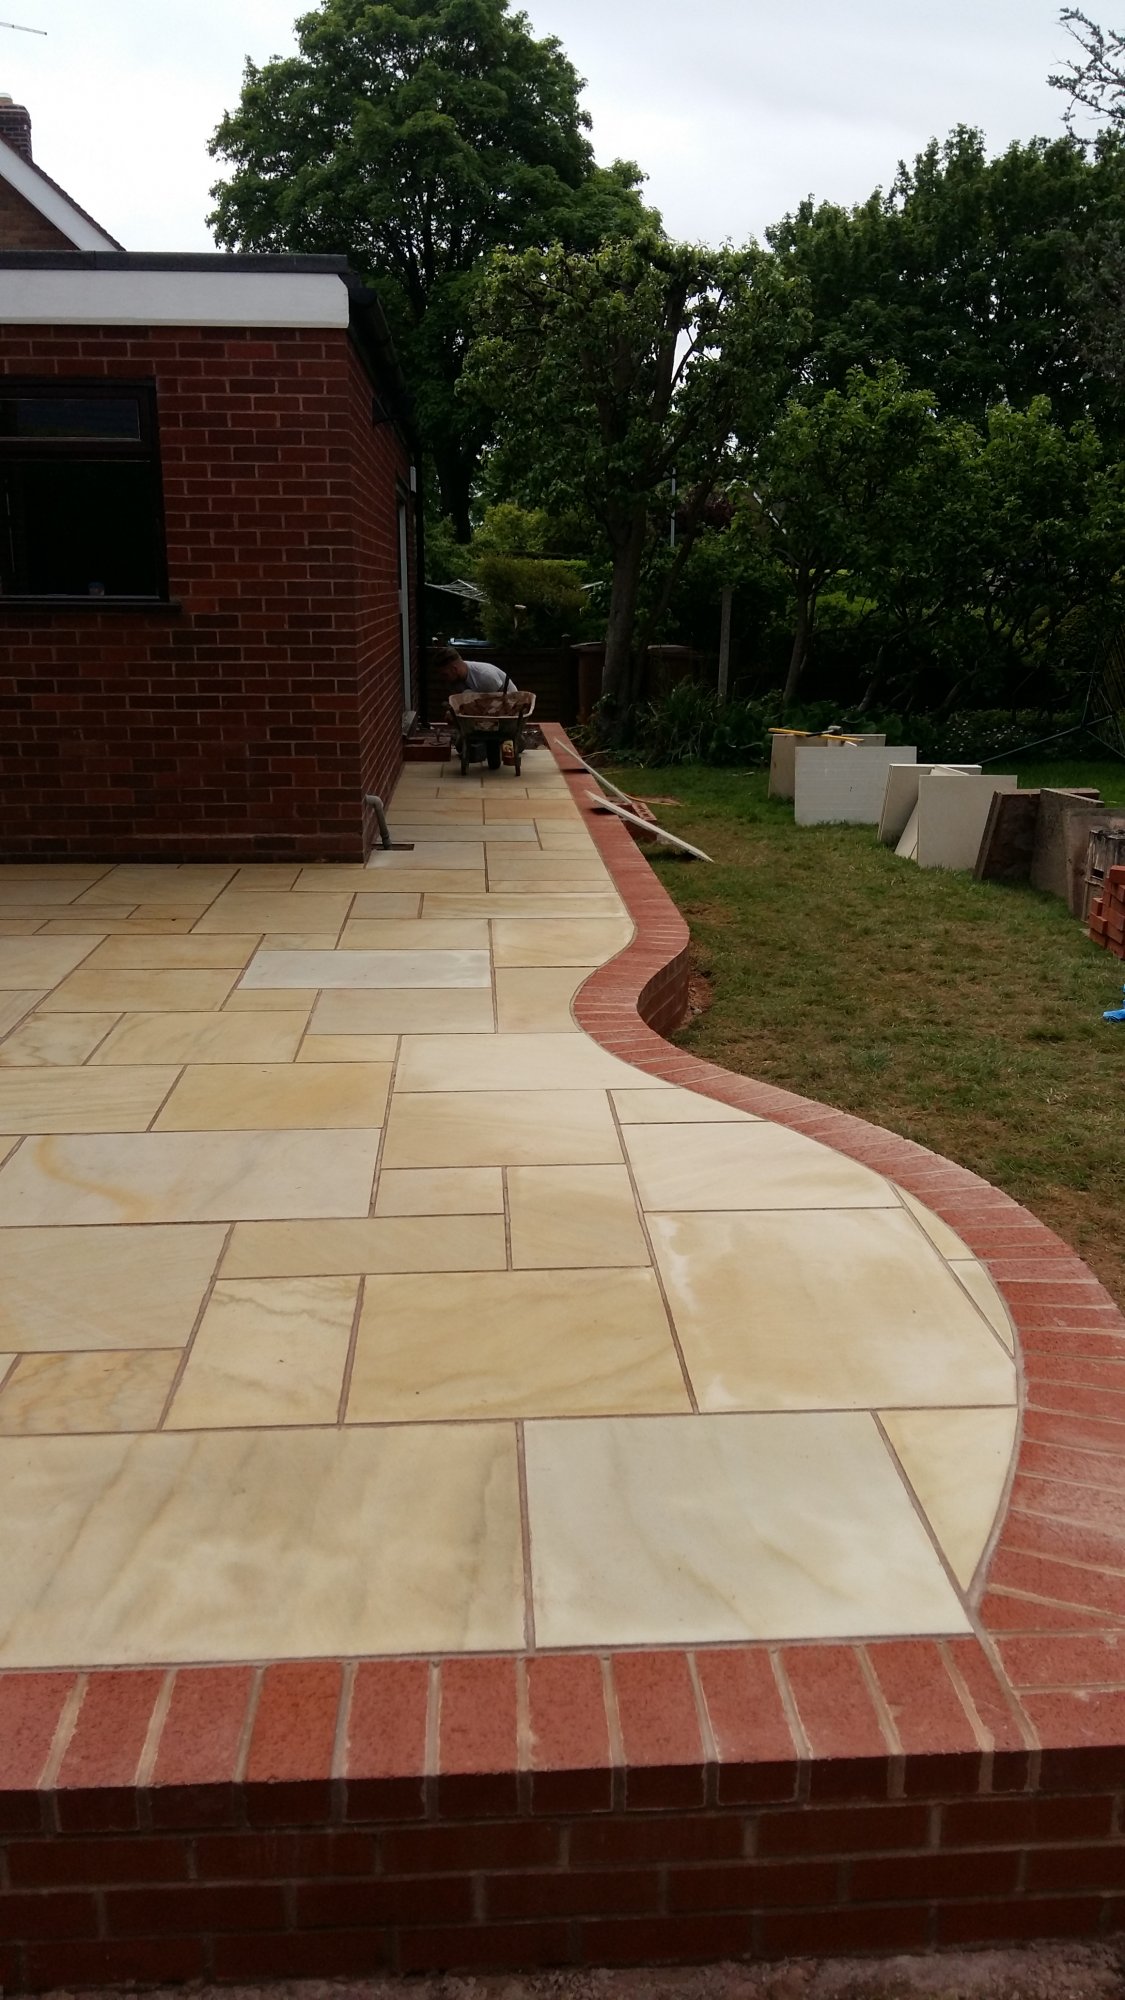
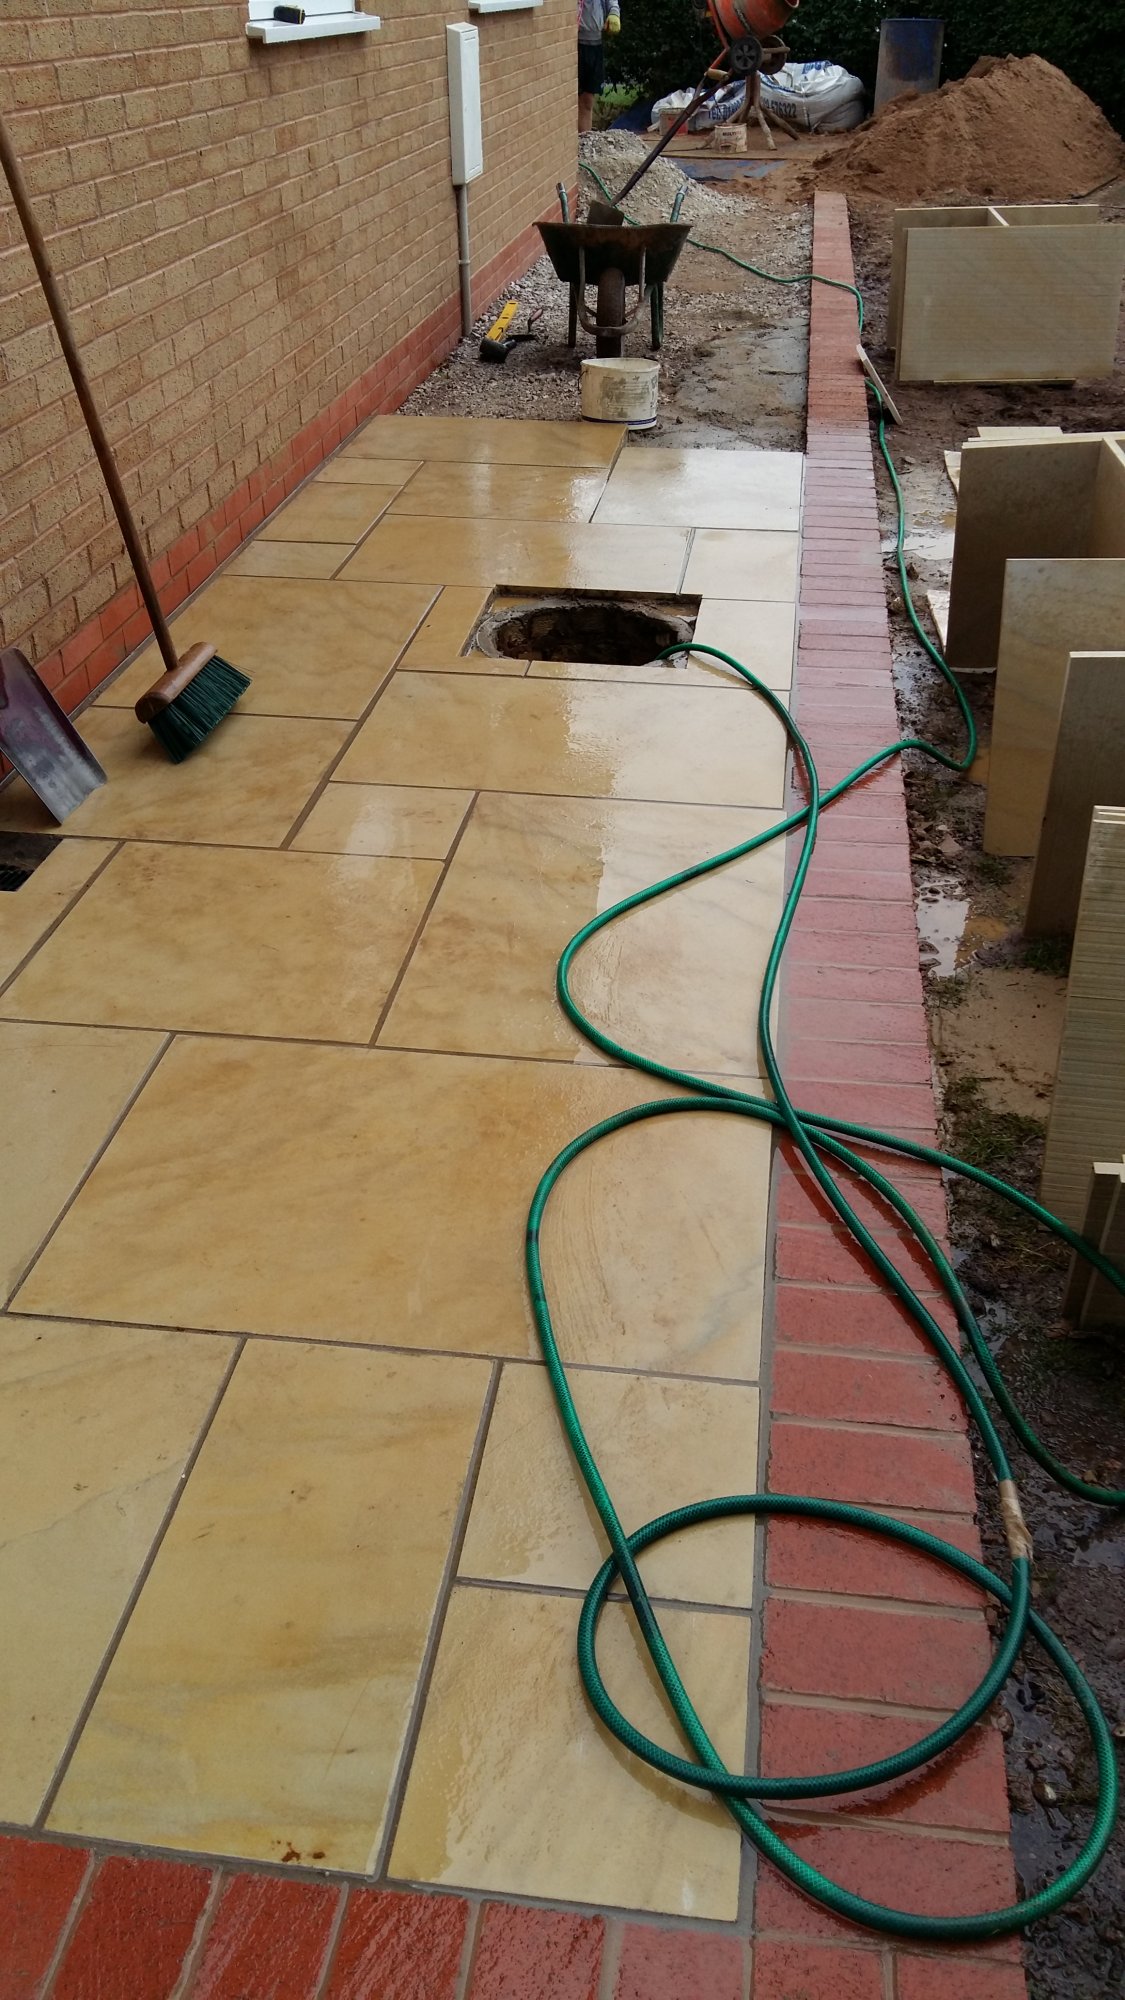
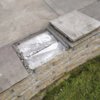
I have slabs at the top and bottom of my garden. The bottom ones are rock solid but the top ones keep coming loose. I've included a picture of one that came away completely the other day when my daughter stood on the edge of it (very nearly an injury - although her face was priceless!). They've been down 2 years now and the builder has been back 3 times to re-fix them and I don't want to keep bothering him about them.

So I thought I'd ask for advice about how to fix them down - permanently!
I remember asking him last time how he did it and he said he used PVA?. I also noticed that for the "grout" (not sure if that's the right word for the stuff in-between slabs?) he used some stuff that he just sprinkled into the gaps.
I found this similar thread - https://www.diynot.com/diy/threads/patio-slabs-not-sticking.521782/ which talks about "wetting and SBRing" the back of the slabs?
Could someone explain in layman terms the best way to fix these down and to re-grout them?
A big thanks for any help you can give me on this. If I can get advice on how to do it properly then I'll just lift all the loose ones and re-do them all properly one weekend.
I have slabs at the top and bottom of my garden. The bottom ones are rock solid but the top ones keep coming loose. I've included a picture of one that came away completely the other day when my daughter stood on the edge of it (very nearly an injury - although her face was priceless!). They've been down 2 years now and the builder has been back 3 times to re-fix them and I don't want to keep bothering him about them.
So I thought I'd ask for advice about how to fix them down - permanently!
I remember asking him last time how he did it and he said he used PVA?. I also noticed that for the "grout" (not sure if that's the right word for the stuff in-between slabs?) he used some stuff that he just sprinkled into the gaps.
I found this similar thread - https://www.diynot.com/diy/threads/patio-slabs-not-sticking.521782/ which talks about "wetting and SBRing" the back of the slabs?
Could someone explain in layman terms the best way to fix these down and to re-grout them?
A big thanks for any help you can give me on this. If I can get advice on how to do it properly then I'll just lift all the loose ones and re-do them all properly one weekend.
")