Tiling on WBP, but it is not level! What to do?

Joined
31 Jan 2015
Messages
11
Reaction score
0
Country
United Kingdom
Hi all

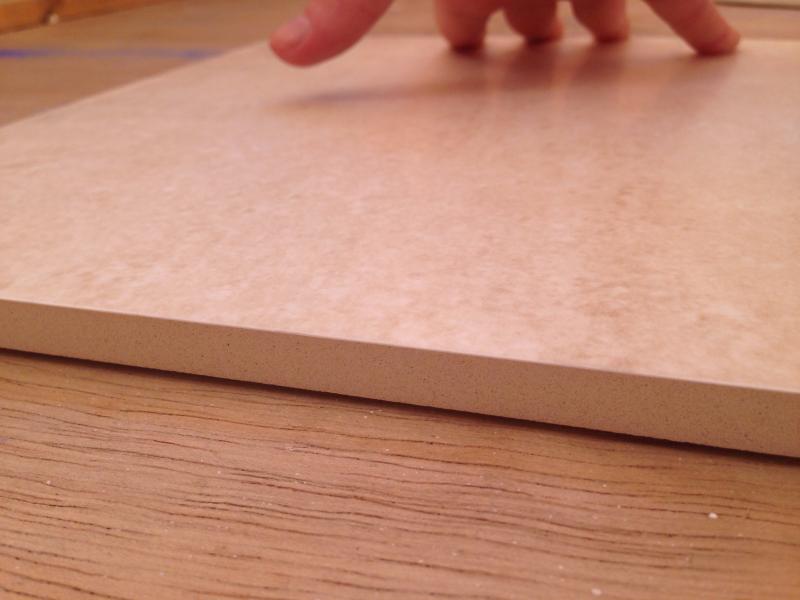
I'm doing some bathroom floor tiles for a family member. There was Lino fitted which I have removed to find plywood underneath. I have dry layed some tiles out on the plywood and have found that one tile rocks so clearly the ply isn't level in this area. Has anybody an idea of how to rectify this?

Thanks
 
Sponsored Links
Where is the uneven patch - at a join of two ply boards or somewhere in the field of a board? Is there any water damage swelling to the ply?

Can you post a pic ?
 
Thanks for the pics but i cant see the actual ply surface or the join line between the two sheets of ply that seem to be on the floor.

If you removed all the tile and crayoned or felt penned on the ply the difficult patches it would help?

How secure is the ply - does it feel as tho its not tightly screwed down?
Putting your weight on the floor, does it feel as tho the joists are moving?
Is there an expansion gap at all the ply edges? If not, you can get "tenting" at the join line.

Sometimes its best to simply add more screws at the suspect areas but the problem with this is that you must know where any cables and pipes are running under the ply.

If all is secure with room to expand then using a 1/2" half round notch, & buttering the backs of the tile will take up any uneveness.
 
Sponsored Links
Thanks Ree. The ply appears to be quite solid. I will install some more screws to see if it will help. I will use a 10mm notched trowel also.

By the way, the left hand side of the photo shows that I have removed the bath panel. She doesn't want the bath side panel reinstalled, instead wants a a small tiled wall here - how would I go about doing this?

Cheers
 
You build a 2" x 2" PAR frame.
Fix the side rails of the frame to the walls at either end - plug and screw.
Fix the base rail of the frame thro the ply into the floor joists.
Make sure that the frame is plumb.
The top rail might have to be tapered to go behind the bath apron.
Room must be left for tile to go just up behind the bath apron.

Make another 2" x 2" frame to fit inside the first frame - this frame will be removable so that you can access your trap and tap tails - a must.

Design the above to suit you, and fix plaster board and tile with the inner frame grout lines coming at the edge of the inner frame. Set "studs" to suit.

Use mirror dome caps & screws to make the inner frame removable.

What i've just described might be a bit tricky with your bath legs and the profile of the tub. But its something to work with. You can also build out a built in bath effect - google pics - like a wall coming off the bath by say 6" with a tiled top, & similar access.
 
Thanks Ree, I'll get to it after I have made a start on the floor tiles.
 

DIYnot Local

Staff member

If you need to find a tradesperson to get your job done, please try our local search below, or if you are doing it yourself you can find suppliers local to you.

Select the supplier or trade you require, enter your location to begin your search.


Are you a trade or supplier? You can create your listing free at DIYnot Local

 
Back
Top