Roll top ridge hip mitre

Joined
29 Jan 2009
Messages
454
Reaction score
11
Location
Essex
Country
United Kingdom
Hi All,

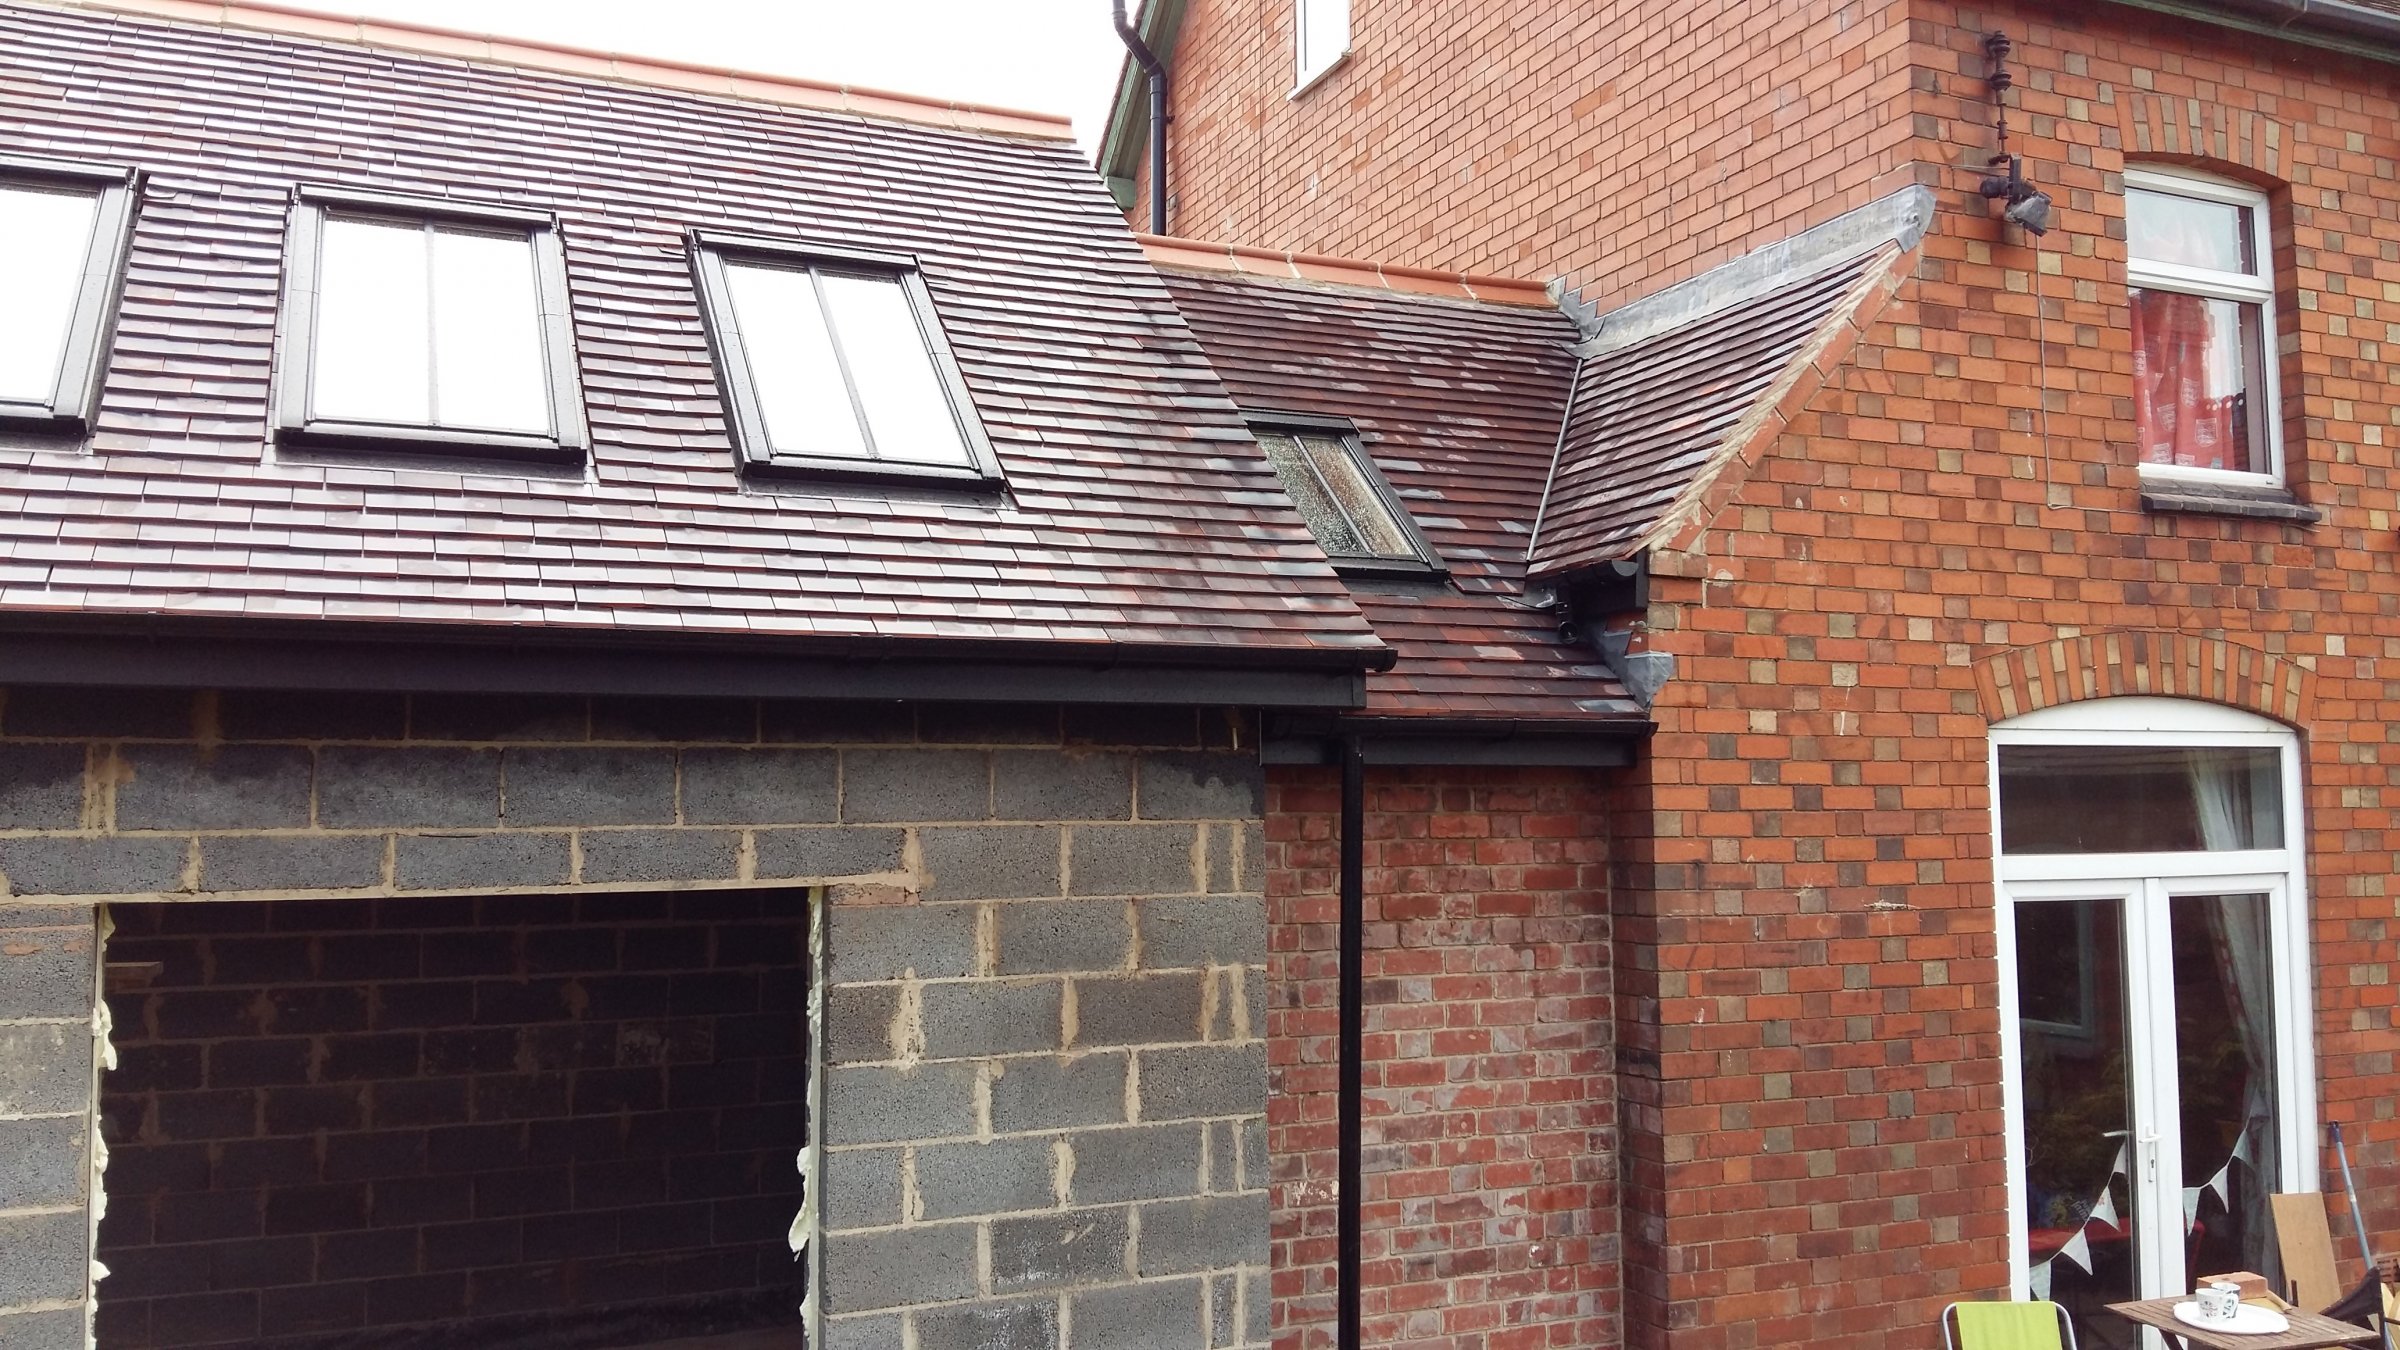
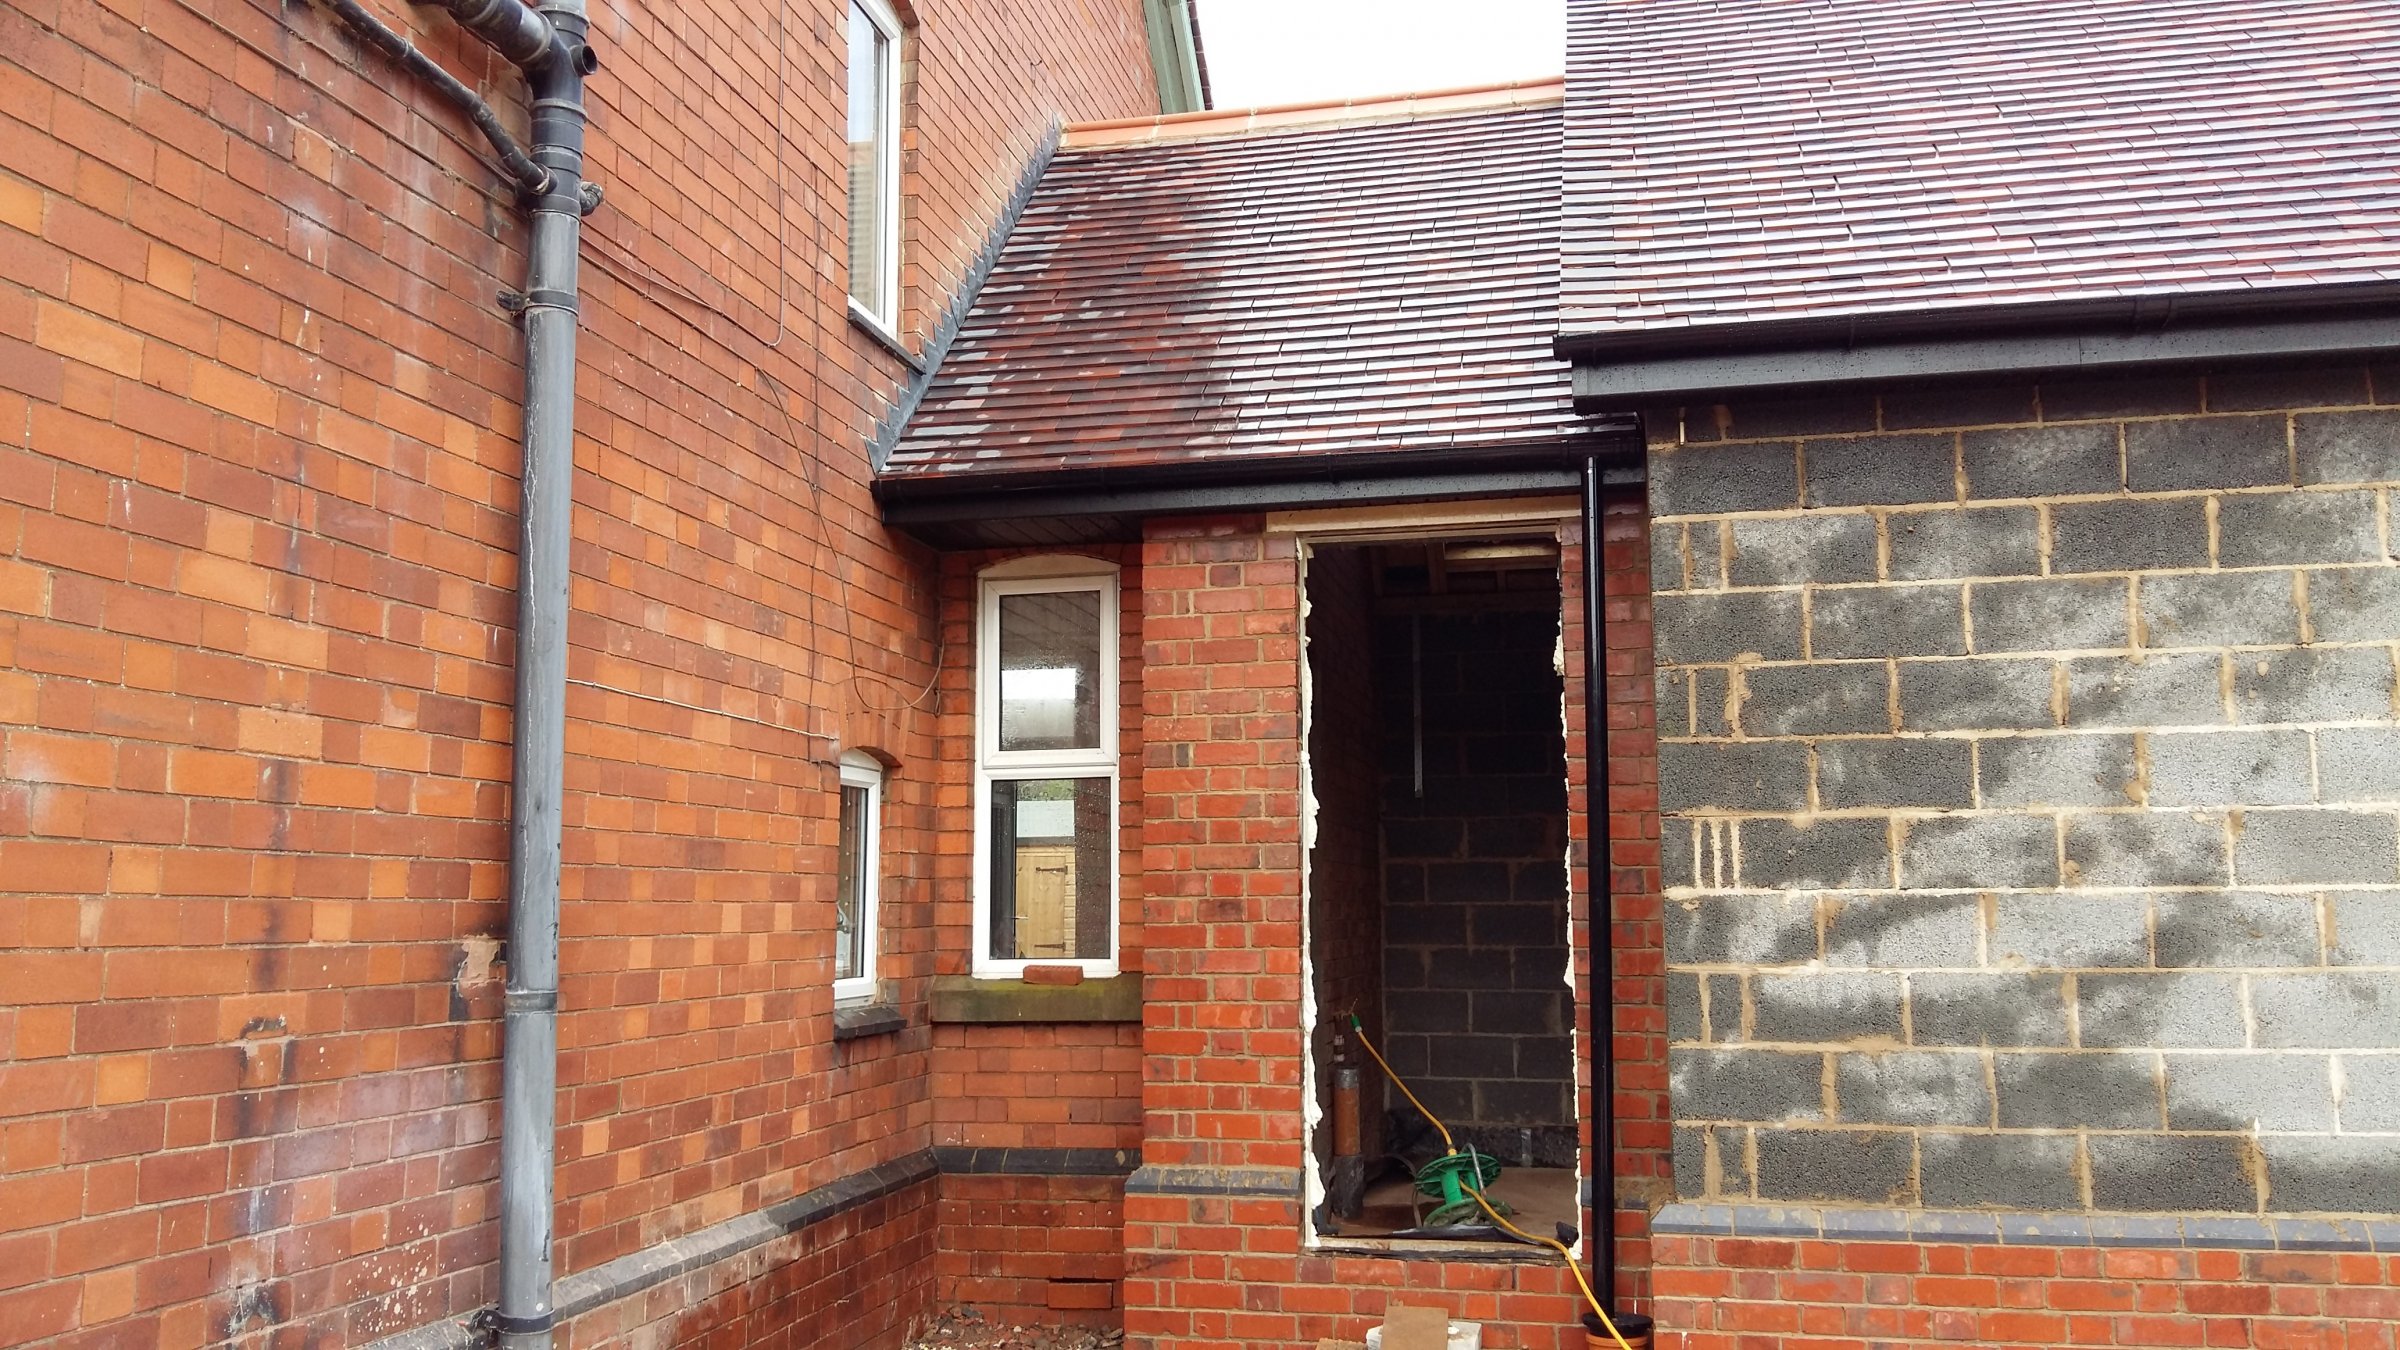
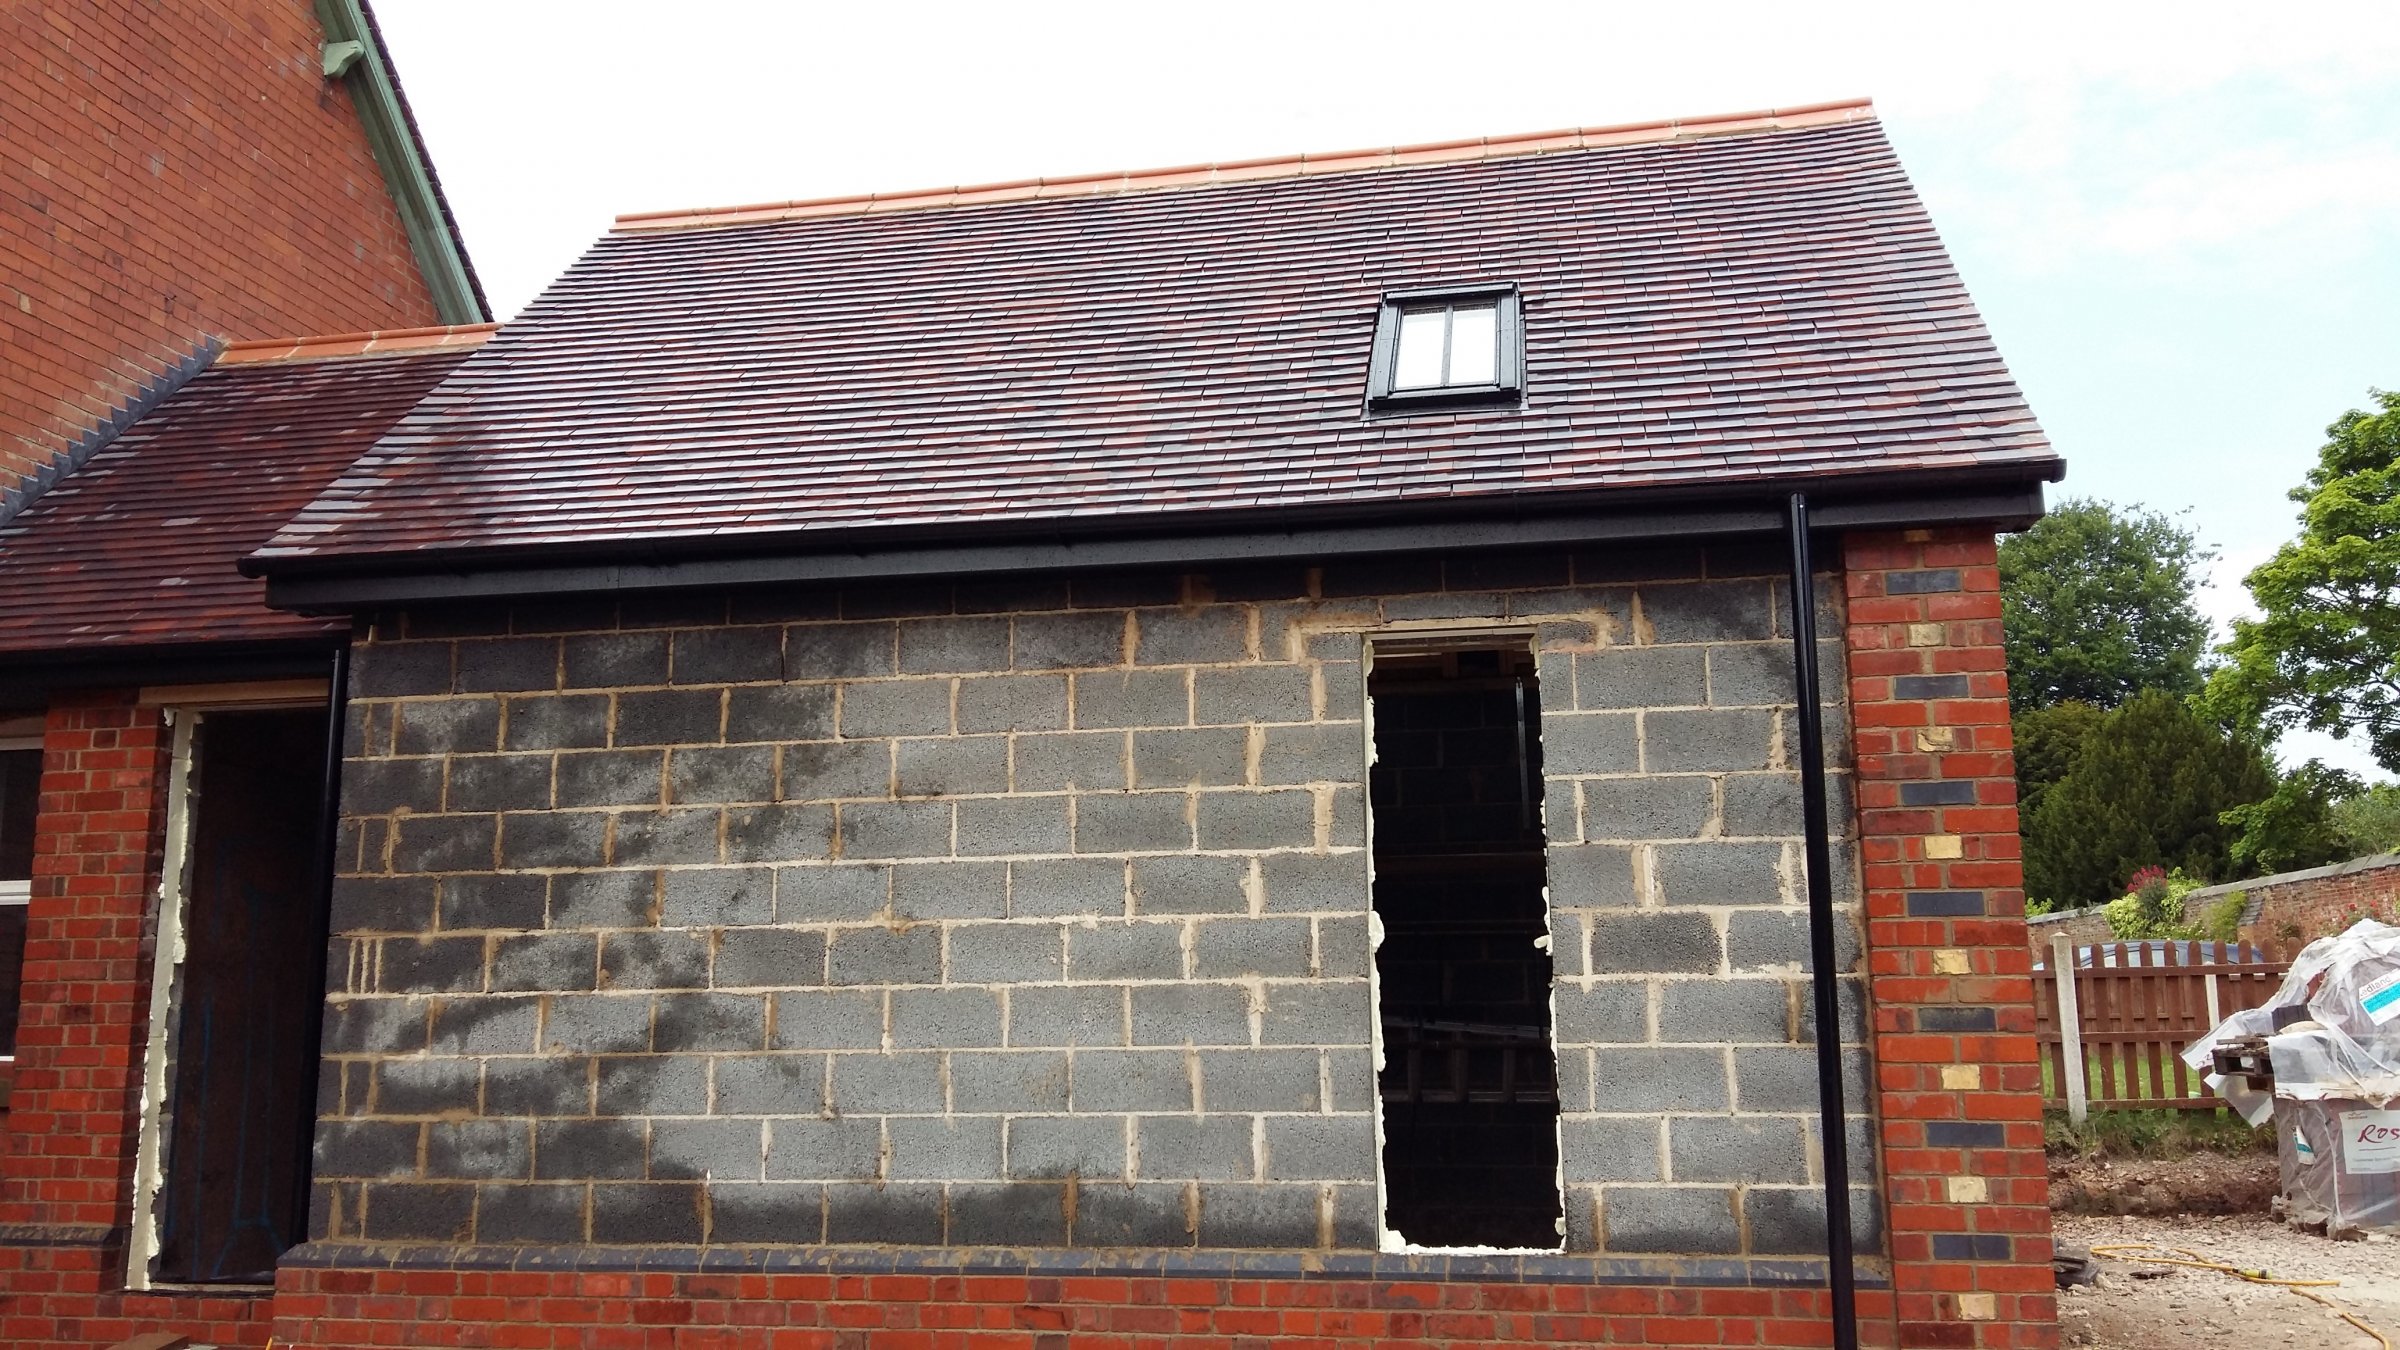
Just recently had my house re roofed, went to the added expense of having roll top ridge as this is an 1890s property and had originally....but now wishing I hadn't of bothered with the expense as the capability of the roofer just wasn't there to produce a satisfactory result.

Please see pictures of before and after, the after was me complaining and standing there saying do that do this etc.....but still I was furnished with excuses as why it is not possible to get a good aesthetic result which I wanted.

IMG-20160803-WA0000.jpeg IMG-20160804-WA0000.jpeg

My question is this, for any experienced roofers out there can this be improved? Or am I being too critical, the pointing is pretty naff too....snot everywhere.

Thanks in advance.
 
This is a difficult junction and yes - poor choice of ridge. You would have been better off having a lower profile ridge on the hips and a crested or roll top ridge on the horizontal.

The problem is that by the time the hip ridge bisect or meet the horizontal ridge, the peak of the hip ridge is noticeably higher. Clever cutting and bedding can lessen the effect but would be very difficult with a crested or roll top ridge.
 
The property had roll top ridge originally.....with none of these big gaps etc.....the hip ridge do have a wider angle 105 deg vs 90 deg top ridge.......admittedly the originals were 118 & 90 but the 118s were special order with Marley. I had asked the question whether this would be OK (produce aesthetic results) the answer was yes.

I was more fishing to see if its worth trying to get another roofer to achieve a better result....or this is as good as it gets?
 
The one on the left was what I was presented with after they'd gone home for the day, I was straight on the phone as I was going to pull it off myself, but he assured me 'this is how its done' I did not accept this so the following day he re did to the image on the right.
 
I would be happy with the results you show in terms of pointing, but on his he didn't even take the snot off.......
 
This guy was recommended to me by a family member, and I did see his work on his house which looked good, but there was no fancy ridge, which with hindsight was out of his capability zone so just proceeded to furnish me with excuses to compensate for his poor work.

Noseall would you have said straight up......this will look naff, or do you think you could make this look neat?
 
Noseall would you have said straight up......this will look naff, or do you think you could make this look neat?
I could improve upon it, yes.

However, this junction is a bit of a pig. The secret is keeping the hip ridge tight and mucking up a wee bit on the horizontal. The junction cutting is always going to be a bit clumsy but this is rarely seen. The problem lies with the fact that you start at the bottom of the hip with little regard for what is in store at the top.
 
Right so, it would be best to remove the entire ridge arrangement and start again using a thin bed on the hip and higher at the top? How long would you estimate this to take a decent roofer to complete? These tiles are £25 a piece so at least 3 will need to be replaced.

I should probably add another photo as the angle of the second pic is quite forgiving, at other angles it really does look rough!

Whether I can even find someone who has the capability to do this is the next question.......
 
Last edited:
Take a gook look at an internet experts photo's and then ask your man to comment on them.
 
Why do they appear to be sitting on a full in inch and half of mortar? What's forcing them up so high?
 
They're bedded on this amount of mortar........I have no idea why he chose this amount, although when all this started he wanted to put them on dry and just point the gaps.......this is when alarm bells started to seriously ring about his capability.
 
when all this started he wanted to put them on dry and just point the gaps.
That would be OK for the top ridge. But it looks like he's bedded the whole of each tile on mortar, which is going to make them a nightmare to remove. I say leave it as is, they won't look that bad from ground level.
 
Well he wanted to put them on dry........maybe this is my fault for insisting there was a bed of mortar, but to just have a bit of pointing on there seemed 'pointless' (no pun intended) as it would just fall out with a bit of movement. There was a bed before and pointing which served well for 130 years so I fail to see his argument of 'its because they're 450mm not 300mm. I get your point about leaving as is, but I'm about to render the house in monocouche and dont really want the scaffolding up again as this will damage the render, so was thinking about biting the bullet now.

Admittedly the dry part would have been a damn site easier to sort out now!
 

If you need to find a tradesperson to get your job done, please try our local search below, or if you are doing it yourself you can find suppliers local to you.

Select the supplier or trade you require, enter your location to begin your search.


Are you a trade or supplier? You can create your listing free at DIYnot Local

 
Back
Top