- Joined
- 30 Sep 2022
- Messages
- 27
- Reaction score
- 0
- Country

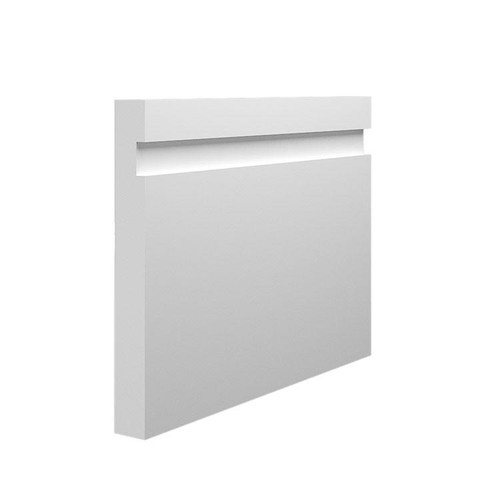
Would this also be the case if we bought the pre cut primed and ready? We couldn't possibly spray paint them once they are permanently on! I get the whole dust issue in the groove but going over it with a hoover brush should be fine. I know it will always be finicky to paint over but that's the price to pay for the design.A few years ago MDF was cheaper but not any more.
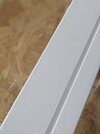
Those sharp edges will make your life very difficult. Painting them without buildup on the inside corners is hard work (spraying possibly a better method), your mitres and corners have to be absolutely spot-on (any feathering will stand out instantly), the sharp top edge will highlight any impact damage, you'll get dust buildup in the channel. Entirely up to you but it feels like a showhome style- looks slick but doesn't work in the real world.
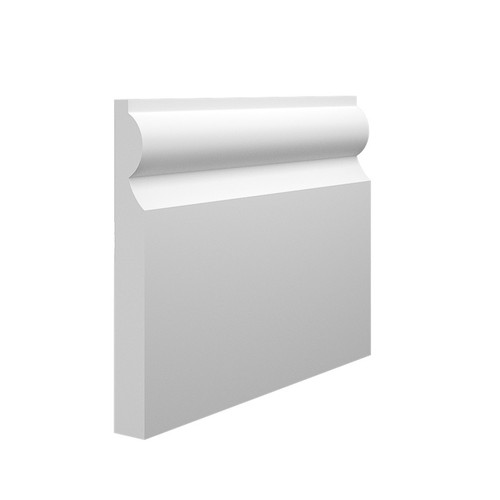
I personally want to buy the skirting but husband is not willing to have wastage and spend more money and won't agree till I try everything.

")