Ceiling Rose to Wago Connectors

Joined
11 Jul 2017
Messages
7
Reaction score
0
Country
United Kingdom
Hi
I am really new at DIY.

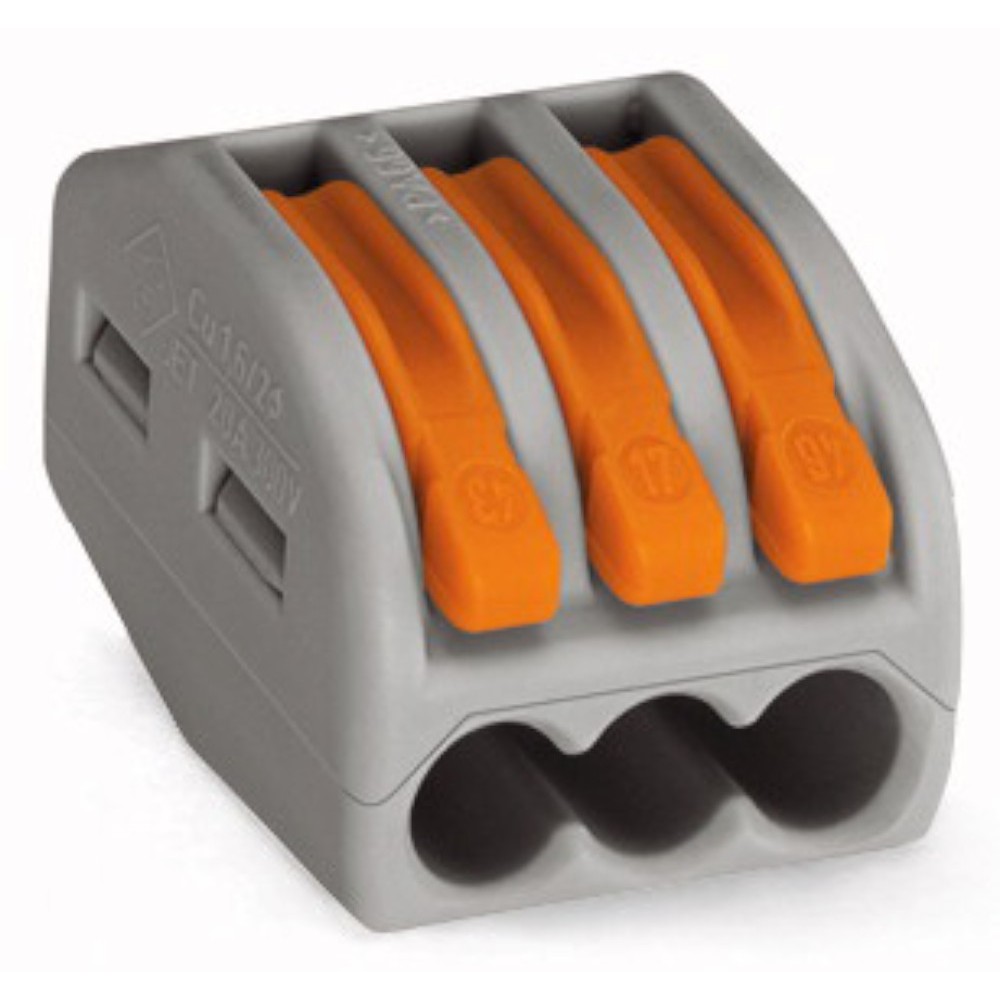
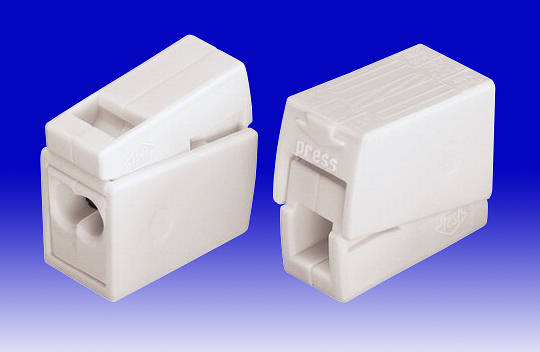
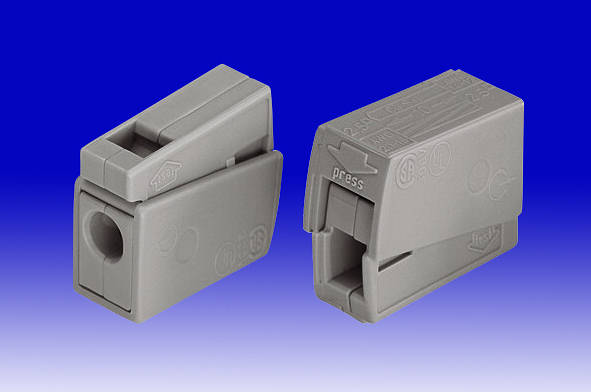
My bedroom ceiling light needs replacing. I currently have a ceiling rose connector which needs to be changed using wago connectors.


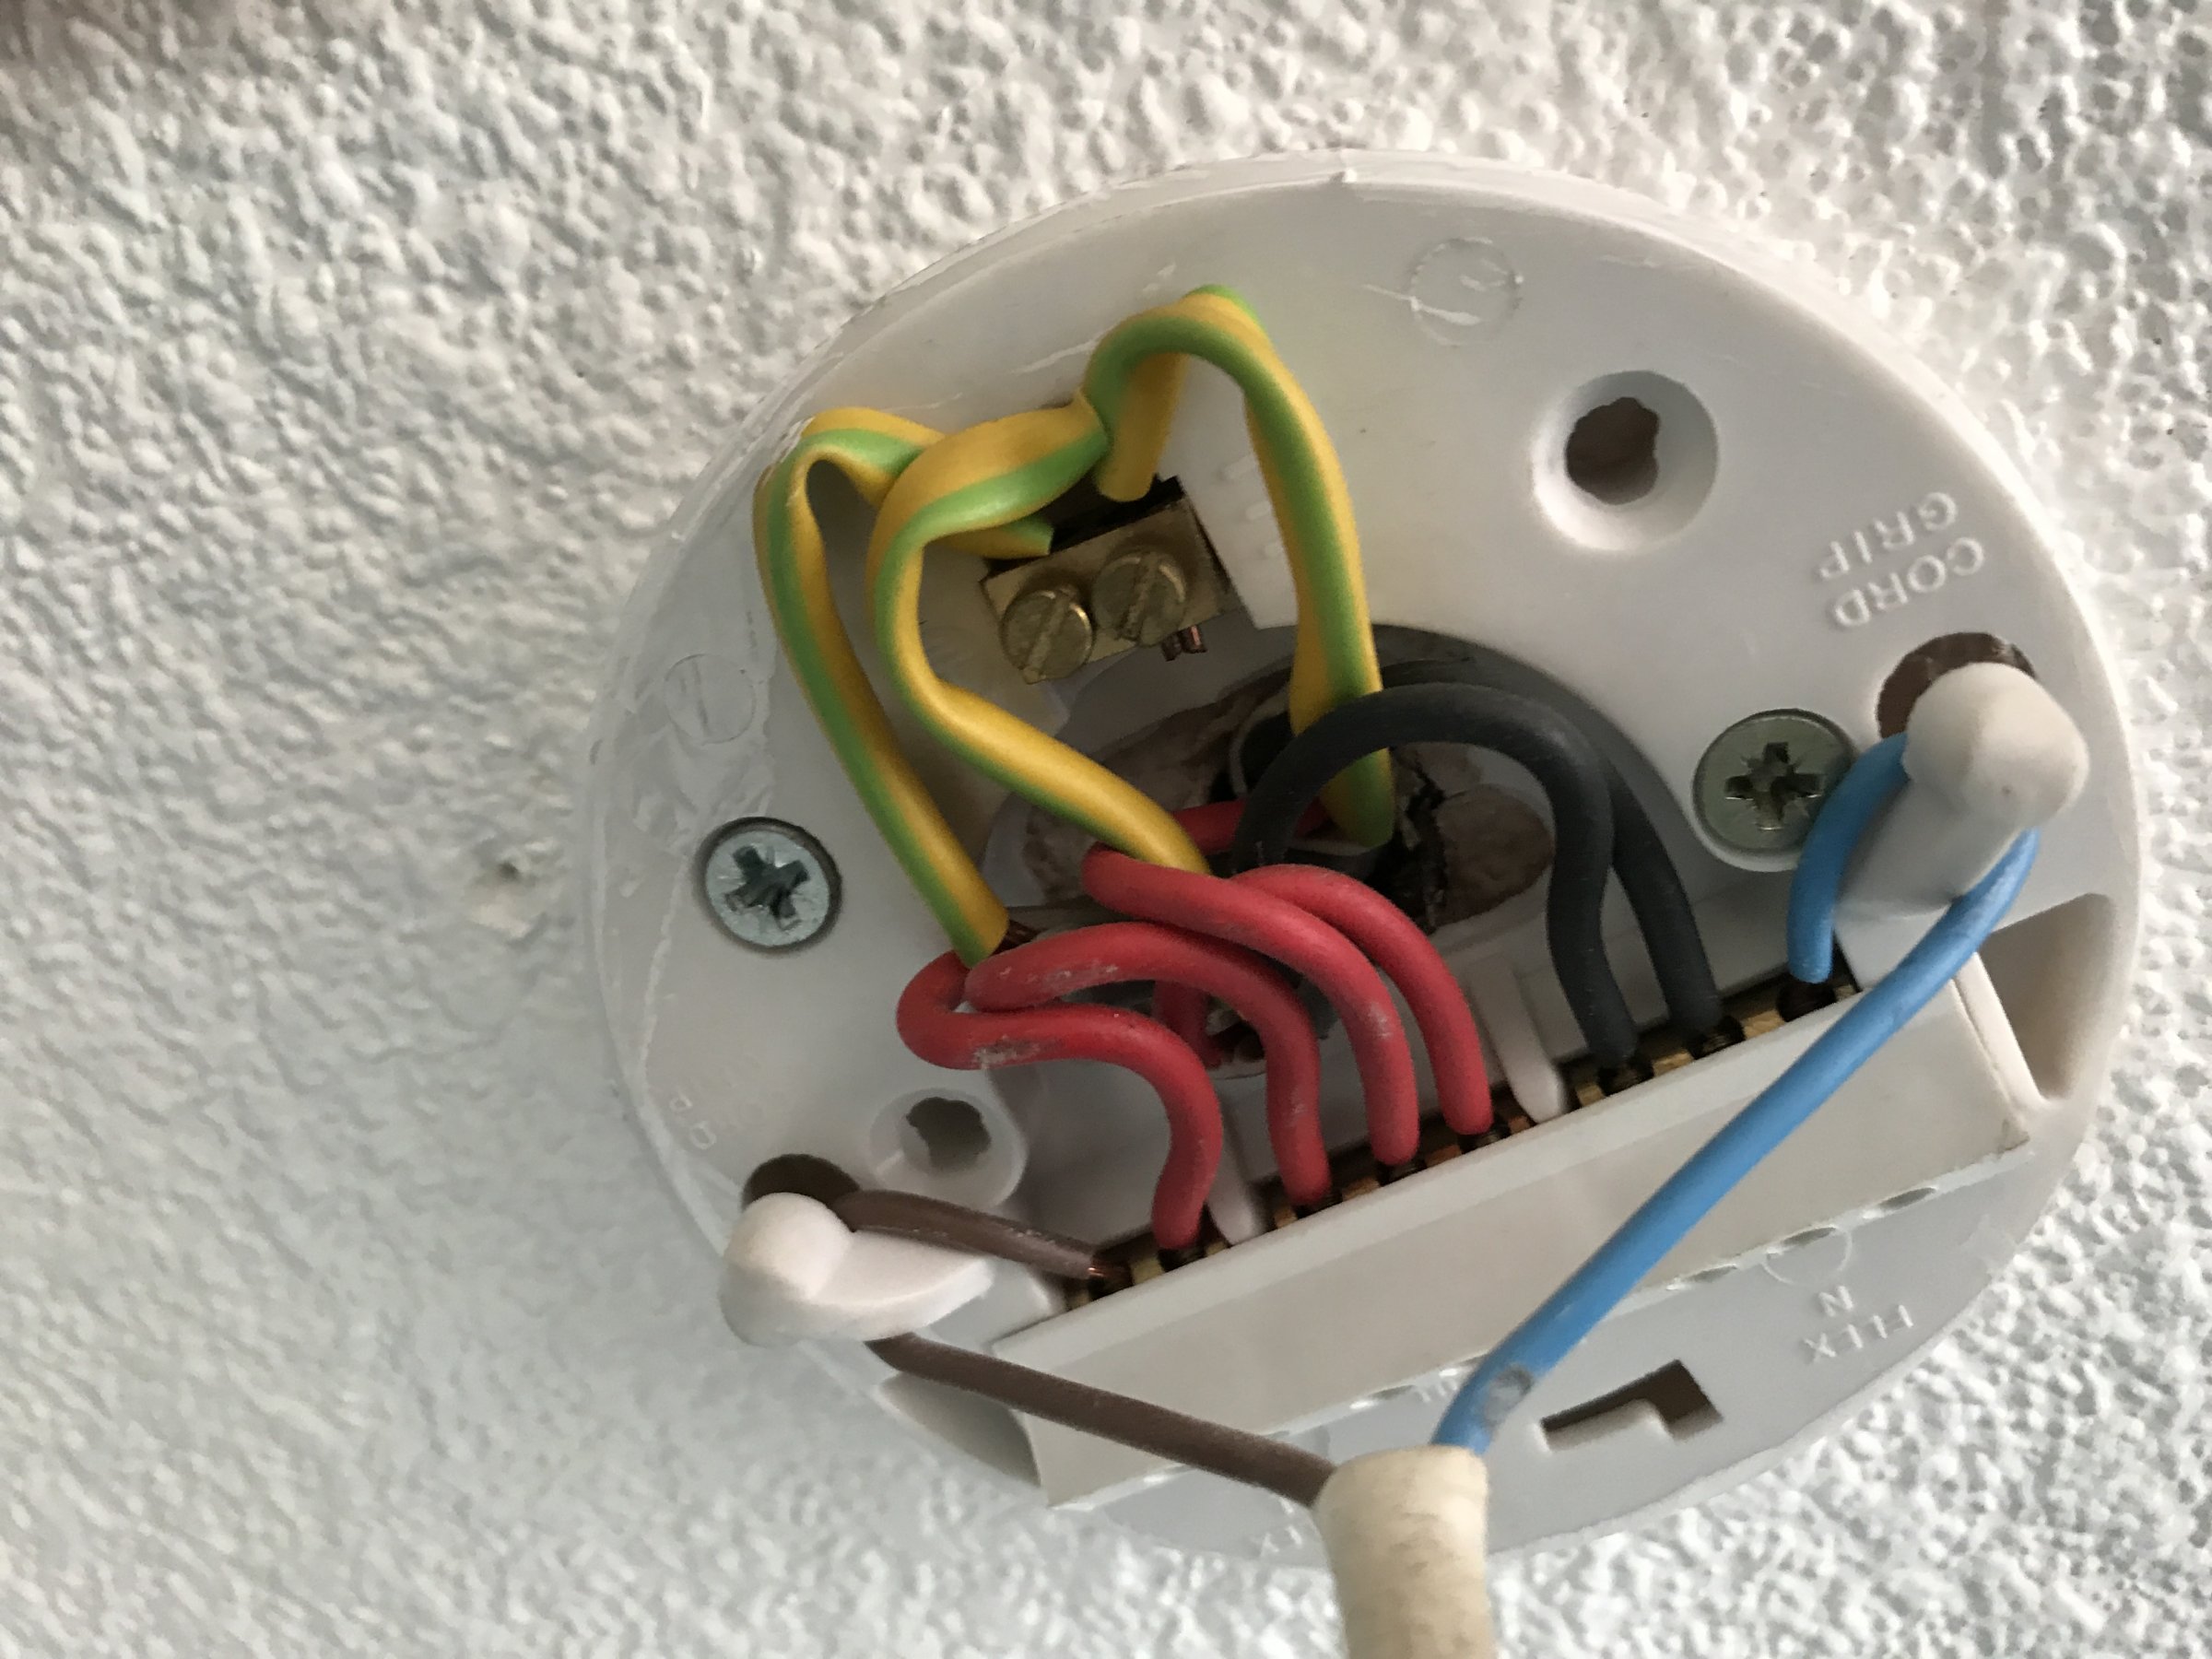
Please could somebody help me with how many wago connectors I need and which wires need to go where? I have a 75 piece box of common wago connectors.

Thanks in advance.

Tan
 
Sponsored Links
Why do you need wagos? Just isolate the circuit at the main switch, label everything carefully, then photograph it and then replace like for like. Give all the wires a tug with pliers to check it's secure before you turn the power on.
Why are you replacing it?
 
Hi John
Thanks for the quick response. Wago connectors are easy for plug and play specially when you are working at a height. I bought a new LED Ceiling light which will not fit over the ceiling rose and hence the ceiling rose needs dismantling.
 
Ah OK fair enough, in that case use 3 way wagos on the live loop (red middle) and neutral (black/blue) and 2 way on the switched live (red/brown) and 4 way on the earth, make sure you earth the body of the light if it needs it. Make sure the ones you user are suitable for 1.5mm solid cable and also whatever cable your light fitting has, probably thinner stranded.
 
Sponsored Links
Your new light is likely to have flexible cable, so unless your set of wagos includes some of the Lever ones then you will struggle.
 
Thanks John & Rocky
Okay just to confirm...Sorry to be dumb but want to clarify as I do not want to risk anything with electrical and it is my first time.
The New LED light does not need earth. Therefore I will put 3x earth wires into a 222-413 connector.

The Middle loop (3x red loop cables) again go into a 222-413 connector

2x Neutral go into 224-112 and one comes out which goes to the LED Ceiling Light.

1x Red Live goes into 224-101 connector and 1x comes out of the other end which goes into the LED Ceiling light.

Please confirm if this is okay.
 
Yes, that's right.

Don't get the reds mixed up. The single one is not just any one of them.

Mark it first before disconnecting.
 
@securespark Nope there's no reason for the op to have to sign a declaration staying that they were responsibly for the design and installations/testing, so we should be OK!
 
Why did the OE struggle with the earths?

Surely easier to put them in their terminals coming from the other direction?
 
Just a thought ...
Is there any reason that the 224-112 can't have a solid cable in the "stranded" entry ? It's still going to have the same spring loaded connection - the only different is normally the ability to manually lift the terminal as stranded cable isn't strong enough to push into the other types.
If there's no objection, the whole thing scan be done with 4 of them - which (unless the OP already has a selection box) means buying just one type of connector instead of 3 or 4. So loop in and loop out go into the solid ports of three blocks (L, N, & E). L & E to the switch goes into the stranded ports of the L & E connectors. Switched live from the switch goes into one solid port of the forth terminal - and the pendent 2 core cable then goes into the stranded port of the N and switched L terminals.
 

DIYnot Local

Staff member

If you need to find a tradesperson to get your job done, please try our local search below, or if you are doing it yourself you can find suppliers local to you.

Select the supplier or trade you require, enter your location to begin your search.


Are you a trade or supplier? You can create your listing free at DIYnot Local

 
Sponsored Links
Back
Top