Hollow wall fixings

Joined
30 Mar 2015
Messages
3,840
Reaction score
58
Country
United Kingdom
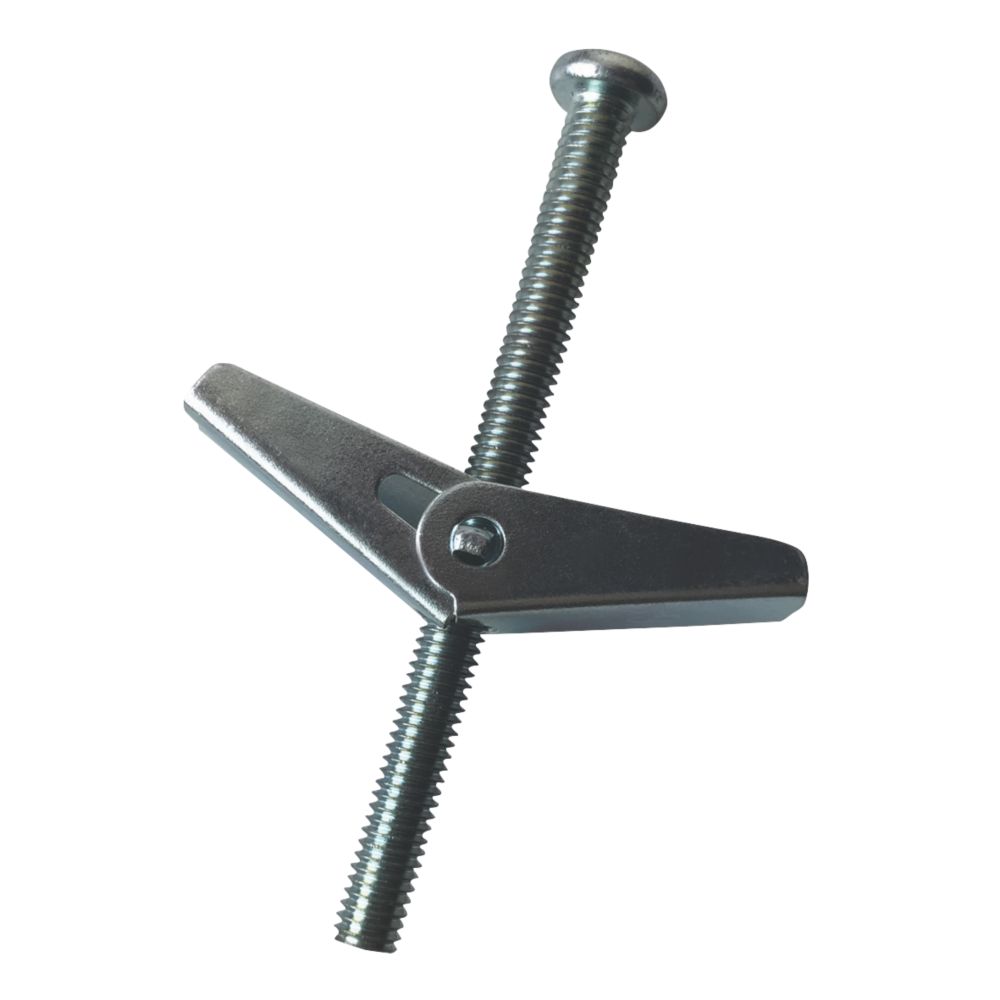
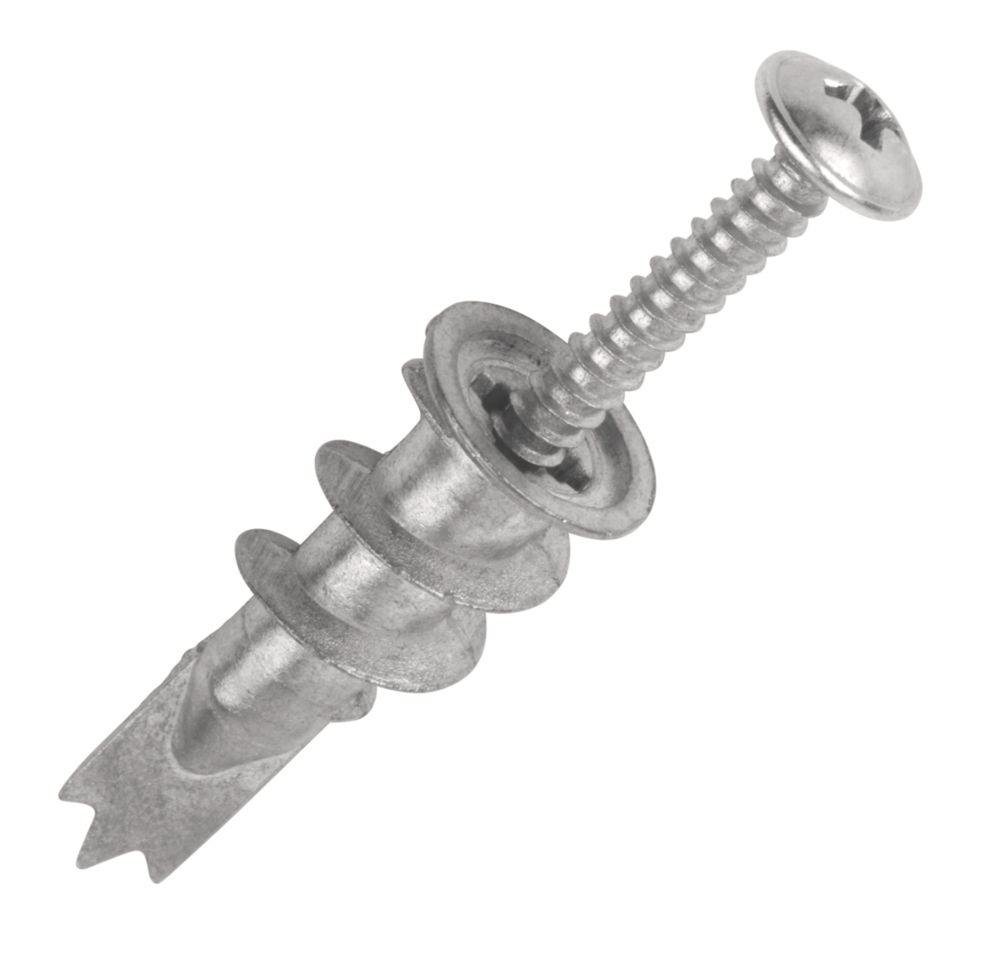
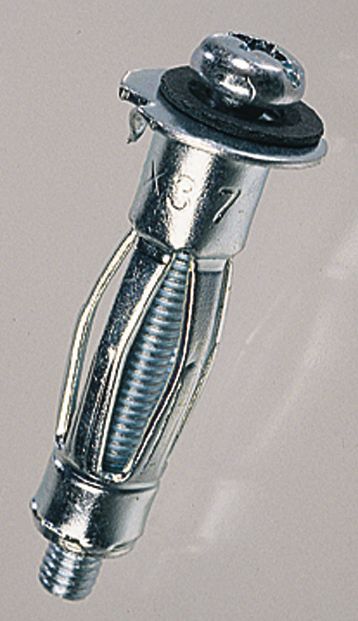
Noticed that this bracket was pulling away from the wall at the top. The screws and plugs were pulling away. Bottom fixings on the bracket are solid.
47050BE5-11EC-48BA-B847-FF9359F16235.jpeg
025E81D1-B153-4B50-A850-31EA41AE50BC.jpeg

The top section is hollow for around 120mm and there is block behind that. As you can see the holes at the top are quite loose and wide too now.

Can I please have some suggestions on how to secure this. Thanks in advance.
 
Sponsored Links
These fixings can be used without the setting tool, but it is much better to have one......
Basically you have to stop the main body of the fixing from turning as the body collapses - that's what those barbs are for.
With the setting tool, the fixing is compressed without the need to prevent rotation.
Choose a fixing that is suitable for the thickness of the plasterboard - if it's too long then it will be unsecure. The plain collar towards the screw determines this.
John :)
 
Sponsored Links
Get some of these spring toggles


Push through the hole, rotate and then tighten up. May need a washer.

Work really well, used them for a radiator bracket after the original plugs had come out.
 
Choose a fixing that is suitable for the thickness of the plasterboard - if it's too long then it will be unsecure. The plain collar towards the screw determines this.
I have a void which is around 120mm. That’s ample for this fixing?
Is that what you are referring to?
 
The 120mm void is more than enough for either of these fixings.
I was referring to the thickness of the plasterboard itself, rather than the gap behind.
John :)
 
I find these to work well. Takes a bit of a knack in doing them but I drill a pilot hole first and then you need to push slightly harder as you turn so that they don’t just house the PB out, but they are now my goto PB fixing after 30 years of intense DIYing. They can work in existing larger holes but if there is other specs in that bracket to put new ones then put quite a few in - 6 or even 8 or more. Spread the load over many to make it stronger and less likely to pull out.

 
The 120mm void is more than enough for either of these fixings.
I was referring to the thickness of the plasterboard itself, rather than the gap behind.
John :)
When using without the setting tool and adding a washer (as hole is larger), how do I restrain the bottom part whilst screwing tight? Presumably it will just keep rotating on the smooth surface of a metal washer.

Thanks for your support guys
 
The barbs that you see are meant to hold firm in the plasterboard....using a washer shouldn't make much difference unless you intend to use the washer on the wall side of the barbs - in which case a setting tool is necessary.
Setting tools are cheap, and a good investment!
John :)
 
Have used two methods without setting tool one is to hold the outer firm with needle nose pliers while screwing tight ( helps to have over long bolt)Two, screw in loose then use claw hammer with timber to protect plasterboard and lever head as if to remove.
 
UPDATE - your advice was spot on guys. Those anchors were brilliant. The bracket is solid.
They were very easy to use without the setting tool.

I was planning to use some washers but didn’t have any in the bag!
 

Attachments

  • 93FFDC43-7551-45CC-9157-4FAFB83D57B2.jpeg
    93FFDC43-7551-45CC-9157-4FAFB83D57B2.jpeg
    495.9 KB · Views: 49
until the collar bends and the whole lot falls off the wall. They are not designed to be used like that.
 

DIYnot Local

Staff member

If you need to find a tradesperson to get your job done, please try our local search below, or if you are doing it yourself you can find suppliers local to you.

Select the supplier or trade you require, enter your location to begin your search.


Are you a trade or supplier? You can create your listing free at DIYnot Local

 
Sponsored Links
Back
Top