Hi,
I have a leak in my roof at the back of the property. I'm planning to get it sorted by professionals, but I would really appreciate any feedback/thoughts to help me properly diagnose the problem and get the right people in to sort it.
When we moved into our property (July of last year) we found that the previous owner had covered an entire wall of badly water damaged plaster with drapes. We spent £200 on a damp surveyor, who told us that it was caused by a leak in the roof and that it was historical .
Over the winter the plaster got worse, and so I decided to take it down, as it was ruined anyway. Low and behold, as soon as I did there was a drip of water from the roof. It was raining very heavily at the time, and the amount of water coming through was a small but steady drip.
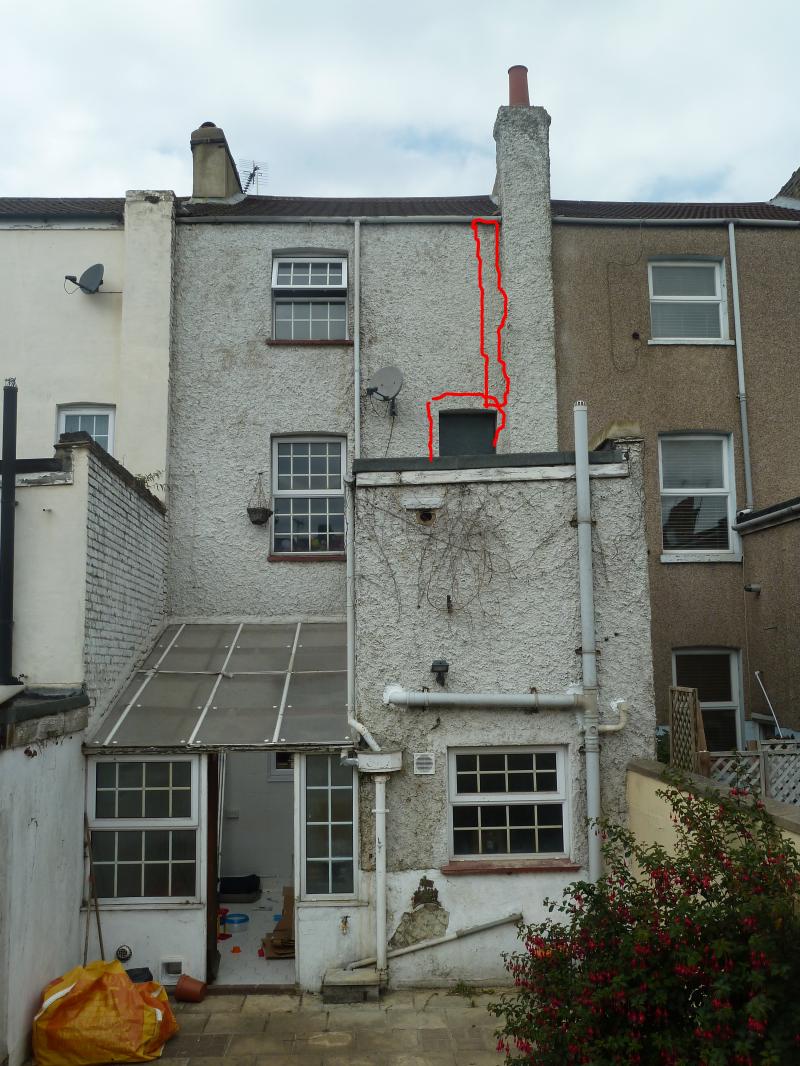
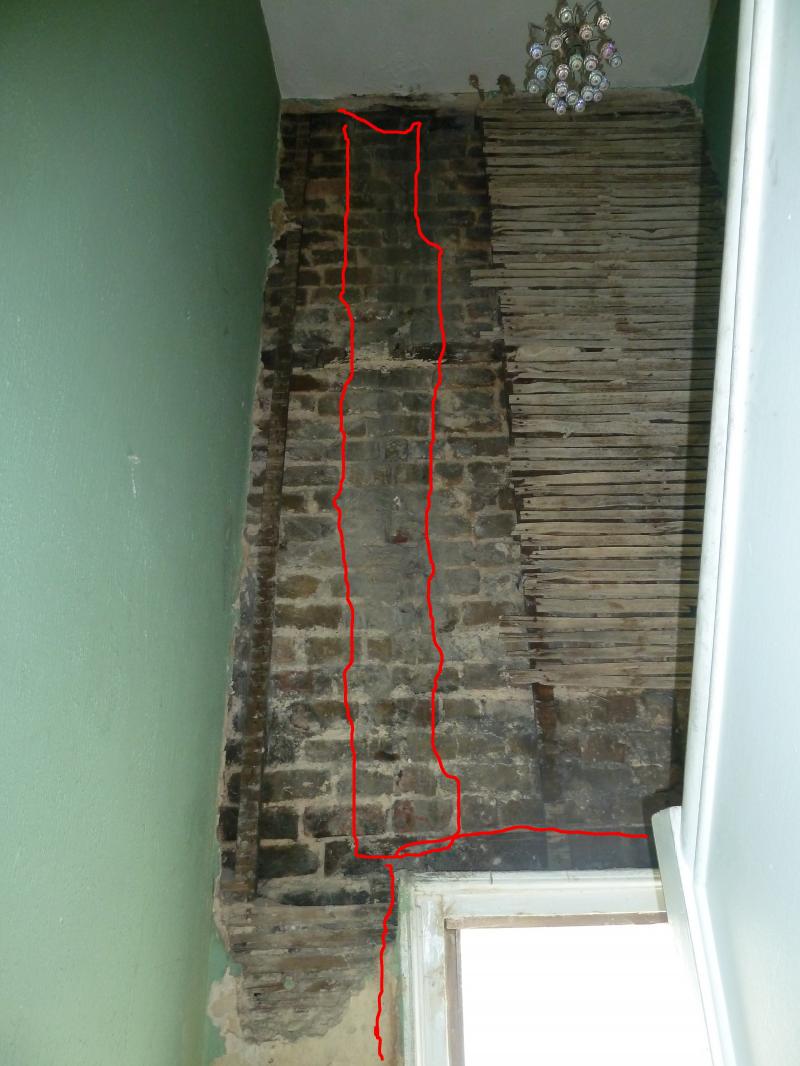
Here is a photo of the back of the property, as well as a photo of the affected wall from the inside of the property. I've tried to highlight in red the affected area. I've also highlighted a window in both as a point of reference.
I've now had a roofer come around and have a look at the roof. Here are some photos he took while he was up there.
The first photo is at the back of the chimney stack, at the point where the chimney stack meets the roof. The second is the same, but this time from the side of the stack.
In the first photo you can see that the tile directly behind the chimney stack has cement in the grooves. While in the second photo you can see cracks in the mortar.
The roofer told me that this tile is no longer functioning properly, and as a result water is making its way through the cracks in the mortar.
This seems reasonable to me, and it is roughly in line with the location of the leak, but any expert feedback would be much appreciated. Does it seem reasonable?
His suggestion is to
Again, is this reasonable?
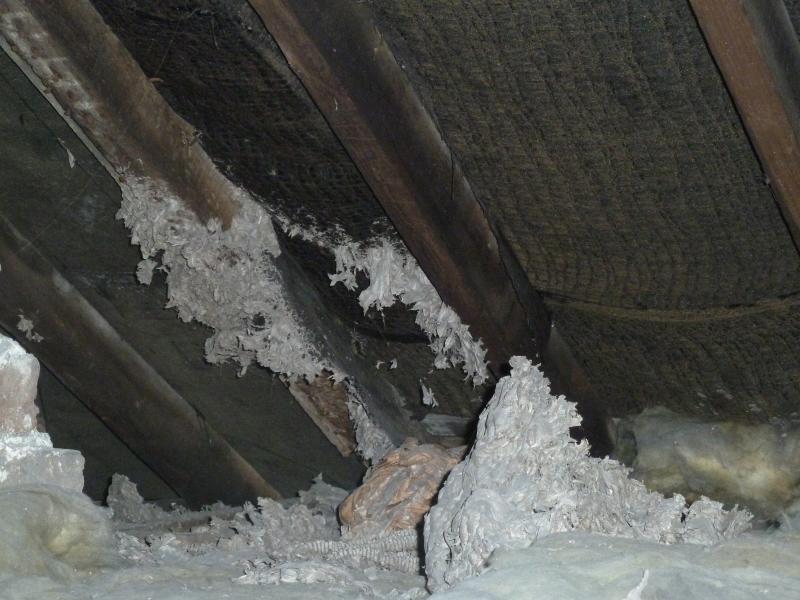
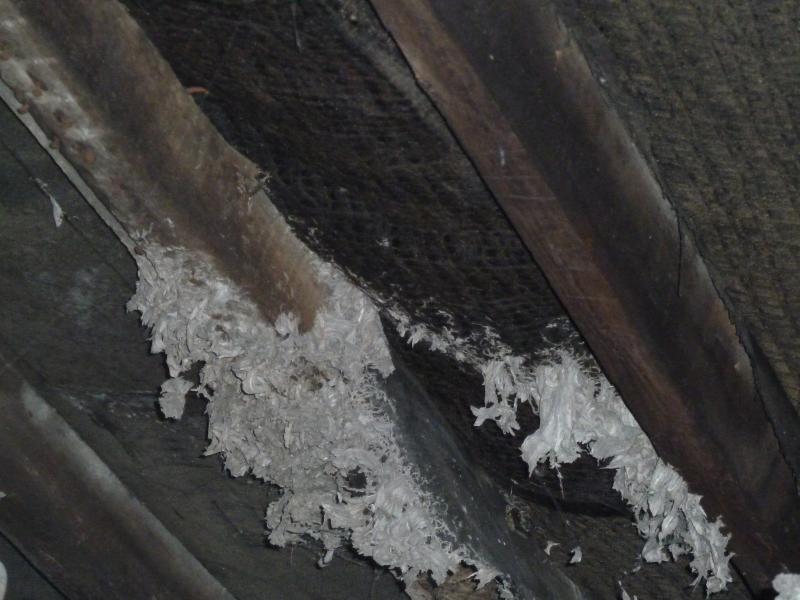
I am pretty sure that some of the timber underneath will be rotten, as the laths we well rotten when I took the plaster down. The roofer said that in regard to the timber we would have to play it by ear until the tiles come up.
I've got several more roofers coming over the next week, so I shall also see what they think.
Anyway, long post, but any feedback would be greatly appreciated.
P.S. It's an 1840s Victorian terrace house.
I have a leak in my roof at the back of the property. I'm planning to get it sorted by professionals, but I would really appreciate any feedback/thoughts to help me properly diagnose the problem and get the right people in to sort it.
When we moved into our property (July of last year) we found that the previous owner had covered an entire wall of badly water damaged plaster with drapes. We spent £200 on a damp surveyor, who told us that it was caused by a leak in the roof and that it was historical .
Over the winter the plaster got worse, and so I decided to take it down, as it was ruined anyway. Low and behold, as soon as I did there was a drip of water from the roof. It was raining very heavily at the time, and the amount of water coming through was a small but steady drip.
Here is a photo of the back of the property, as well as a photo of the affected wall from the inside of the property. I've tried to highlight in red the affected area. I've also highlighted a window in both as a point of reference.
I've now had a roofer come around and have a look at the roof. Here are some photos he took while he was up there.
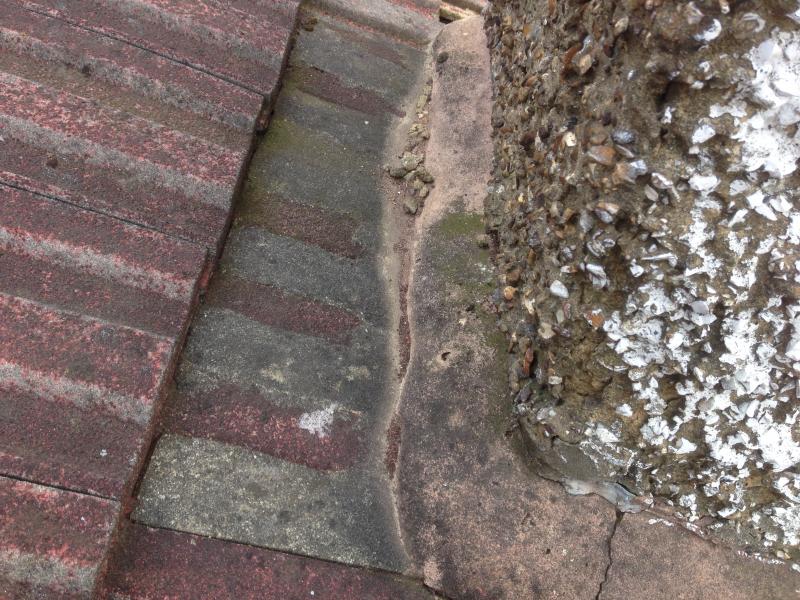
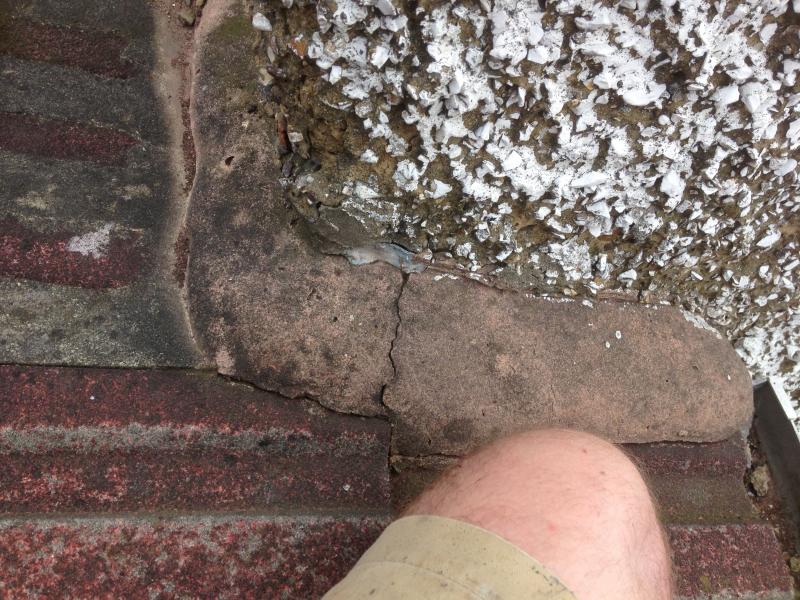
The first photo is at the back of the chimney stack, at the point where the chimney stack meets the roof. The second is the same, but this time from the side of the stack.
In the first photo you can see that the tile directly behind the chimney stack has cement in the grooves. While in the second photo you can see cracks in the mortar.
The roofer told me that this tile is no longer functioning properly, and as a result water is making its way through the cracks in the mortar.
This seems reasonable to me, and it is roughly in line with the location of the leak, but any expert feedback would be much appreciated. Does it seem reasonable?
His suggestion is to
To remove existing defective tiles and mortar from around chimney stack
To install new leadsheet back gutter and side flashing detail dressed to correct code of practise
To tile defective area back in using Redland 49 interlocking tile
To fix GRP termination bar to newly installed leadsheet
Again, is this reasonable?
I am pretty sure that some of the timber underneath will be rotten, as the laths we well rotten when I took the plaster down. The roofer said that in regard to the timber we would have to play it by ear until the tiles come up.
I've got several more roofers coming over the next week, so I shall also see what they think.
Anyway, long post, but any feedback would be greatly appreciated.
P.S. It's an 1840s Victorian terrace house.
 anyways I would rather take the chimney down and re do the roof /gutter - than try and get a flashing onto a stucco rendered chimney like that