Hello,
I'm copying this from my thread on another forum, so updates will appear quicker than they actually are.
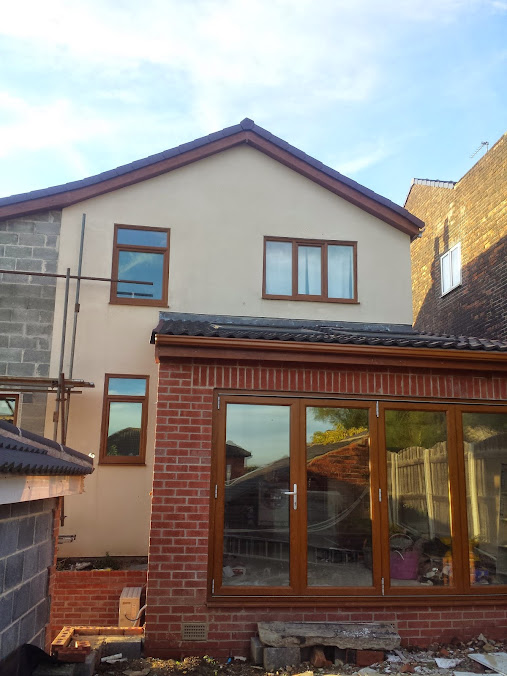
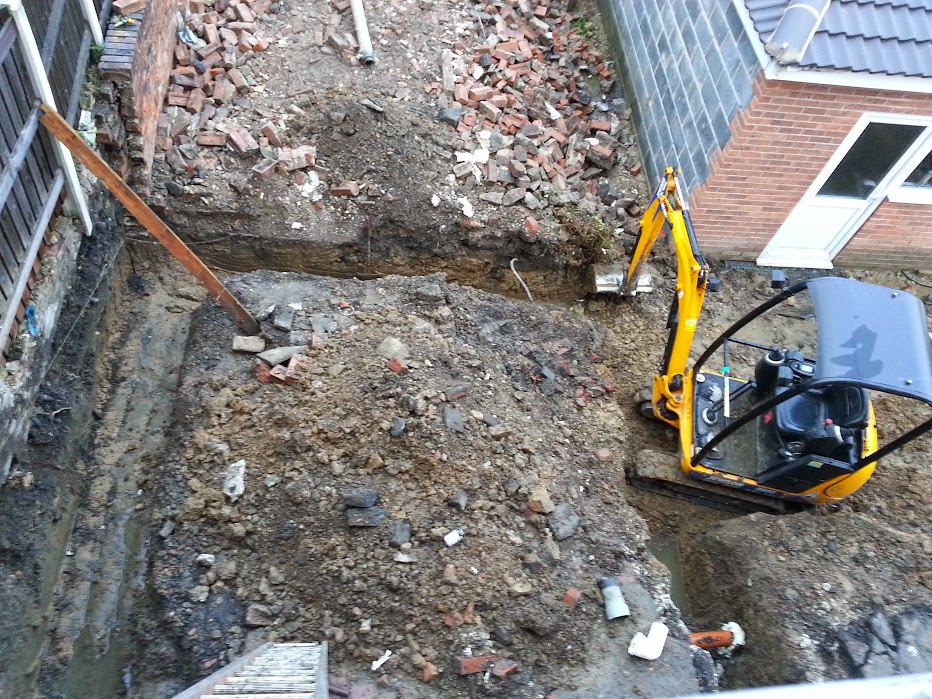
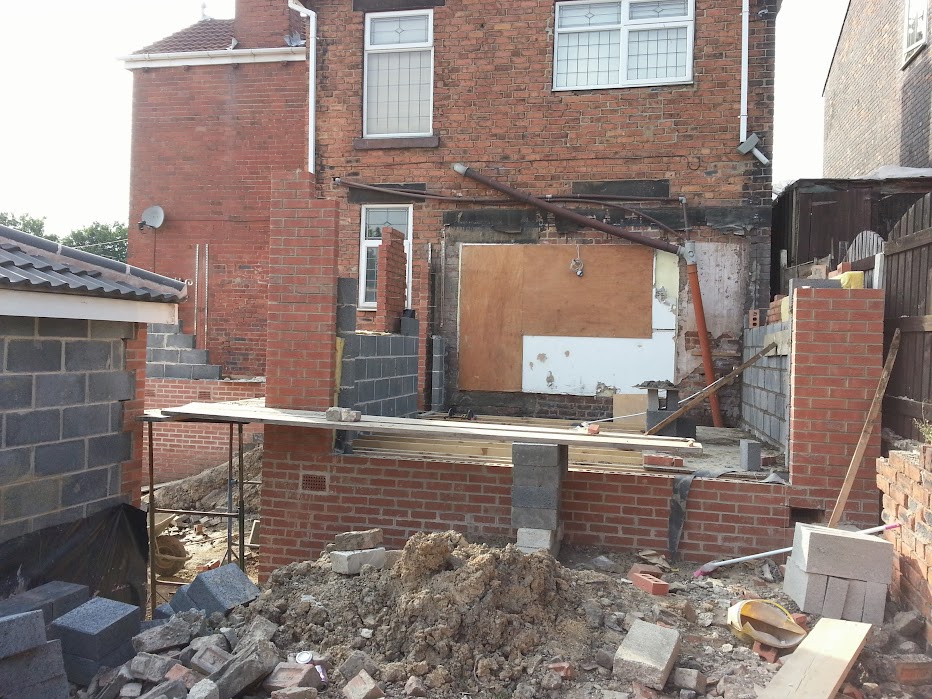
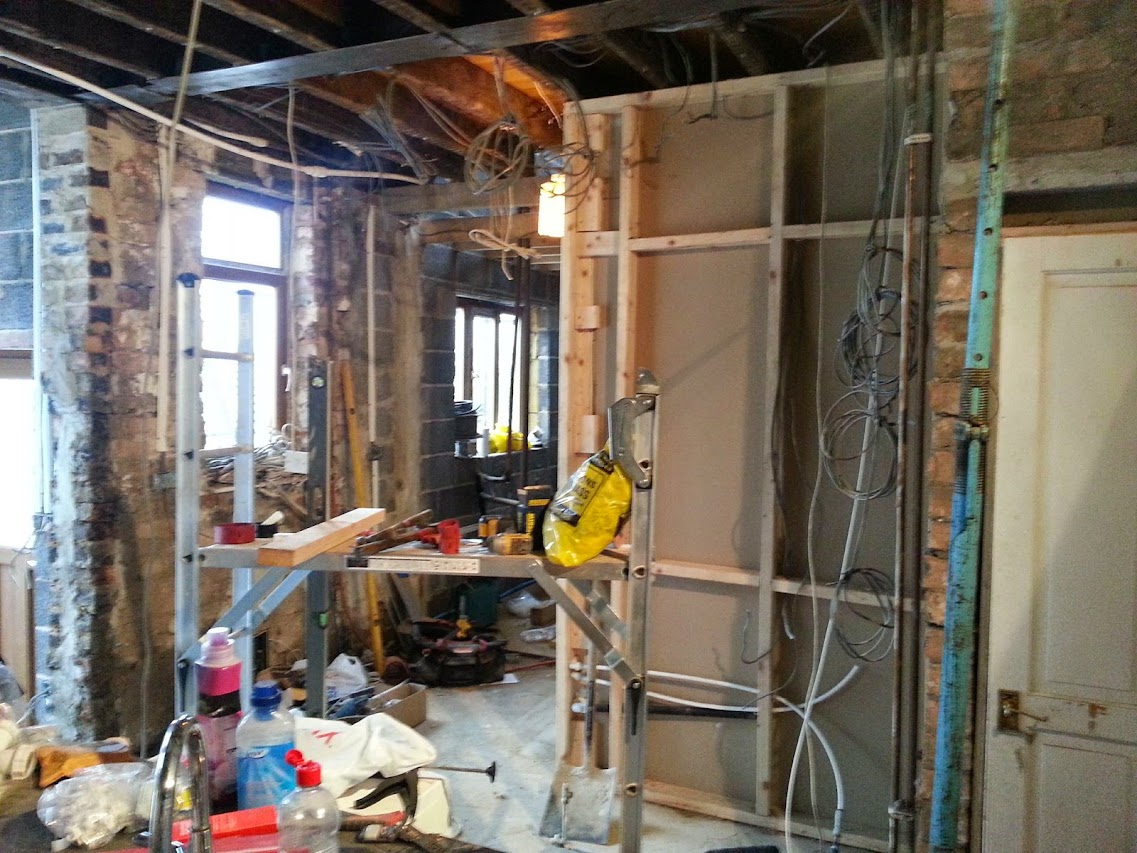
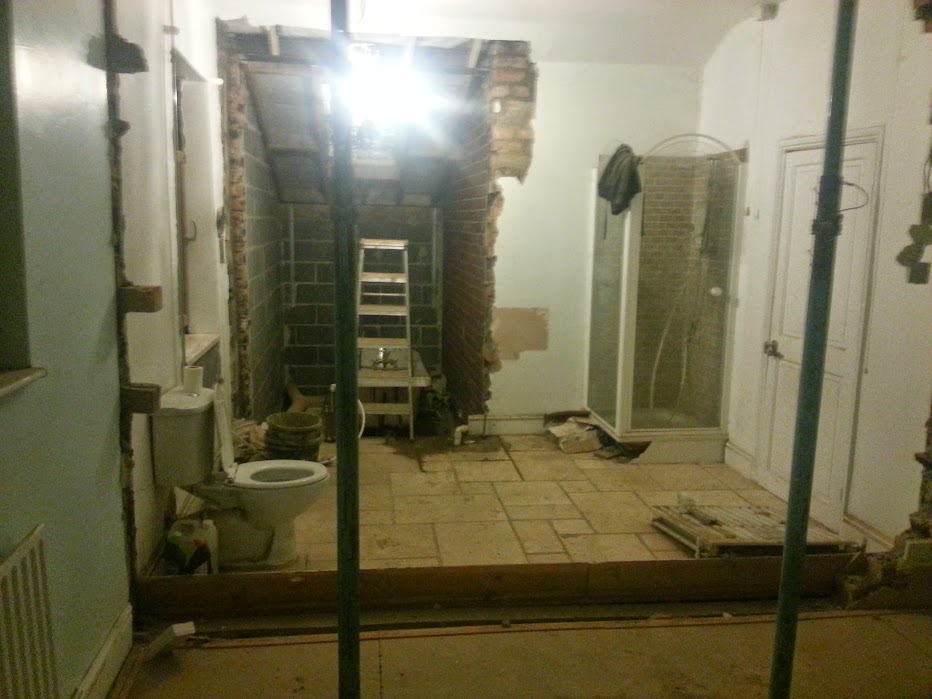
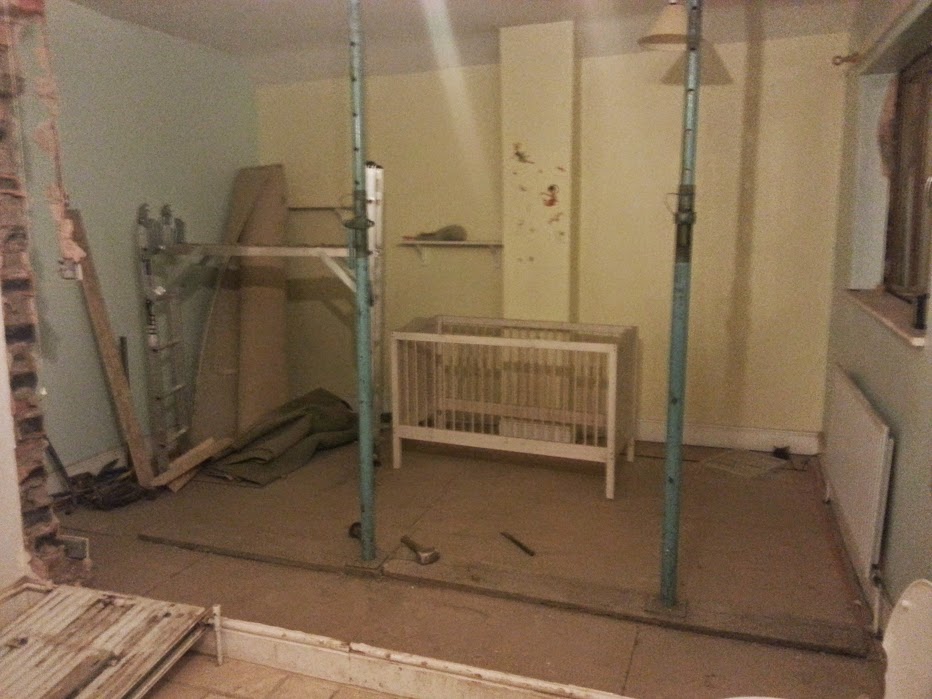
In 2012 we decided to have an extension on the house. This has now turned into 3 extensions!
We lived in the house throughout, and other than brickwork I did everything (with the help of a friend at times, that part really helps, even if its just for motivation) We very little/no experience (apart from my garage I built with NO experience the year prior).
Unfortunately my pictures don't go back to the very start.
I'm copying this from my thread on another forum, so updates will appear quicker than they actually are.
In 2012 we decided to have an extension on the house. This has now turned into 3 extensions!
We lived in the house throughout, and other than brickwork I did everything (with the help of a friend at times, that part really helps, even if its just for motivation) We very little/no experience (apart from my garage I built with NO experience the year prior).
Unfortunately my pictures don't go back to the very start.


![2013-01-24%2B08.57.35.jpg[img]](https://lh6.googleusercontent.com/-TkkgkfuOapI/U0mttEoJmCI/AAAAAAAAF8w/1ZLkq_2W13A/w932-h699-no/2013-01-24%2B08.57.35.jpg[img])