Your pretty much *ucked by tiler & guy who did coving probably under someone else`s instructions.
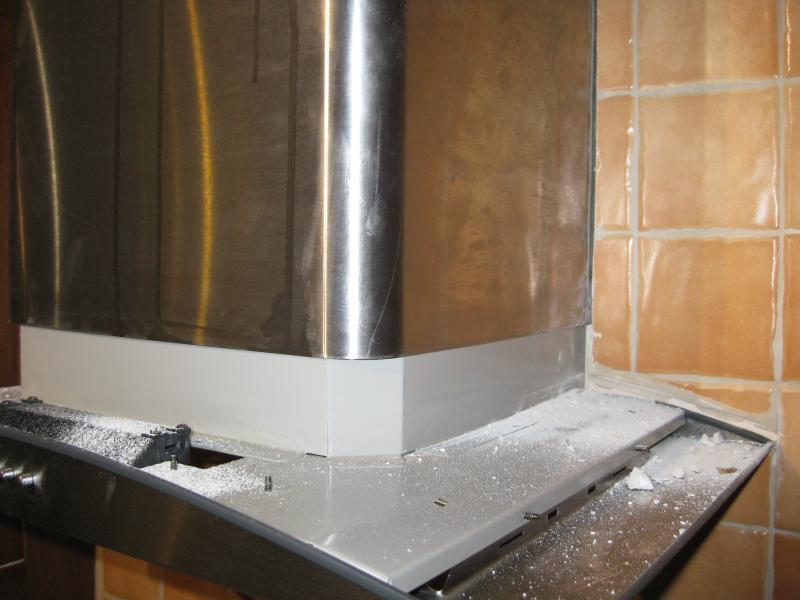
The sides of chimney have to come out sideways(chimney internal return edge) to get away from internal bracket and hood.
Looks like you will have to remove small tiles at sides of hood.
Thanks Swampy ,
That's what I was afraid of , I managed to take out the whole 3 mm wide run of grouting adjacent to the chimney on either side from top to bottom but couldn't ease the rear side out away from the unit .
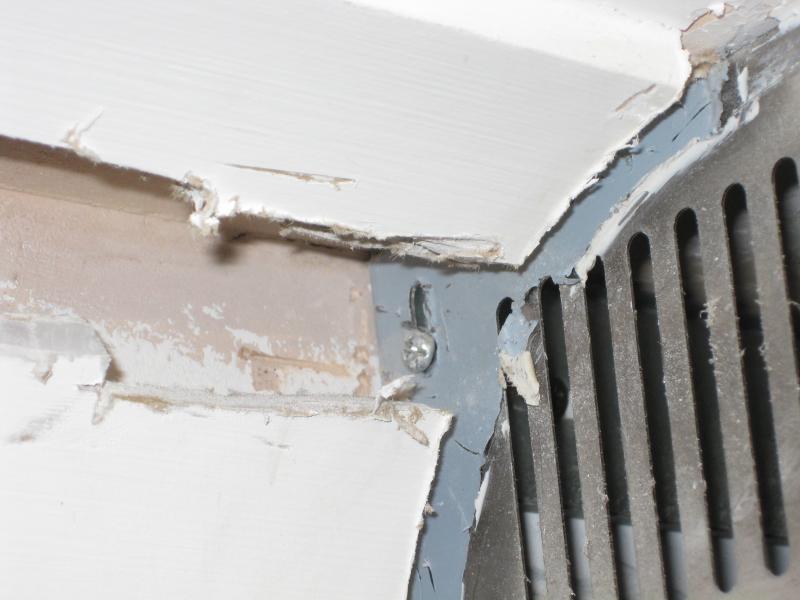
The internal lip is between 5-10mm wide.
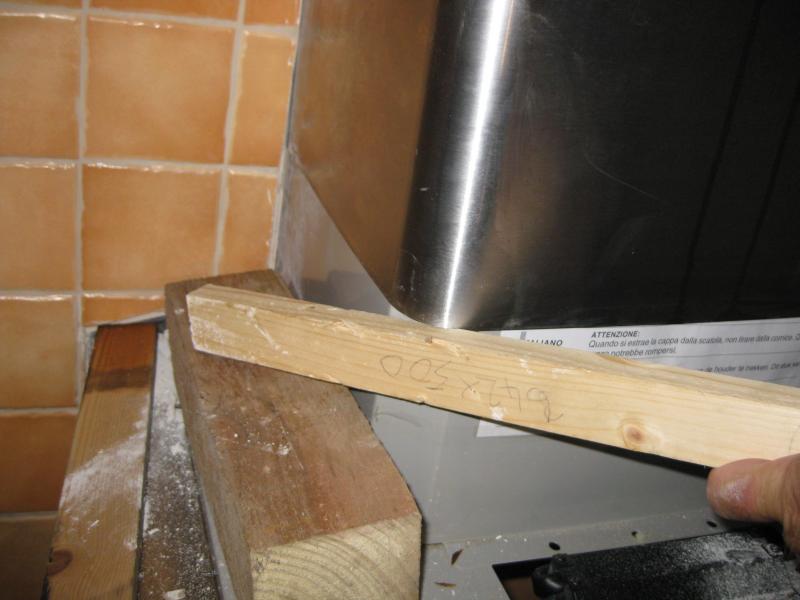
Other option is to unscrew cooker hood from wall( are fixings accessible?), you would be able to clear grout around its edges, then work it forward away from the wall(set up something to support it below, supply cable will stop you dropping to worktop).
Once its away from chimney, the chimney should the be free to remove.
Long winded but less cosmetic damage.


 ..
..
