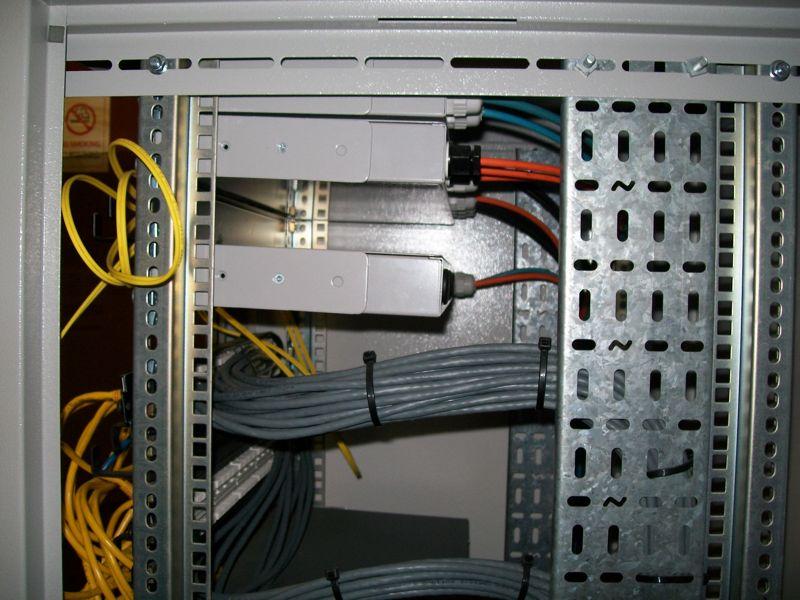
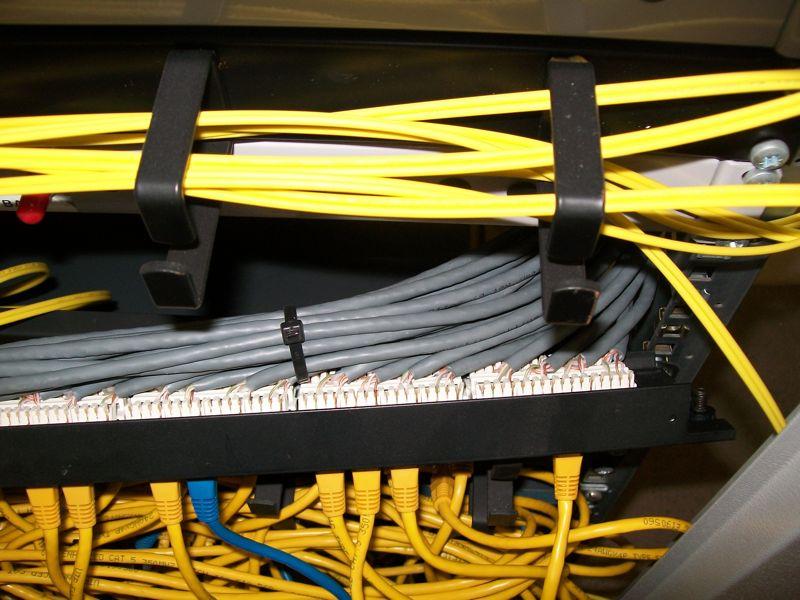
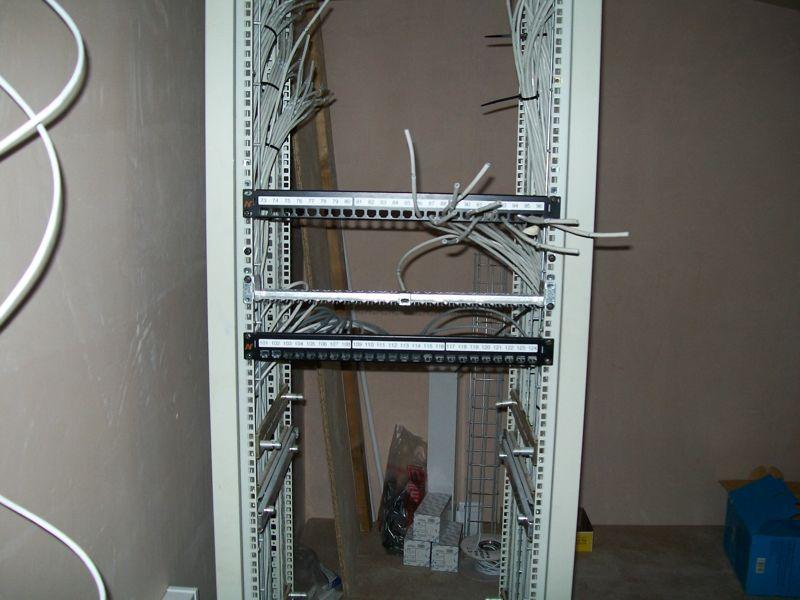
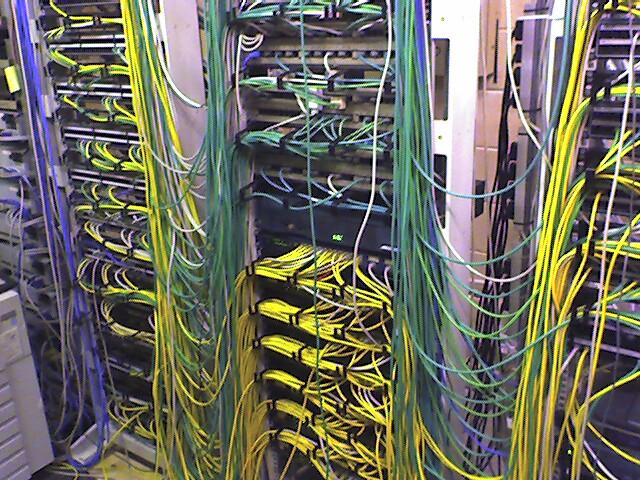
OK, here's a couple of photos of a fairly typical installation with a "punchdown" panel. This was at a customer site and I had to investigate a faulty connection - without unplugging any other customers served by this panel !
Notice how there's a) next to no slack available, and b) very very restricted access to the terminations without unbundling everything and teasing the cables apart (at the risk of creating other faults). On this design of panel there is no facility for strain relief if you wanted to bring the cables away towards the rear instead of along to one end.
Some do have a strain relief bar to allow rearwards cable exit - but they are uncommon, and a pain to use as the bar usually restricts access for the punchdown tool.
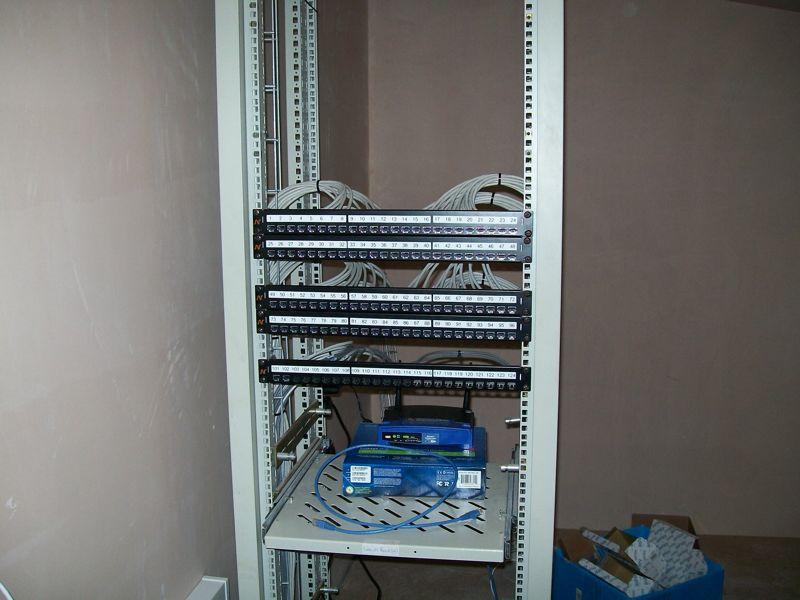
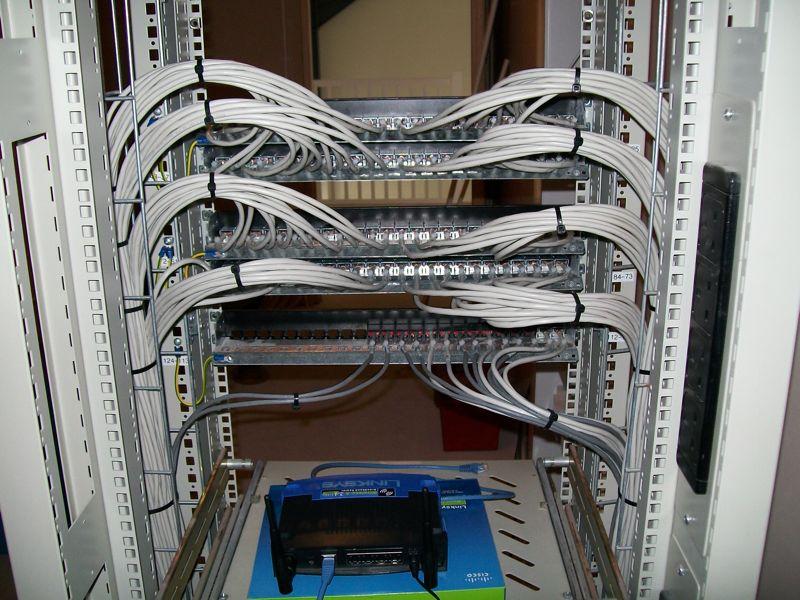
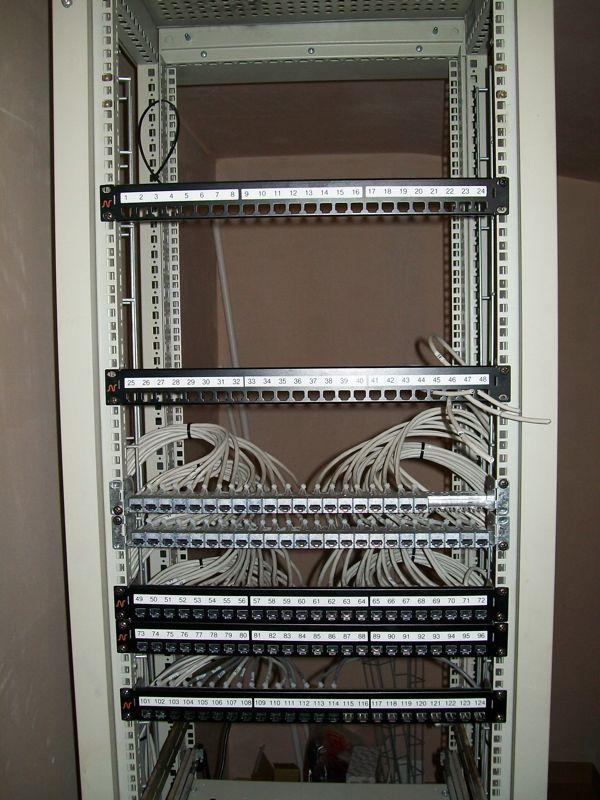
By contrast, this the termination method I prefer. These are front and rear shots of the completed panels.
Each connector is a separate item which slots into the panel after termination - and can be removed individually without disturbing the rest if needed. The mounting frame has tie down points for each cable.
As it happens, this is (I think) the third version of this panel system. I preferred the previous version which was a one piece panel. On that, the connected was fitted from behind and slotted vertically over two pins. It was much better as you could add/remove connectors without disturbing anything already plugged into other sockets. On this design, you have to separate from and rear sections, which seems to need 4 hands to put back together (one to hold the frame, one to hold the front, and two to fit the mounting screws) - but the main issue is that you either have to unplug anything else, or fiddle later to get the front back on (the release tabs of the plugs snag behind the front panel).
The reason for the change is they've introduced a 48 port version - a second sub-frame mounts onto the one you can see here, adding an upper row with another 24 ports. That would preclude the vertical insertion method used on the previous design.
Some shots during termination
What I tend to do is mount the front panel on the rack and poke the cable ends through while I'm dressing them up. Then I'll take one cable at a time from it's hole, terminate it, and slot the connector into the frame - until I've done all 24 at which point I'll fit front to frame and screw it in the final position before moving to the next panel.
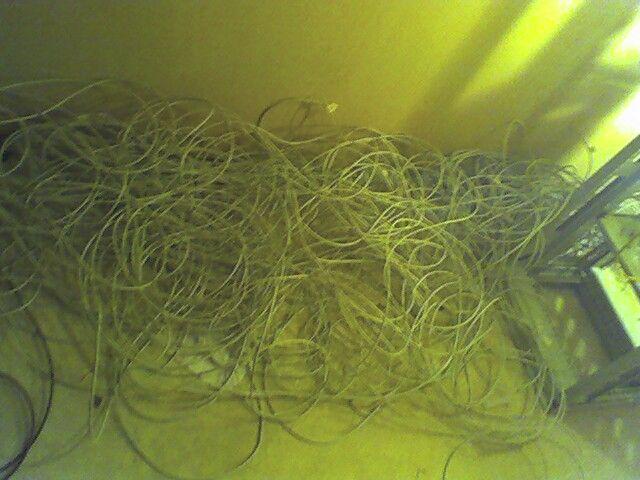
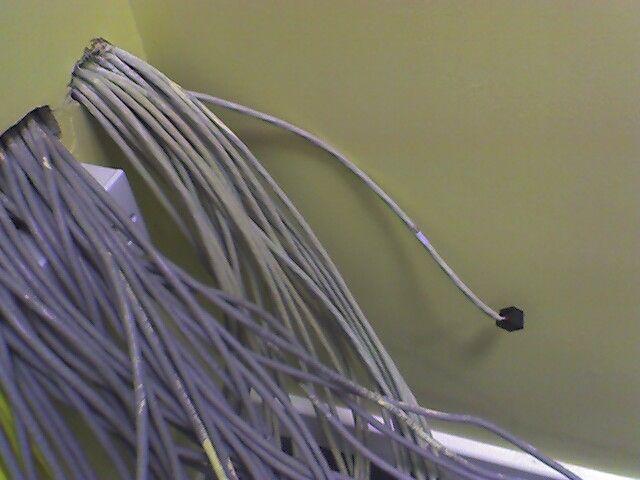
On this particular job, the electricians pulled all the data cables in. I'm not a great fan of working like this as "ability varies" and this time I got "bunch of cowboys who don't give a s**t" - this is how the cables were left for me

It took a full day just to unravel them all. In addition, in spite of telling them how to treat the cables, the lad was really abusing them (eg cable snags, normal reaction is to unsnag it, this lad just pulled harder till it gave in

). I also had them replace (IIRC) about 8 which were too short - but I missed a couple which is why the panels are mounted lower down in the rack than I normally put them (if you look carefully as the cables, you'll see a couple without much slack which were terminated without shortening them at all).
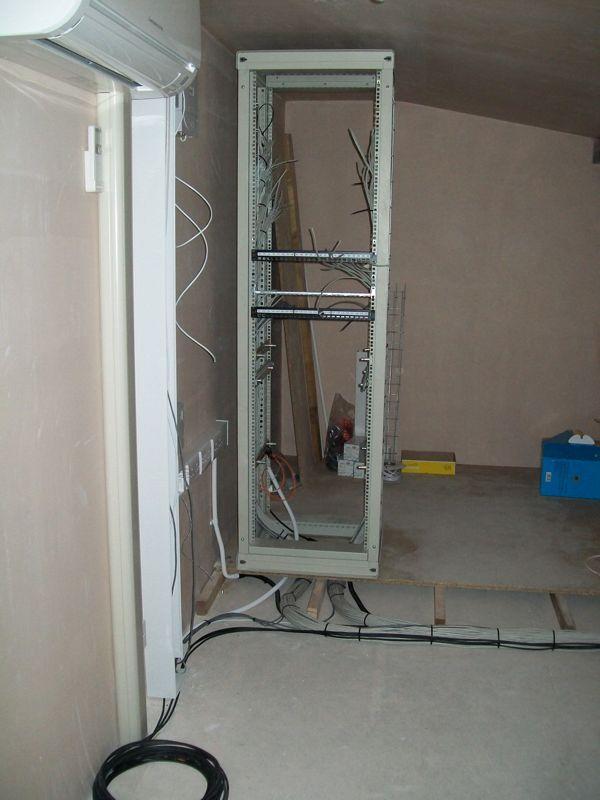
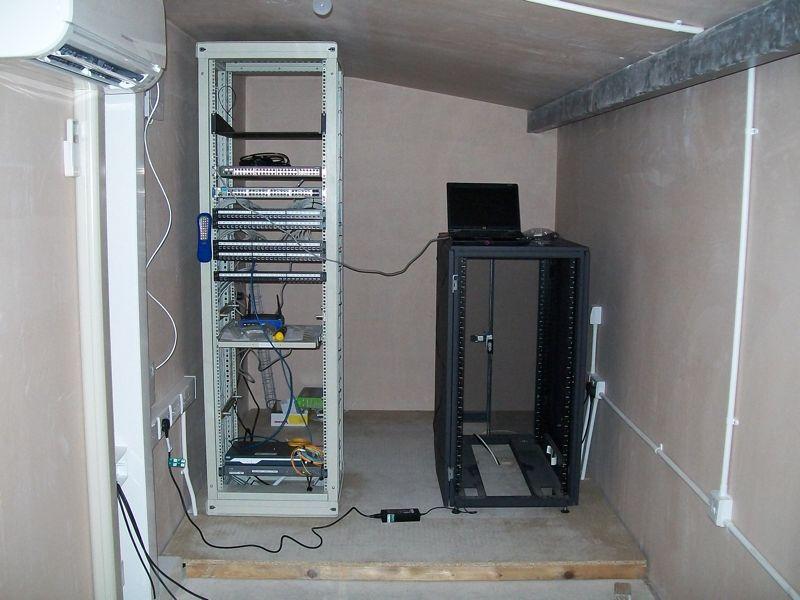
And a couple more. This shows how the cables ended up
and after the front section of floor is fitted
I have to say, the main contractor and joiners were very helpful on this job. The floor was double joisted for load spreading, and this provided an opportunity to build in a cable run across the front of the raised section (the front board just lifts off for access).
I don't get to do many jobs like this. Usually they get subbed out to a local cabling company - I don't work fast enough. In this case, the customer specifically wanted me to do it
")


 But the cables themselves are on the exposed bit of sheath where it enters the box.