I am mighty impressed with Gyproc Easifill 20 Filler. I will never use a normal filler from now on.
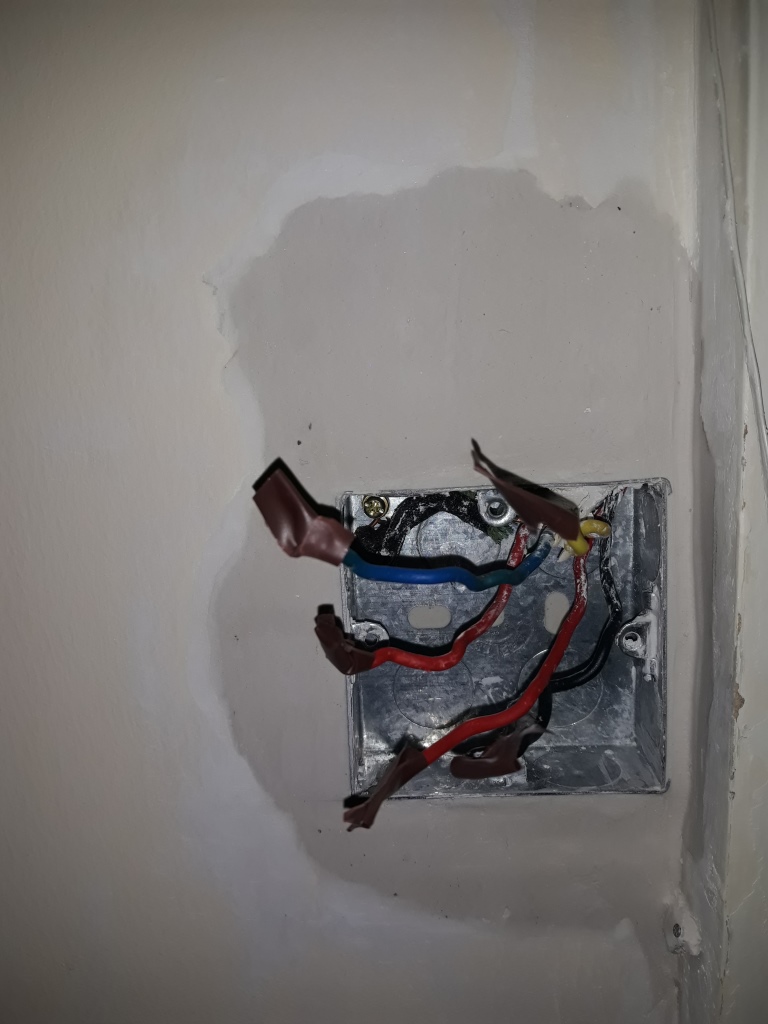
So, this is what I did. I bought a 25mm back box but it would sit proud. So, I used a hammer and chisel and worked on the brick / whatever was behind and made sure the box could sit flush. I then applied the Easifill to the space where the box would go in. The wires went in the box and I connected the earth wires and then pushed in the box. I then worked around the box by applying more Easifill. With a bendy filling knife, it looks very pro. Even though this particular Easifill is rock hard after 20 mins. , I will let it dry overnight. Tomorrow, I shall apply a little bit of filler and then scrub with a sandpaper before finally fitting the switch. Some of the wires I reckon are a bit long and I might trim them.
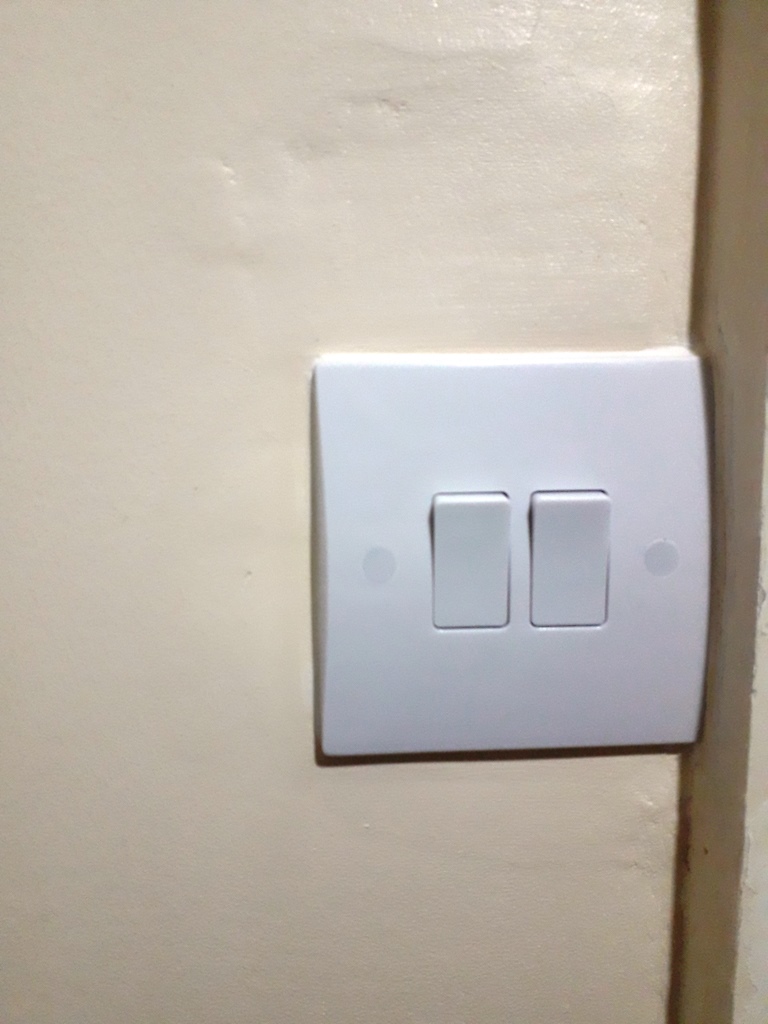
But, overall, I am very happy with the results. I also managed to unscrew the new spinning screw so I didn't have to break another switch.
So, this is what I did. I bought a 25mm back box but it would sit proud. So, I used a hammer and chisel and worked on the brick / whatever was behind and made sure the box could sit flush. I then applied the Easifill to the space where the box would go in. The wires went in the box and I connected the earth wires and then pushed in the box. I then worked around the box by applying more Easifill. With a bendy filling knife, it looks very pro. Even though this particular Easifill is rock hard after 20 mins. , I will let it dry overnight. Tomorrow, I shall apply a little bit of filler and then scrub with a sandpaper before finally fitting the switch. Some of the wires I reckon are a bit long and I might trim them.
But, overall, I am very happy with the results. I also managed to unscrew the new spinning screw so I didn't have to break another switch.
")