We moved house just under a year ago (the house was built in 2004), since then it seems other than painting the walls, nothing in the house has been changed.
The en-suite to the master bedroom had plain 6inch x 12inch white tiles around the shower tray and just above the sink which were uninspiring to the eye and looked a bit grubby.
For the sink area, there was a custom built unit built that was constructed using a couple of kitchen cupboard doors and chipboard formica worktop. There was a counter sunk sink (that had a huge 4inch scar in the enamel finish!).... Simply put, it looked pretty bad, unfortunatley I didn't take any "before" photos so you'll just have to try and imagine what it was like using my bad description") .
.
On the new suite, we decided to go for a timeless luxury look with some modern elements rather than going bang on trend and getting fed up with it a few years down the line. So here's a little bit about the work I've done along with photos that could be useful to someone else wanting to do a similar project....
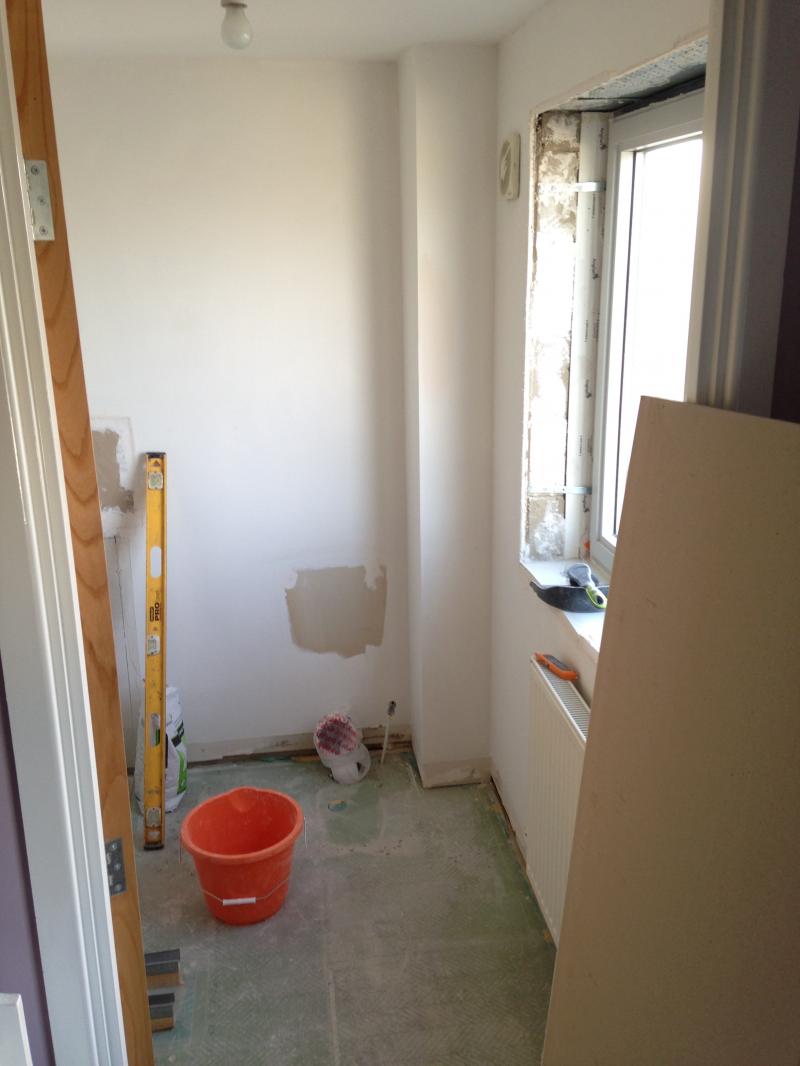
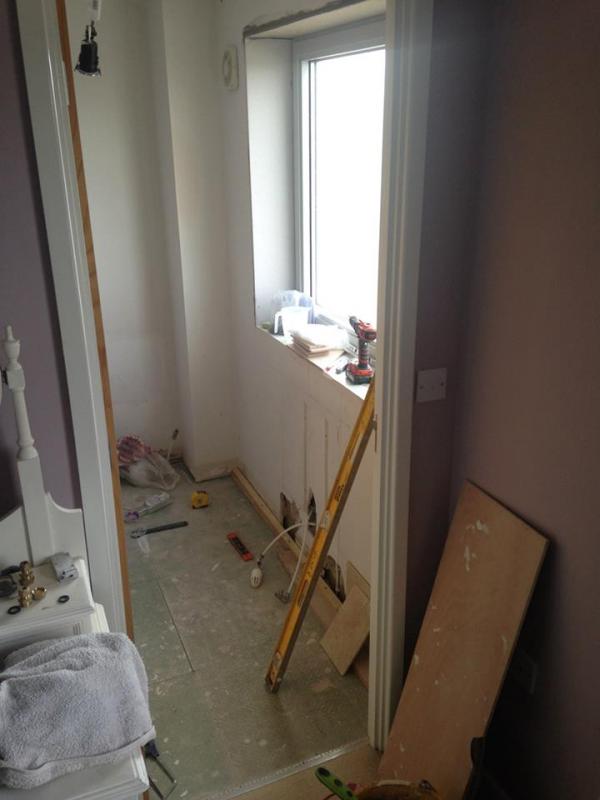
After ripping out the old "suite" & removing the stud wall dividing the shower and basin area...
The master bedroom was a mess (it's the next room to be sorted)...
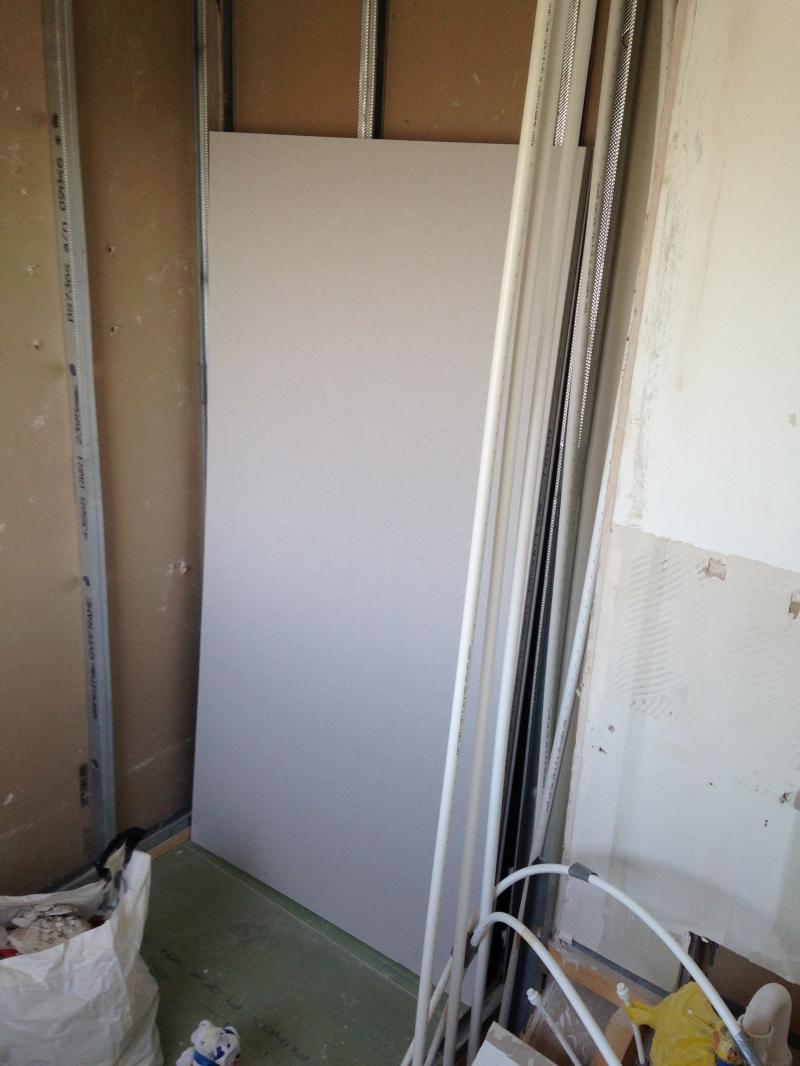
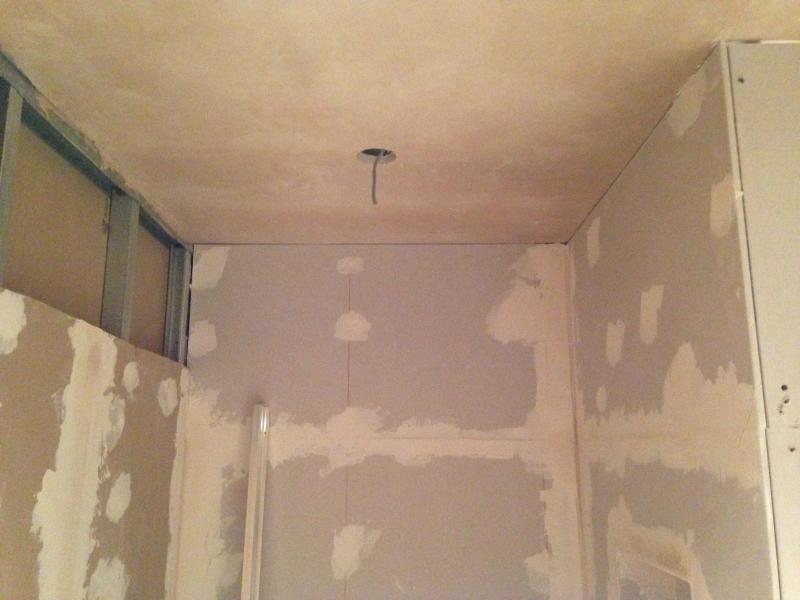
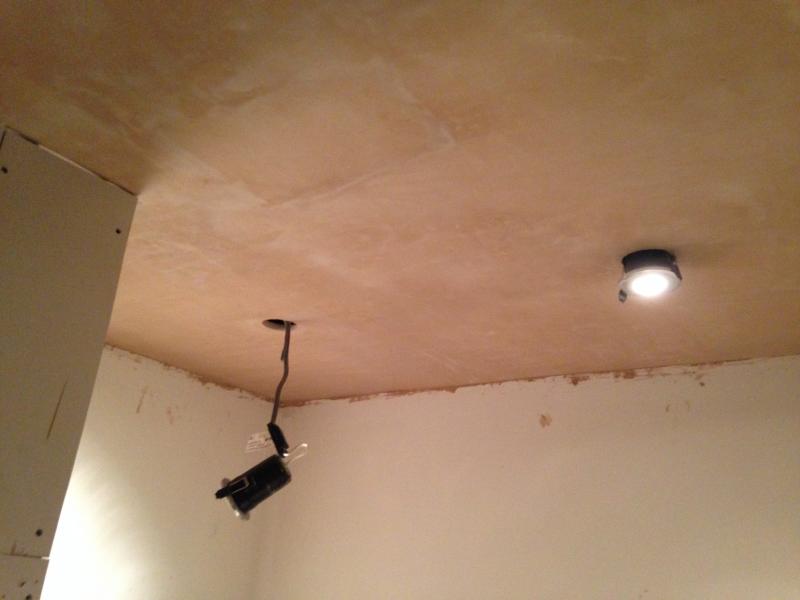
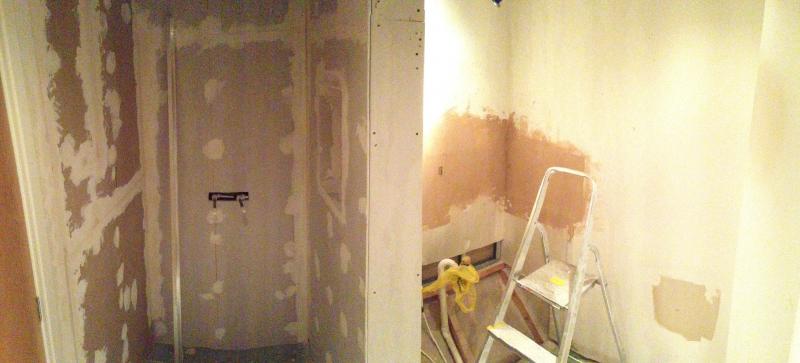
Re-Boarded the walls & plastered the ceiling...
Re-routed plumbing for the shower:
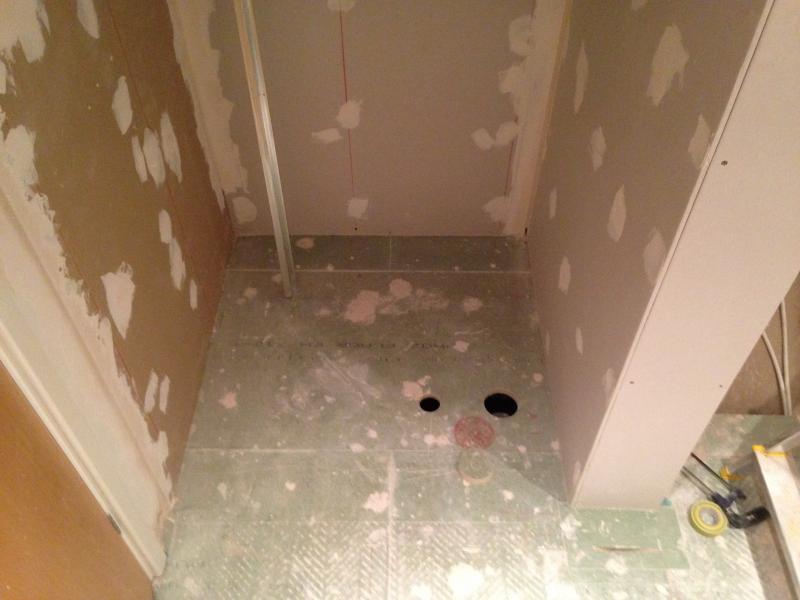
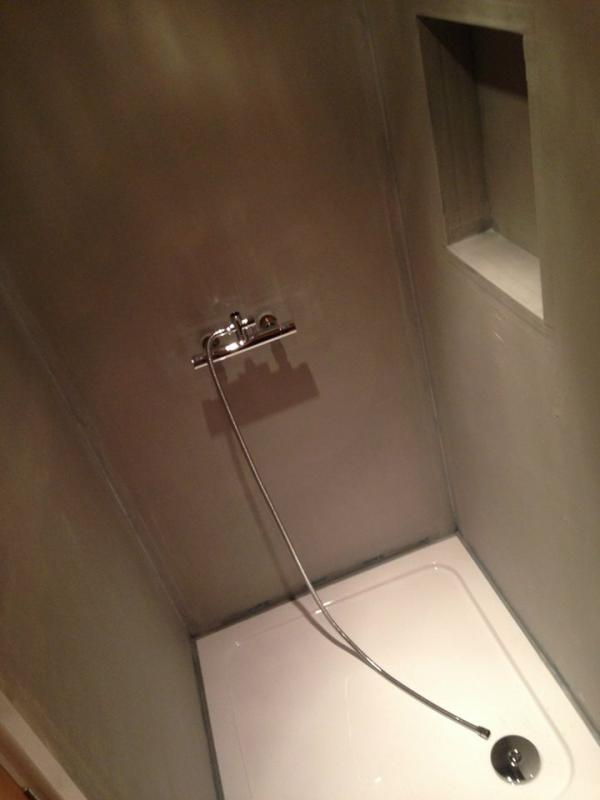
Fitted the shower tray (re-inforced the flooring by installing new joists under tray area & bedded tray - using a 5:1 mortar mix - on top of ply board).
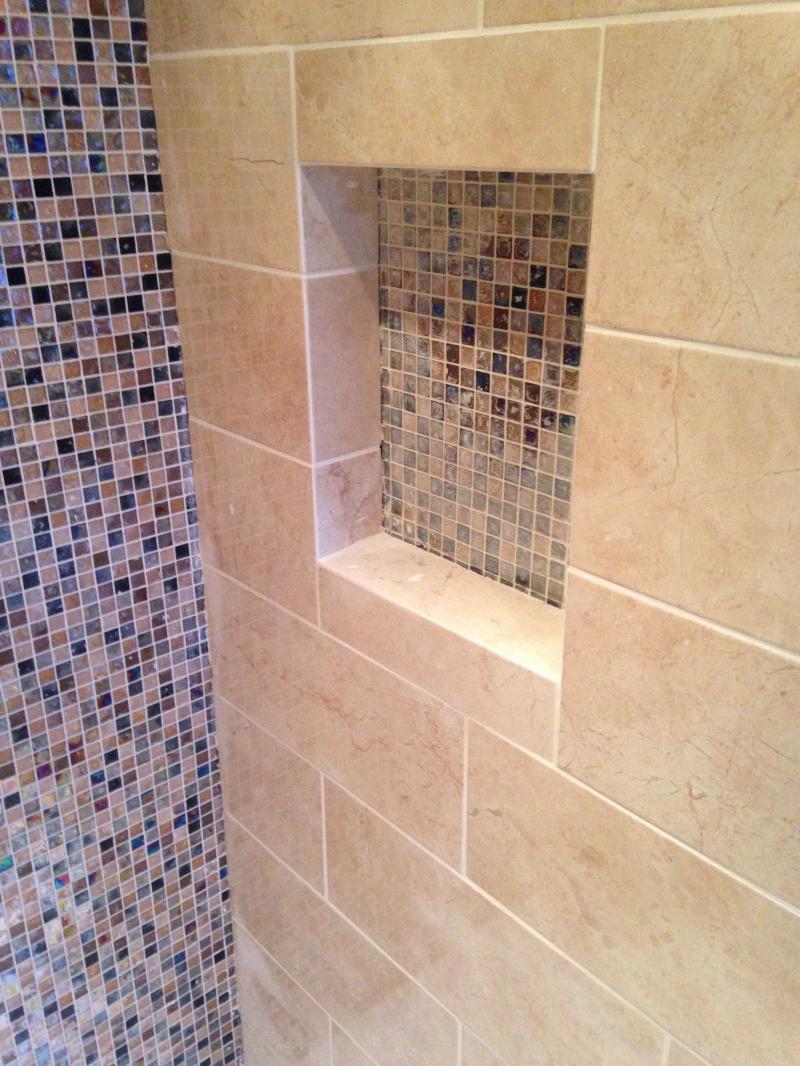
Added a small shelf into the stud wall to avoid having to use a metal hanging "thing" to hold shampoo's etc...
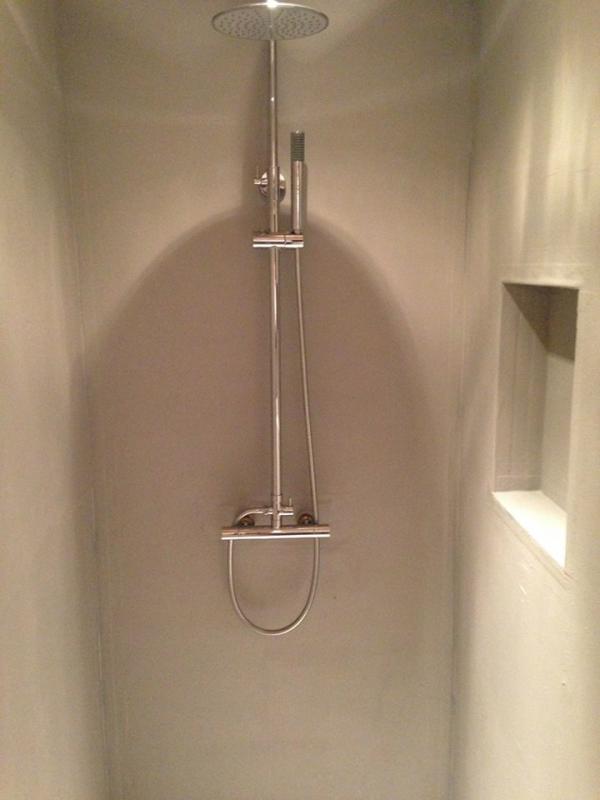
Quick test fit of the shower:
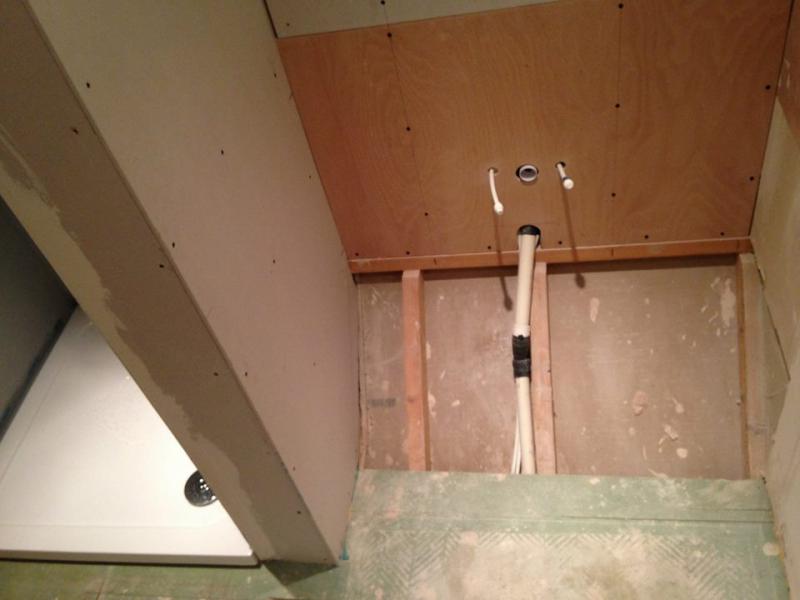
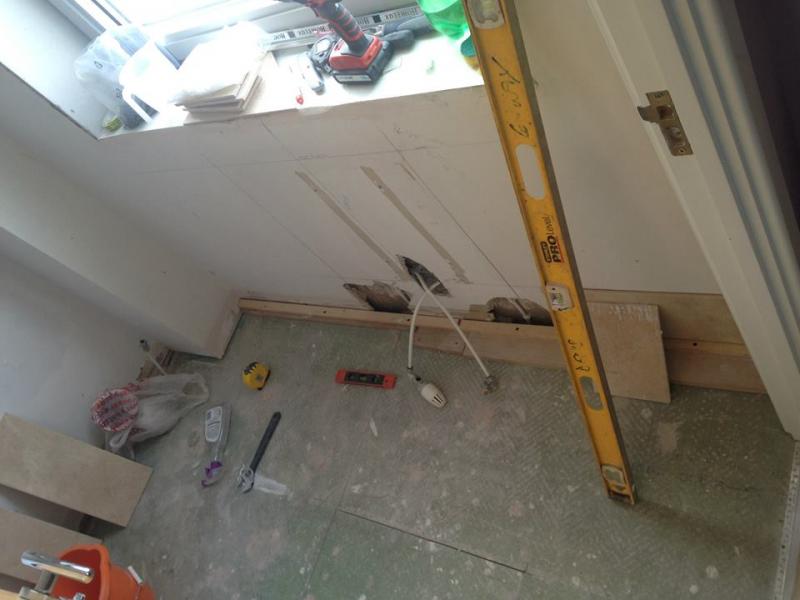
Re-routed the plumbing for the basin and boarded with ply as I'm going to use a floating sink unit that hangs from the wall so ply is far stronger for holding it solid...
Getting the room prepared for tiling; had to remove the radiator and free the heating pipes as I'm replacing this with a heated towel rail...
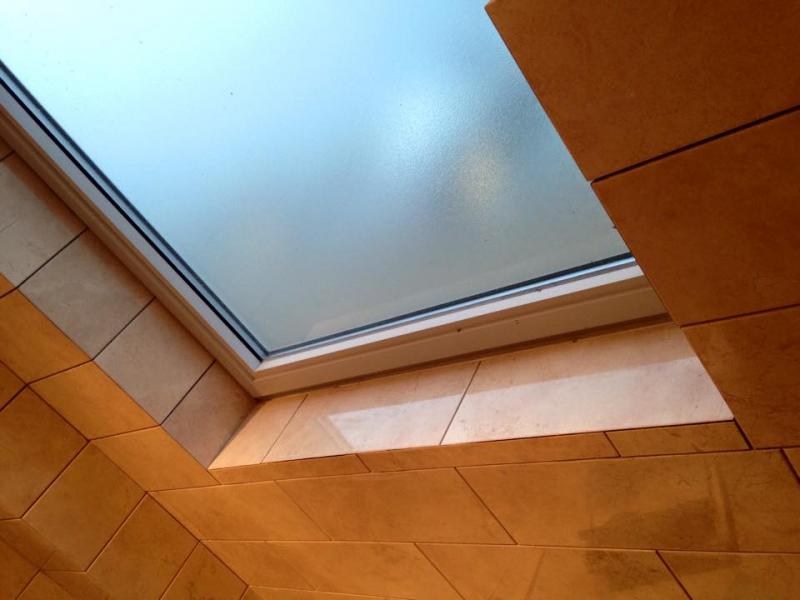
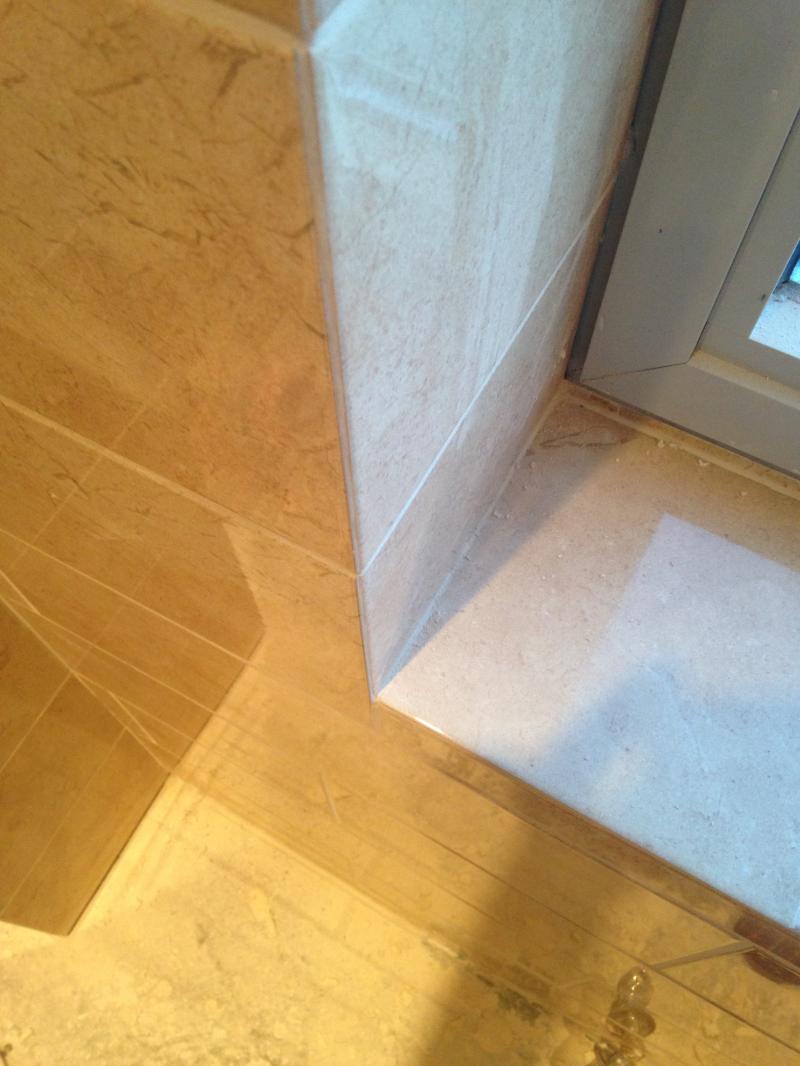
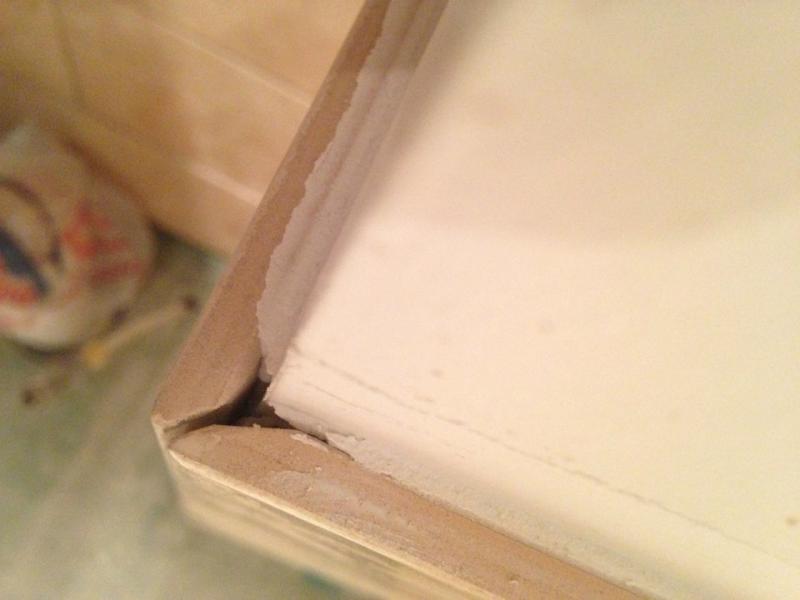
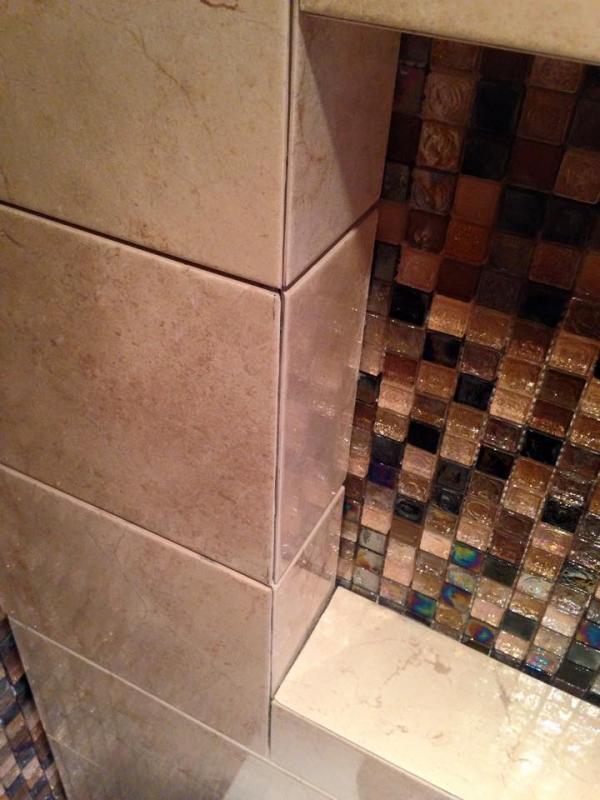
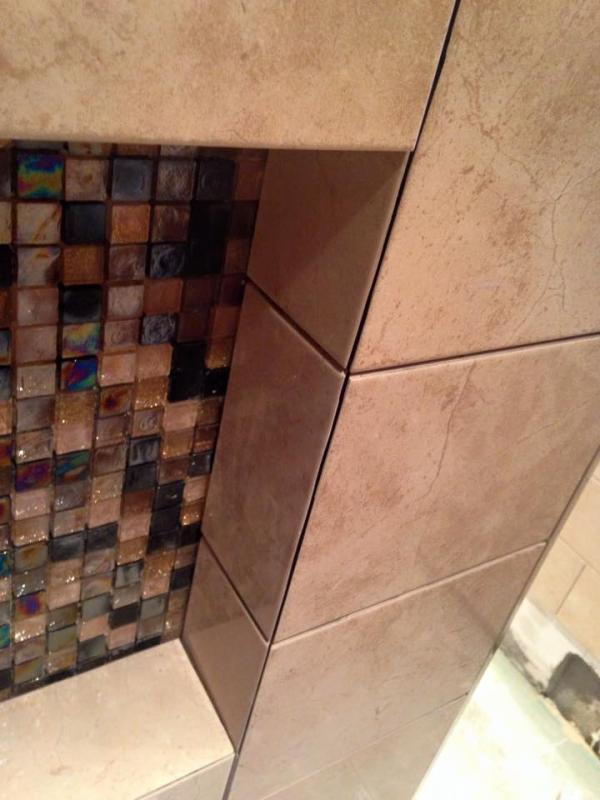
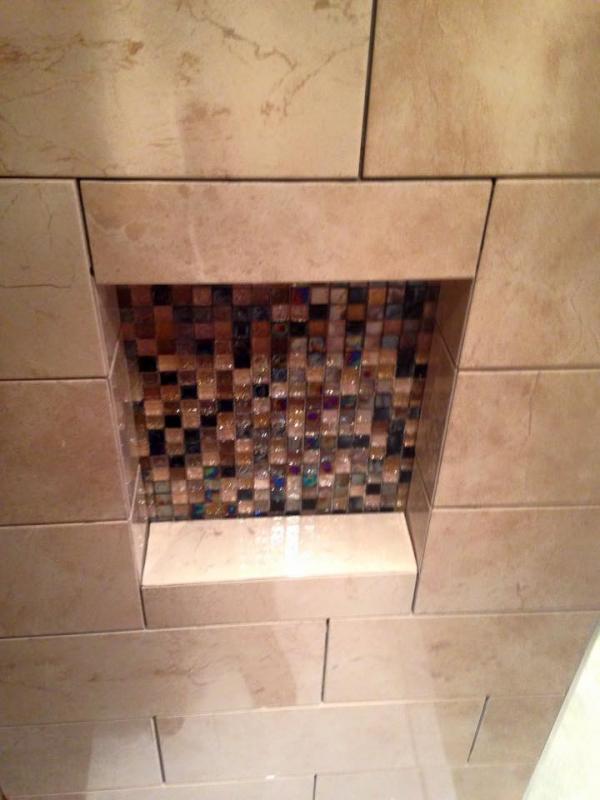
Decided to mitre cut my way round the 90degree angles avoiding tile trims:
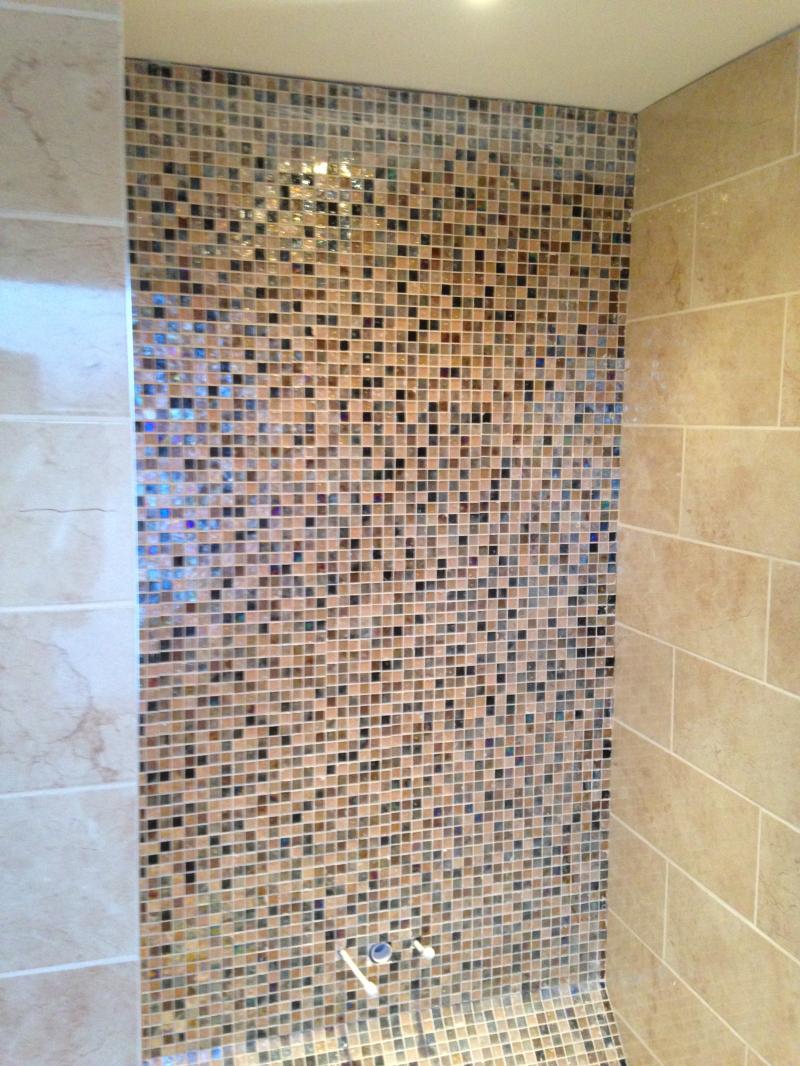
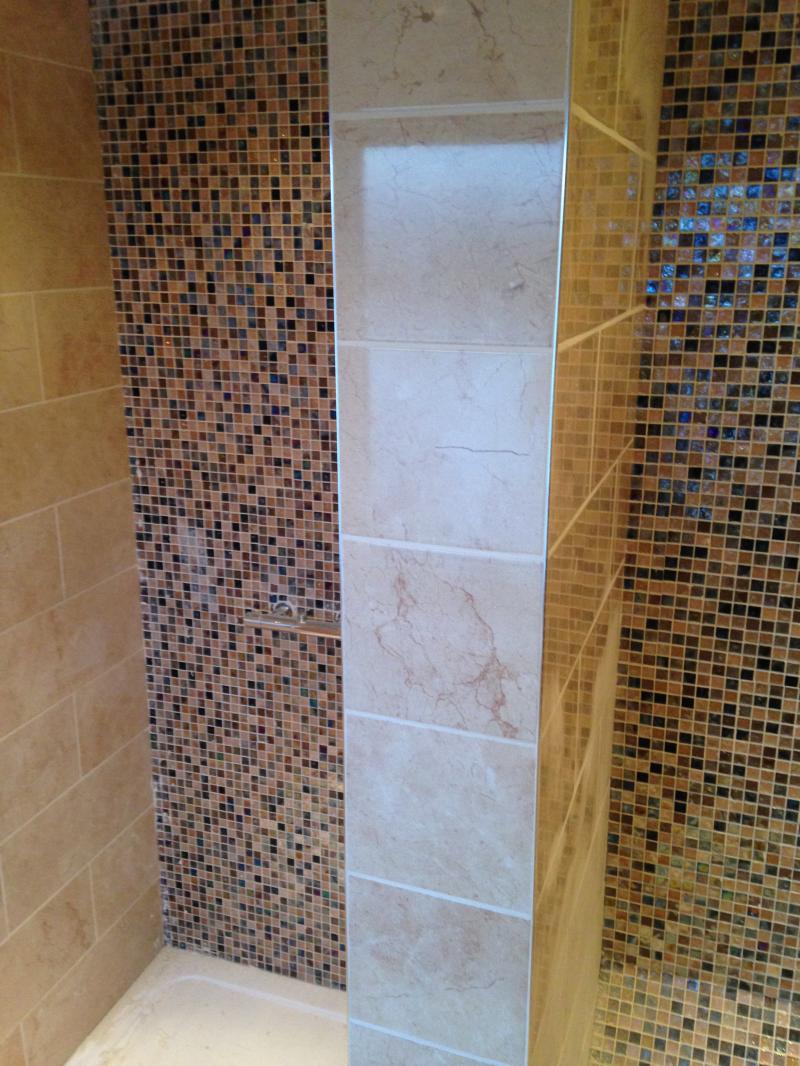
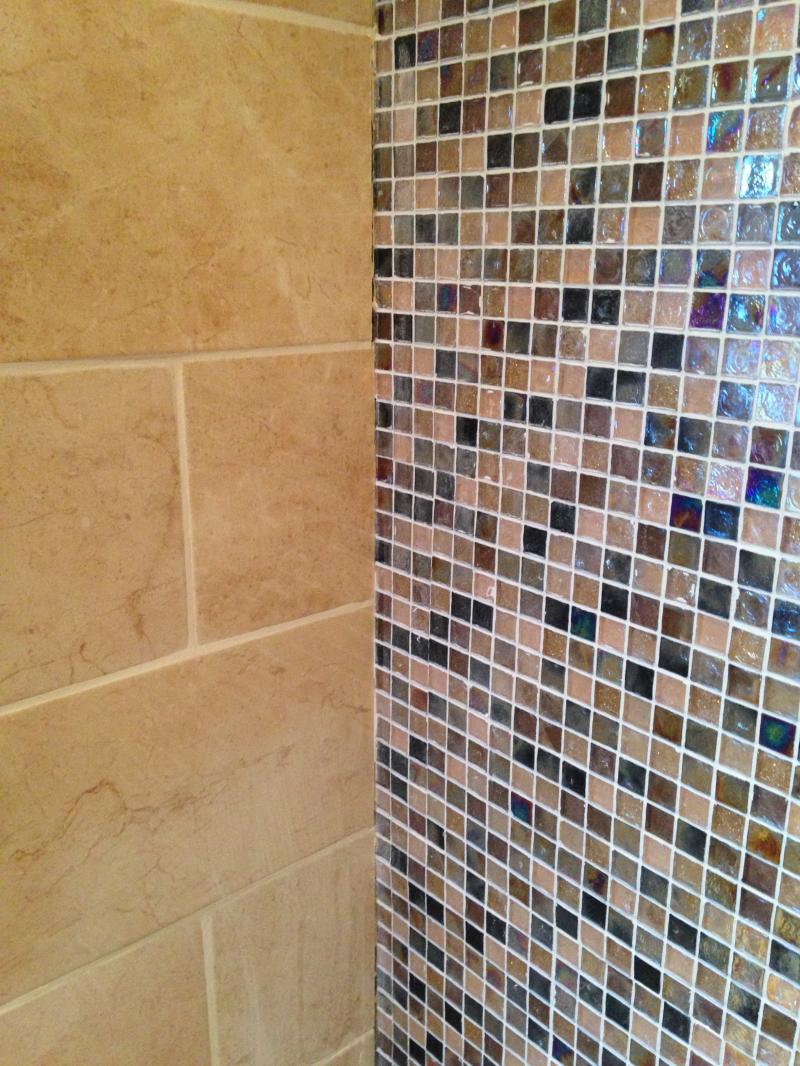
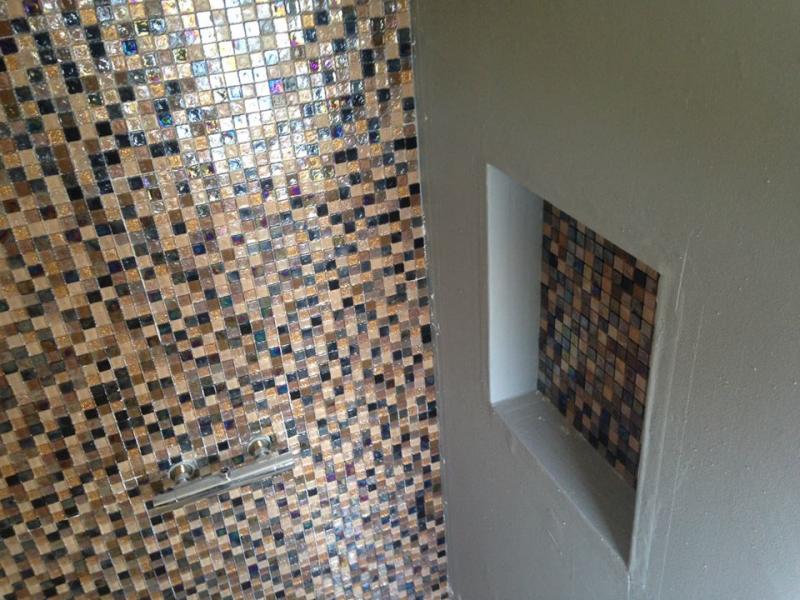
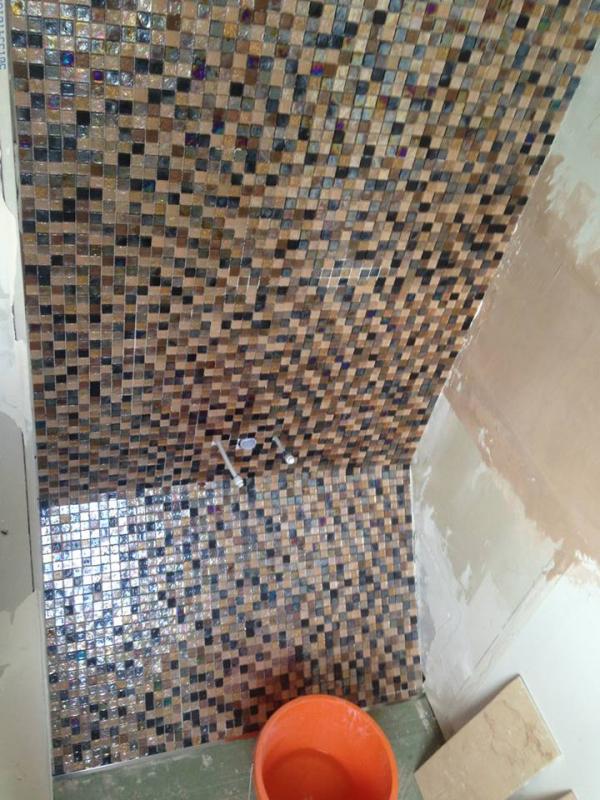
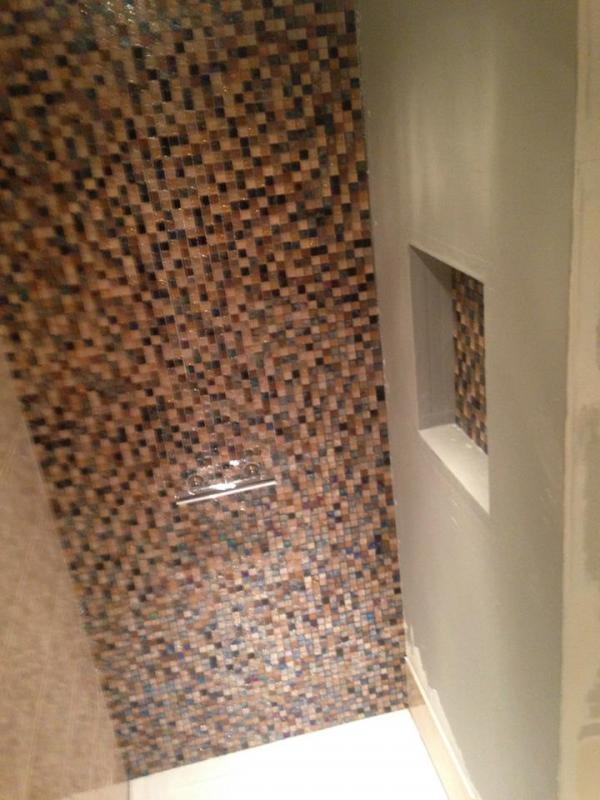
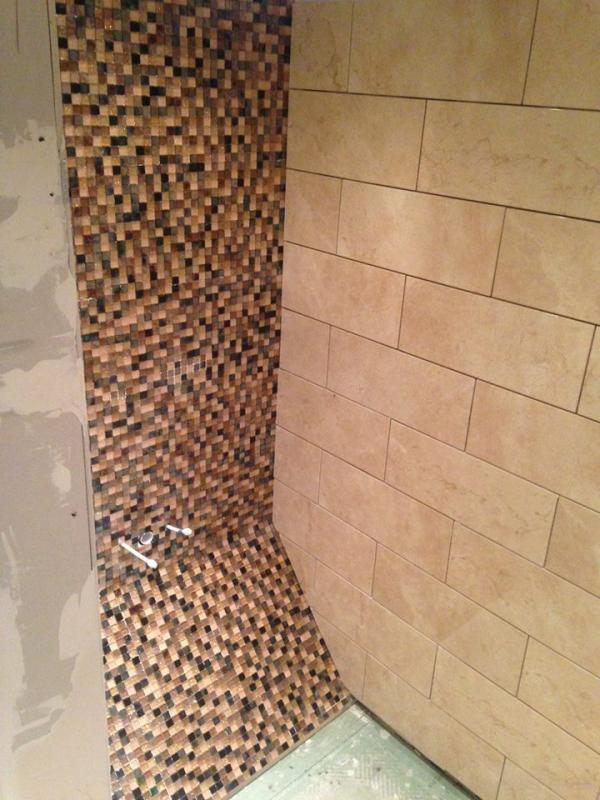
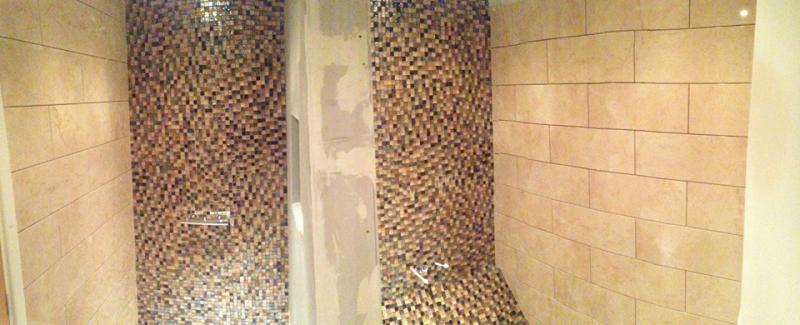
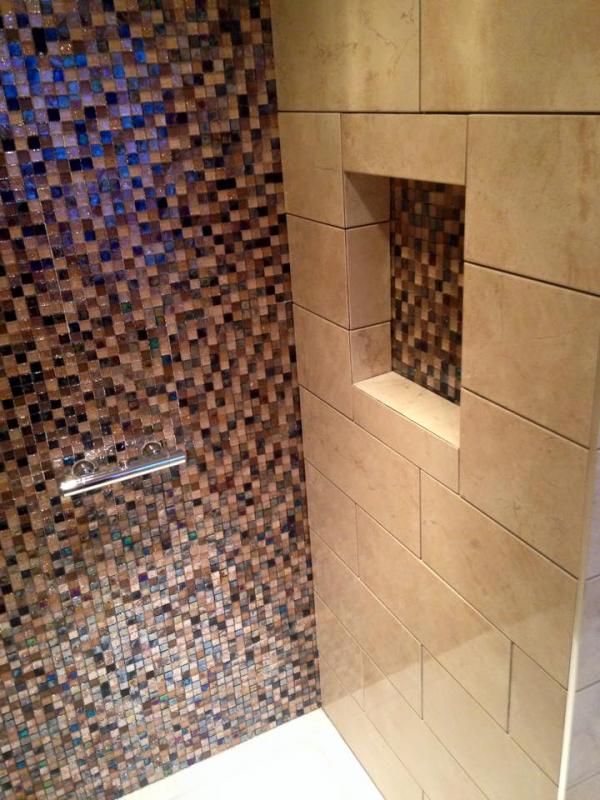
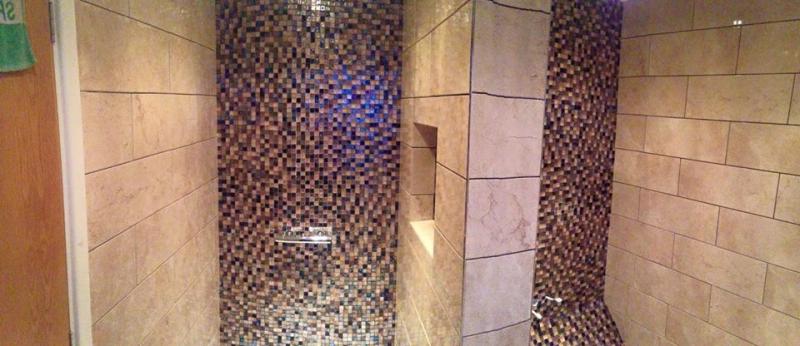
Fitted mosaics to the back of shower wall, shower shelf wall & behind the basin....
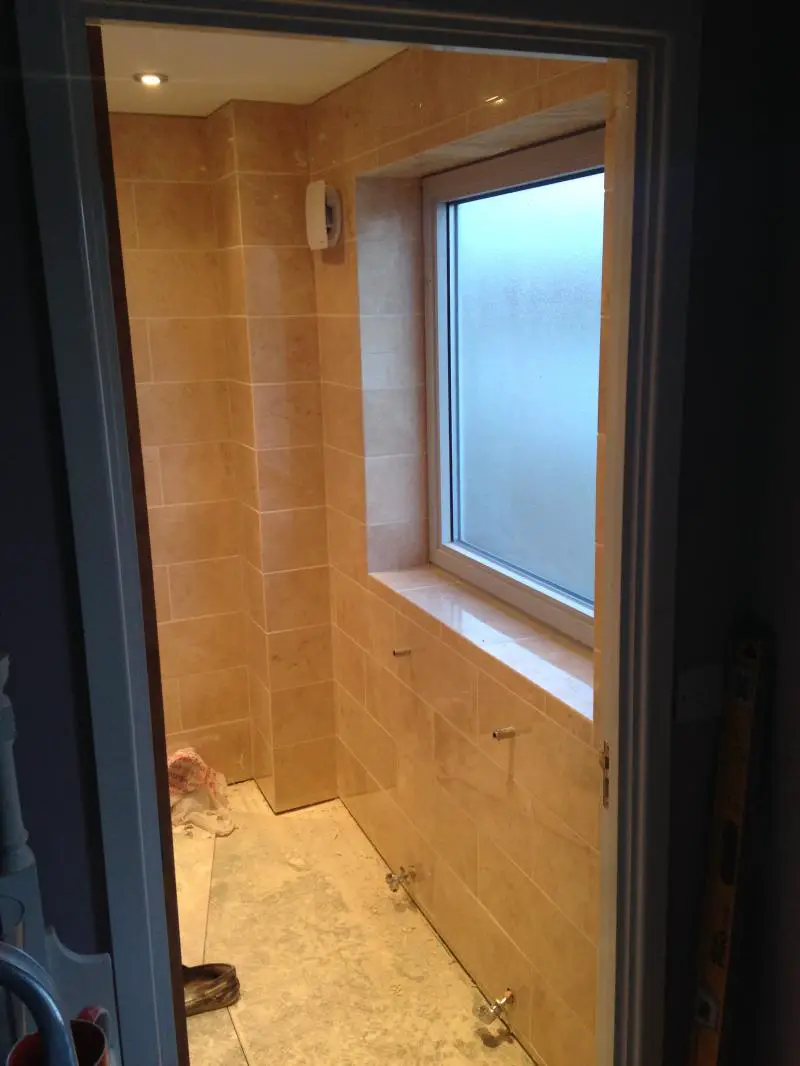
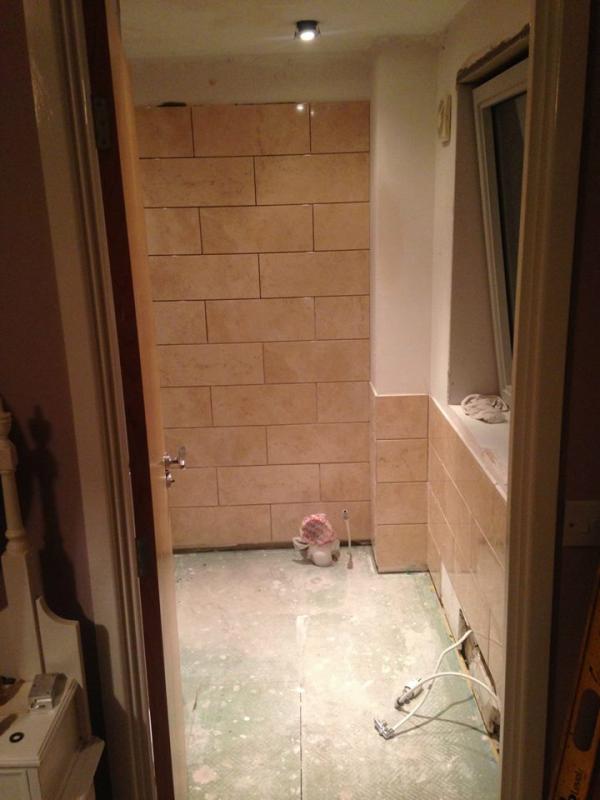
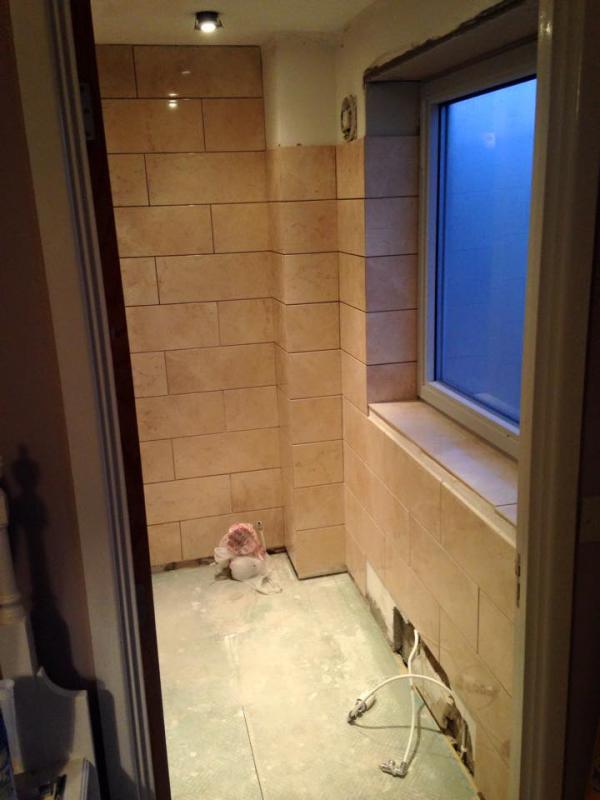
Started tiling the other walls...
Need to finish the tiling.... will update next week.
The en-suite to the master bedroom had plain 6inch x 12inch white tiles around the shower tray and just above the sink which were uninspiring to the eye and looked a bit grubby.
For the sink area, there was a custom built unit built that was constructed using a couple of kitchen cupboard doors and chipboard formica worktop. There was a counter sunk sink (that had a huge 4inch scar in the enamel finish!).... Simply put, it looked pretty bad, unfortunatley I didn't take any "before" photos so you'll just have to try and imagine what it was like using my bad description
.On the new suite, we decided to go for a timeless luxury look with some modern elements rather than going bang on trend and getting fed up with it a few years down the line. So here's a little bit about the work I've done along with photos that could be useful to someone else wanting to do a similar project....
After ripping out the old "suite" & removing the stud wall dividing the shower and basin area...

The master bedroom was a mess (it's the next room to be sorted)...

Re-Boarded the walls & plastered the ceiling...
Re-routed plumbing for the shower:
Fitted the shower tray (re-inforced the flooring by installing new joists under tray area & bedded tray - using a 5:1 mortar mix - on top of ply board).
Added a small shelf into the stud wall to avoid having to use a metal hanging "thing" to hold shampoo's etc...

Quick test fit of the shower:
Re-routed the plumbing for the basin and boarded with ply as I'm going to use a floating sink unit that hangs from the wall so ply is far stronger for holding it solid...
Getting the room prepared for tiling; had to remove the radiator and free the heating pipes as I'm replacing this with a heated towel rail...
Decided to mitre cut my way round the 90degree angles avoiding tile trims:
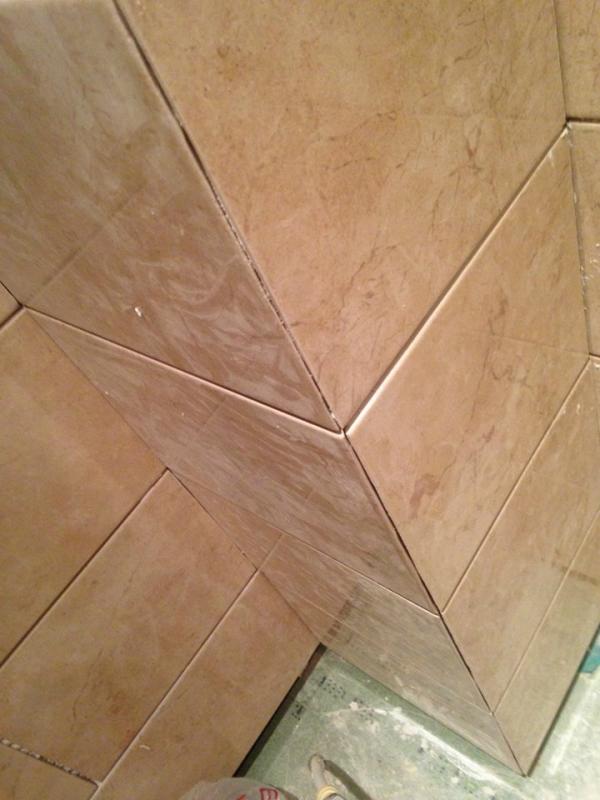
Fitted mosaics to the back of shower wall, shower shelf wall & behind the basin....
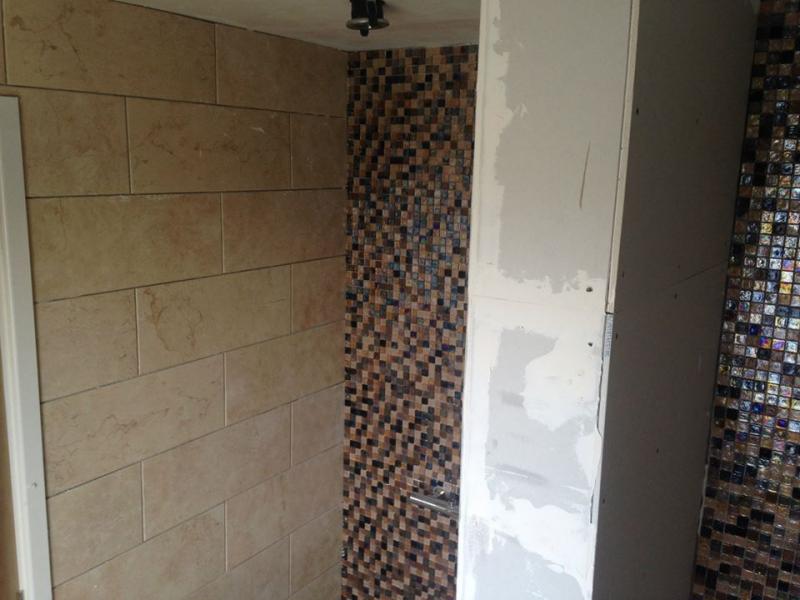
Started tiling the other walls...


Need to finish the tiling.... will update next week.

")