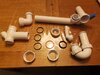
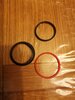
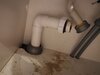
Why did you move the washers?
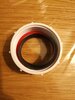
There should be a black one going to the strainer and another one going to the trap.
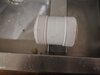
Look inside the fitting, usually they're already fitted.
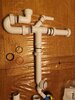
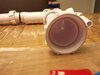
There should be a black one going to the strainer and another one going to the trap.
Look inside the fitting, usually they're already fitted.
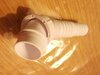
 however, if you do it right, it won’t come off. McAlpine products are superior to that grey shoitte, plus your solvent weld pipe has some rigidity.